


Choosing the right zinnia plant seeds is the first, and honestly most important, step toward a garden overflowing with color. Your best choice really comes down to what you're hoping to achieve—are you dreaming of a towering wall of flowers or just some cheerful blooms for a few pots on the patio?
By getting to know a few key differences between the varieties, you can set yourself up for a stunning and successful display all summer long.
7 Tips for Choosing the Perfect Zinnia Plant Seeds
The real secret to an amazing zinnia patch isn't just about grabbing your favorite color. It's about matching the right seed to your garden's specific conditions and the look you're going for. A little bit of planning before you even buy the seeds makes all the difference. Let's walk through seven practical things to consider that will help you pick varieties that don't just grow, but absolutely thrive.
1. Consider Your Desired Plant Height
Zinnias come in a surprising range of sizes, and getting the height right is a huge part of good garden design. You don't want tall, lanky varieties flopping over at the front of a border, and you certainly don't want tiny ones getting completely lost behind everything else.
- Dwarf Varieties (6-12 inches): These are your go-to for containers, window boxes, and edging the very front of your garden beds. Look for series like 'Lilliput' or the 'Thumbelina Mix' if you want compact, tidy mounds of color.
- Medium Varieties (18-30 inches): I think of these as the workhorses of the garden. They're perfect for filling in the middle of a border and give you plenty of great stems for bouquets. The 'Oklahoma' series is a fantastic, super-productive choice in this range.
- Tall Varieties (3-4 feet): For a dramatic backdrop or a dedicated cutting garden, you have to go with the giants. The 'Benary's Giant' series is a hands-down favorite among flower farmers for its long, sturdy stems and absolutely massive blooms.
2. Match the Flower Form to Your Style
Beyond the classic, daisy-like shape you might picture, zinnias offer an incredible diversity of bloom styles. Picking a form you love can completely change the texture and feel of your entire garden.
- Single-Petal: These are simple, open-faced flowers that are absolute magnets for pollinators like bees and butterflies.
- Dahlia-Flowered: You'll know these by their multiple layers of tightly packed petals. They create big, dome-shaped blooms that look a lot like, well, dahlias.
- Cactus-Flowered: These are truly unique and eye-catching. Cactus-flowered zinnias have quilled or rolled petals that give the flower a spiky, starburst look that adds fantastic texture.
Before you buy, it’s worth taking a look at a few of the most popular zinnia seeds to see which ones catch your eye.
Top Zinnia Varieties for Your Garden
This quick comparison can help you narrow down the perfect seeds based on their size, bloom style, and what they do best in the garden.
| Zinnia Variety | Average Height | Flower Type | Best For |
|---|---|---|---|
| Benary's Giant | 3-4 feet | Dahlia-Flowered | Tall backdrops, cutting gardens |
| Profusion Series | 12-18 inches | Single & Double | Low-maintenance beds, containers |
| Oklahoma Series | 24-30 inches | Double | Productive cutting gardens, bouquets |
| Queen Lime Series | 30-40 inches | Scabiosa & Double | Unique color, floral design |
| Thumbelina Mix | 6-8 inches | Mixed | Edging, window boxes, kids' gardens |
Ultimately, the "best" variety is the one that fits your space and makes you happy just looking at it.
3. Prioritize Disease Resistance
Let's be honest, one of the few headaches with zinnias can be powdery mildew, especially if you live somewhere humid or pack your plants in too tightly. Thankfully, many modern hybrids are bred specifically to fight this problem.
If you live in an area with high summer humidity, choosing a disease-resistant variety is a non-negotiable for a low-maintenance garden. It's the single best preventive step you can take.
Varieties in the 'Profusion' and 'Zahara' series are famous for their top-notch resistance to powdery mildew and other common fungal issues. They are a brilliant choice for beginner gardeners or anyone who just doesn't want to bother with spraying fungicides.
4. Plan for Your Climate
Zinnias absolutely love heat, but the length of your specific growing season really matters. If you have a shorter season, you might want to start your seeds indoors to get a jump on things. Knowing your local climate helps you decide whether to sow seeds directly in the garden or transplant seedlings later.
For more detailed help on this, our guide on when to start seeds indoors lays out a complete timeline to help you plan everything perfectly.
5. Decide Between Mixes and Single Colors
Seed packets usually come one of two ways: a pack of a single, specific color or a curated mix. A mix can give you a wild, carnival-like explosion of different colors and shapes, which is a lot of fun. On the other hand, planting solid blocks of a single color, like 'Benary's Giant Deep Red' or 'Oklahoma Salmon', creates a much more intentional and high-impact design. There's no wrong answer—it's all about the vibe you're after.
6. Read the Seed Packet Information
Don't just look at the pretty picture and toss the packet in your cart! The back of that seed packet is a goldmine of information, telling you everything from days to germination and final plant spacing to the ideal planting depth. Think of it as your roadmap to success, tailored specifically to the variety you've chosen.
7. Think About Your End Goal
Finally, take a second to ask yourself: what's the main reason I'm growing these zinnias?
- For a Cutting Garden? You'll want varieties with long, strong stems like 'Benary's Giant' or the 'Queen' series.
- For a Pollinator Garden? Go for the single-petal types that give bees and butterflies easy access to all that nectar.
- For a Low-Maintenance Border? Pick a tough, disease-resistant, and self-cleaning series like 'Profusion'.
By thinking through these seven points, you'll be able to walk up to the seed rack with confidence and bring home the perfect zinnia plant seeds for a season of absolutely breathtaking blooms.
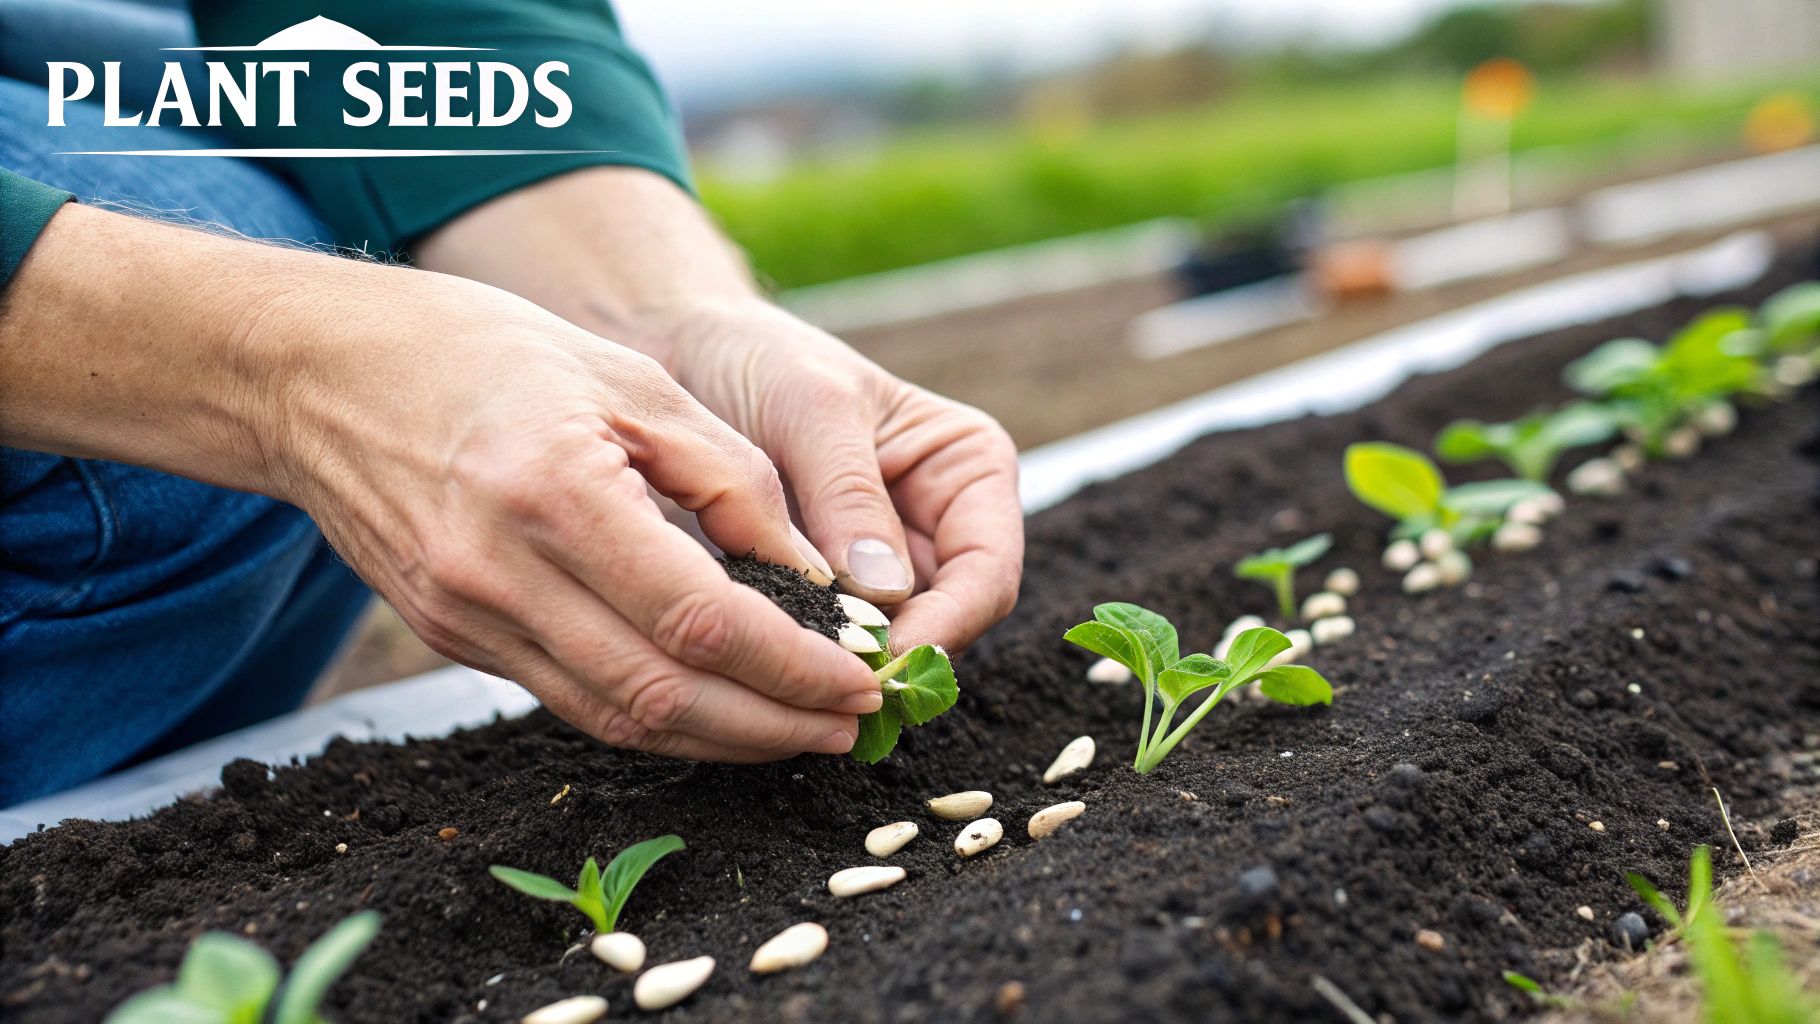
11 Easy Steps for Planting Zinnia Seeds
Now that you've picked out the perfect zinnia seeds, it's time for the fun part: getting them in the ground. Planting zinnias is wonderfully simple, but a few key steps will give your seeds the absolute best shot at success. This isn't about fussy, complicated techniques; it’s about giving these cheerful flowers exactly what they need to pop up fast and grow into strong, blooming machines.
From finding that perfect patch of sun to getting the spacing just right, think of these 11 tips as your roadmap to a stunning zinnia bed.
1. Pinpoint the Sunniest Spot Possible
The number one rule for growing fantastic zinnias is sun, sun, and more sun. These flowers are true sun-worshippers and need a solid six to eight hours of direct sunlight every single day to really perform.
A spot with full, unfiltered sun will give you stronger stems, way more blooms, and healthier plants overall. Skimp on the sun, and you'll likely end up with "leggy" zinnias that stretch for light and produce far fewer, smaller flowers.
2. Prepare Your Garden Soil
Zinnias aren't divas, but they do have one request: soil that drains well. If you’re working with heavy clay, it's a great idea to mix in some compost or other organic matter. This will lighten up the soil, improve drainage, and add a boost of nutrients.
Just work a 2-3 inch layer of compost into the top 6-8 inches of your soil. It’s a simple step that creates a loose, fertile foundation where young zinnia roots can easily take hold.
3. Wait for the Right Timing
Every seasoned gardener knows patience is key, and this is especially true for zinnias. These plants absolutely hate the cold, and planting seeds too early is a common pitfall. The perfect time to sow is after every last chance of frost has passed and the soil has warmed up to at least 60°F (16°C). Warm soil is the secret trigger for quick and reliable germination.
4. Start Seeds Indoors (Optional)
Got a short growing season? You can get a jump-start by sowing seeds indoors about 4-6 weeks before your last frost date. I recommend using biodegradable pots that can be planted directly in the garden. Zinnia roots are a bit sensitive and don't love being disturbed, so this makes transplanting a breeze and can give you blooms weeks earlier than direct sowing.
5. Sow Seeds at the Correct Depth
This is a small detail that makes a huge difference. Zinnia seeds only need to be planted about 1/4 inch deep. Planting them too deep is a classic mistake that can stop the seedlings from ever seeing the sun. A foolproof method is to just press the seed lightly into the soil surface and then sprinkle a thin layer of soil right over the top. Done.
6. Give Them Proper Spacing
I know it’s tempting to pack seeds closely for a dense, full look right away, but overcrowding is a recipe for trouble. Good spacing means good air circulation, and that’s your best defense against pesky powdery mildew. The right spacing depends on the variety, so always double-check your seed packet.
Here’s a good rule of thumb:
- Dwarf Varieties: Space them 6-8 inches apart.
- Medium Varieties: Give them about 12 inches of breathing room.
- Tall Varieties: Allow a generous 18 inches between plants.
7. Consider Direct Seeding Density
Here's an interesting tip from the pros. Commercial growers, especially in the United States where zinnias are a top cut-flower crop, often use density to their advantage. Some studies have found that seeding at higher densities—up to 32 plants per plot—can actually produce a greater total number of stems for cutting. You can find more insights about zinnia production and how it impacts agriculture.
8. Water Gently and Consistently
After you've tucked your seeds in, give the area a gentle but thorough watering. The goal is to keep the soil consistently moist—think of a damp sponge—but never soggy. A watering can with a rose attachment or a hose on a gentle spray setting works perfectly and won't wash your seeds away.
As you can see, the journey from seed to sprout is pretty straightforward. With good seeds and the right moisture, you should see action in about a week.
9. Watch for Germination
When the conditions are right (warm soil and consistent moisture), you’ll see tiny green sprouts emerge in as little as 5 to 7 days. It’s one of the most rewarding moments! If you’re impatient like me and want to see them pop up even faster, you can check out our guide on how to germinate seeds faster for some extra tricks.
10. Thin the Seedlings
Once your seedlings are about 3 inches tall and have their first set of "true leaves" (the ones that look like miniature zinnia leaves), it's time for the tough-love step: thinning. It can feel cruel, but it's crucial for growing big, healthy plants.
Using a small pair of scissors, snip the weaker seedlings right at the soil line, leaving the strongest ones behind at their recommended spacing. This gives the survivors all the room, water, and nutrients they need to thrive without any competition.
"Thinning seedlings is an investment in your future flowers. Giving each plant the space it needs from the beginning is the key to preventing disease and encouraging a massive bloom count later in the season."
11. Protect Young Plants
Those tender, young zinnia seedlings can look like a five-star meal to garden critters like rabbits and slugs. Keep a close eye on your new sprouts and be ready to step in if needed. A simple cloche made from a cut plastic bottle or a light row cover can be enough of a deterrent to protect them until they're big and sturdy enough to hold their own.
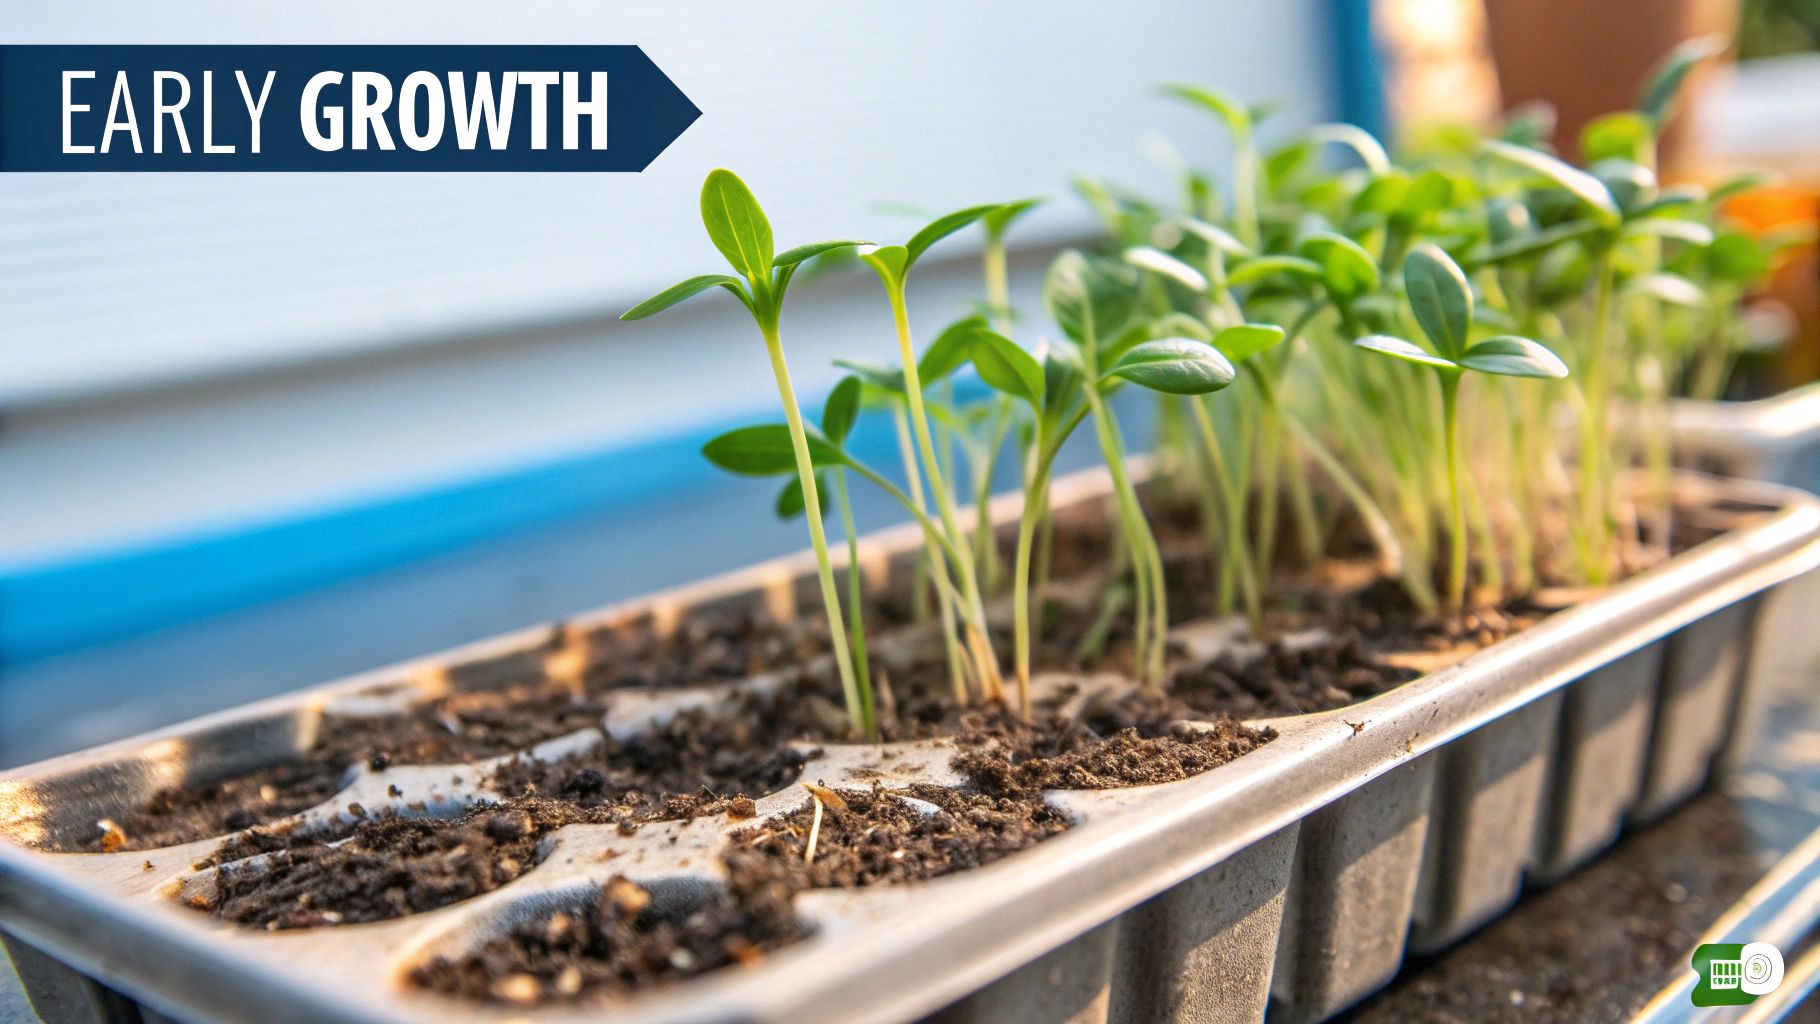
3 Essential Care Tips for Zinnia Seedlings
You’ve done it! Those tiny zinnia seeds have sprouted, and you’re looking at a bed full of delicate green seedlings. This is where the real fun—and the real work—begins. How you care for them in these first few weeks is the single most important factor in turning those fragile sprouts into robust, flower-producing powerhouses.
Think of this stage as building the foundation for a skyscraper of blooms. Get the fundamentals right now—watering, thinning, and feeding—and you'll be rewarded with a spectacular, low-maintenance show all summer long.

1. The Art of Watering Young Zinnias
I see this mistake all the time: gardeners watering their zinnias a little bit every day from overhead. While it feels nurturing, this kind of shallow, frequent watering actually creates weak, shallow-rooted plants. Worse, splashing water all over the leaves is like rolling out the welcome mat for powdery mildew, the absolute nemesis of a healthy zinnia patch.
Your goal should be to water deeply but infrequently. This simple shift in habit encourages the roots to dive deep into the soil searching for moisture, which builds a much stronger, more drought-tolerant plant in the long run.
Here’s my tried-and-true method:
- Do the finger test. Before reaching for the watering can, poke your finger about an inch into the soil next to a seedling. If it’s dry, it’s time to water. If you feel any moisture, hold off for another day or so.
- Aim for the base. Water the soil, not the plant. Use a soaker hose or a long-spouted can to deliver water right to the soil level. This keeps the foliage dry and puts the water precisely where it’s needed: at the roots.
- Give them a good, long drink. When you do water, soak the area thoroughly. You want that moisture to penetrate several inches down, not just sit on the surface.
This technique doesn't just build stronger plants; it’s also your best defense against the fungal diseases that can ruin a beautiful zinnia display.
2. Thinning for a Thriving Patch
This next part can feel a little brutal, but trust me, it’s non-negotiable for a truly thriving zinnia bed. You have to thin your seedlings. When they’re crammed together, they're forced into a constant battle for sunlight, water, and nutrients. This intense competition leads to weak, spindly plants that produce far fewer flowers and are much more likely to get sick.
Giving each plant its own space isn't just about being tidy; it's a direct investment in future blooms. Proper thinning dramatically improves airflow, which is the secret weapon for preventing powdery mildew from taking hold.
Once your seedlings are about 3 inches tall and have their first set of "true" leaves (the second set that appears), it’s thinning time. The best way to do it is to grab a small pair of scissors and snip the weakest seedlings right at the soil line. This leaves the strongest ones standing at the spacing recommended on your zinnia plant seeds packet. Whatever you do, don't pull them out! You’ll almost certainly disturb the delicate roots of the keepers right next to them.
3. When to Introduce a Nutrient Boost
Good news: zinnias are not particularly hungry plants. If you started with good soil amended with compost, you might not need to fertilize them at all. In fact, one of the biggest mistakes is over-fertilizing, which often results in a jungle of lush green leaves with hardly any flowers to show for it.
The key is to give them a gentle boost, but only when they need it. I wait until the seedlings are several inches tall and look like they’re really starting to take off. At this point, a dose of balanced, all-purpose liquid fertilizer diluted to half-strength is perfect. It’s just enough to support that vigorous growth without going overboard.
Steer clear of any high-nitrogen fertilizers. Too much nitrogen is what fuels all that leafy growth at the expense of flowers. You’re much better off with a fertilizer formulated for blooms, which will have a higher phosphorus number (that’s the middle number in the N-P-K ratio on the label) to encourage a profusion of color.
7 Best Ways to Get More Zinnia Blooms
Once your zinnias are up and growing, the real fun begins. The goal shifts from just keeping them alive to encouraging an absolute explosion of color. With a few simple tricks, you can turn a nice little patch of zinnias into a spectacular, season-long flower factory. These aren’t complicated secrets, just proven methods that tap into the plant's natural tendencies and tell them it's time to bloom their hearts out.
By working with the zinnia's growth habits, you’ll get bushier, stronger plants that are just covered in blossoms from mid-summer straight through to the first frost. Let's dig into the seven key things you can do to get the most flowers possible.
1. Pinch Back Young Plants
If you do only one thing on this list, make it this one. "Pinching" is just a gardener's term for snipping the top off a young zinnia plant. It feels wrong, I know, but this single cut changes everything for the better.
The perfect time to do this is when the plant is about 8 to 12 inches tall and has developed a few sets of true leaves. When you snip off that main growing tip, the plant reroutes its energy, sending out two new side shoots from the leaf node right below your cut. Each of those new stems will grow up and produce a flower. Instead of one tall, leggy stem with a single bloom, you get a much fuller, bushier plant with a ton of flowers.
2. Deadhead Relentlessly
A zinnia’s biological mission is to make seeds. Once a flower is pollinated and starts to fade, the plant pours all its energy into developing those seeds. If you want more flowers, your job is to interrupt that process. We call this deadheading.
By constantly cutting off the spent blooms, you trick the plant into thinking it hasn't succeeded in its mission yet. It responds by pushing out more and more flowers, trying again and again to set seed.
Here’s how to make it a simple routine:
- Be consistent. Make a habit of walking through your zinnia patch every couple of days with a pair of snips. It's a great morning ritual with a cup of coffee.
- Cut deep. Don’t just pop the dead flower head off. Follow the stem down to the next set of leaves or a branching point and make your cut there. This keeps the plant looking tidy and encourages strong new growth.
- Don't wait. The moment a flower starts to look faded, brown, or tattered, snip it off. The sooner you do it, the faster the plant gets the message to make more blooms.
3. Feed for Flowers, Not Foliage
Zinnias aren’t particularly hungry plants, but giving them the right kind of food at the right time can really ramp up flower production. The trick is using the right fertilizer. Stay away from anything high in nitrogen; you’ll just end up with a jungle of gorgeous green leaves and very few flowers.
Instead, look for a balanced, all-purpose fertilizer or, even better, one formulated specifically for blooms. These will have more phosphorus (the "P" in the N-P-K ratio), which is the nutrient that directly fuels flower development. A light feeding every 4 to 6 weeks during the peak growing season is all they need.
4. Master the Art of Deep Watering
Consistent moisture is key for non-stop blooming, but how you water matters just as much as how often. A deep, thorough soaking once a week is far better than a light sprinkle every day. This encourages the roots to grow deep down into the soil, creating a tougher plant that can handle a bit of dry weather.
Aim for about one inch of water per week, whether that comes from rain or your hose. And always, always water at the base of the plant. Keeping the leaves and flowers dry is your number one defense against powdery mildew, a common zinnia ailment.
5. Apply a Layer of Mulch
A two-to-three-inch layer of organic mulch, like shredded bark or straw, is a zinnia's best friend. Mulch is a multitasking garden hero that makes a direct impact on how many blooms you get.
By smothering weeds, mulch eliminates the competition for water and nutrients. It also locks in soil moisture, which means less water stress for your plants. That allows them to focus their energy where you want it: on making more flowers.
This one simple step creates a stable, healthy environment where your zinnias can truly thrive.
6. Embrace Companion Planting
Sometimes the best thing you can do for your zinnias is to give them the right neighbors. Certain companion plants can attract beneficial insects that act as a personal security force, preying on common zinnia pests like aphids.
For example, planting marigolds nearby can help deter nematodes in the soil. Borage is another great one—it’s known to repel tomato hornworms while attracting tiny predatory wasps that help with pest control. This natural, chemical-free approach keeps your zinnias healthier and more focused on producing that profusion of blooms.
7. Understand the Science of Pinching
The advice to pinch your plants isn't just an old gardener's tale; there's real science behind it. Studies have shown that this kind of mechanical "pruning" leads to a measurable increase in both the number of branches and the total flower count on a zinnia plant.
Research confirms that this simple snip fundamentally changes the plant's growth pattern, resulting in a significantly higher flower yield. If you're curious about the data, you can read more about how pinching enhances zinnia growth in horticultural studies.
5 Common Zinnia Problems and How to Solve Them
Even the most seasoned gardener runs into a few bumps along the road, and growing zinnias is no different. It’s a rewarding process, but sometimes things like quirky weather or uninvited pests can throw a wrench in your plans. Think of this as your troubleshooting guide for the five most common hurdles you might face, with real, actionable advice to get your zinnias back on track.
1. Battling Powdery Mildew
Powdery mildew is, without a doubt, the number one enemy of zinnias. You'll spot it as a white, dusty film that creeps over the leaves, typically starting low on the plant and working its way up. It absolutely loves humid weather and gardens where plants are packed in a little too tightly.
The best way to handle it is to prevent it from ever showing up. Give your plants plenty of elbow room right from the start to encourage good air circulation. Also, make it a habit to water at the base of the plant, not from overhead. Keeping the leaves dry is a huge deterrent.
If mildew does make an appearance, don't panic. For a mild case, you can often knock it back with a simple spray of one part milk to nine parts water. If it's a more stubborn problem, you'll need to step up to an organic or conventional fungicide.
We go into much more detail on this common garden foe in our complete guide on how to treat plant fungus.
2. Identifying and Managing Pests
Zinnias can sometimes attract a few unwanted guests. Catching them early is the key to stopping a minor annoyance from turning into a major headache.
- Aphids: Look for these tiny, pear-shaped bugs clustered on new growth or hiding on the undersides of leaves. A good, strong spray from the garden hose can often blast them off. For a more serious crowd, insecticidal soap is your friend.
- Japanese Beetles: These metallic green-and-copper beetles are hard to miss. They skeletonize leaves, munching away until only the veins are left. The most direct approach is to go out in the cool of the morning, hand-pick them, and drop them into a bucket of soapy water.
3. Diagnosing Leggy Seedlings
Ever started zinnia seeds indoors only to see them shoot up into tall, skinny, and pathetic-looking stems? That's what gardeners call "leggy," and it's a dead giveaway that your seedlings are desperately stretching for more light.
This is a classic problem when relying on a windowsill for light. Even the brightest window often isn't enough. Your seedlings need intense, direct light from above to grow stout and strong. To fix this, you either need to find a much sunnier spot or, for best results, put them under a grow light for 14-16 hours a day. Keep the light source just a couple of inches above the tops of the seedlings.
4. Decoding Yellowing Leaves
Yellow leaves are your plant's way of telling you something is wrong. The trick is figuring out what it's trying to say, and the location of the yellowing is your biggest clue.
If the lower, older leaves are turning yellow, you're likely looking at an overwatering issue or soil that doesn't drain well. The roots are sitting in too much water and can't breathe. The fix? Let the soil dry out more between waterings.
On the other hand, if it's the new, upper leaves that are yellow while the older ones stay green, it’s probably a nutrient deficiency. This often points to a lack of iron or manganese, which can happen in alkaline soils. A dose of a balanced, all-purpose liquid fertilizer will usually clear it up.
5. Addressing Poor Blooming or Stunted Growth
What if your zinnias just seem... stuck? Maybe they aren't growing much, or they're stingy with the blooms. This almost always comes back to their environment.
Research has shown just how much growing conditions matter. One study found that zinnias grown in an autumn-winter cycle had higher-quality stems than those in a winter-spring cycle. It also confirmed that giving plants 100% of their required water resulted in more stems, longer stems, and bigger flowers. The takeaway is clear: zinnias need optimal conditions to truly shine.
If your plants are underperforming, run through this quick checklist:
- Are they getting at least six hours of direct sun every day?
- Is the soil well-drained, not a soggy mess?
- Have you been deadheading the old, spent flowers to signal the plant to make more?
Nine times out of ten, the answer to your problem lies in one of those three questions.
3 Common Zinnia Questions Answered
No matter how much you plan, questions are a natural part of gardening. Whether you’re staring at your first-ever packet of zinnia seeds or you’re a seasoned pro, a few common puzzles tend to pop up.
Here are the straightforward answers to the most frequent zinnia mysteries I hear about.
1. How Long Do Zinnia Seeds Take to Germinate?
One of the best parts about growing zinnias is how fast they pop up. If you give them what they want—warm soil around 70-80°F (21-26°C) and consistent moisture—you'll see sprouts in as little as 3 to 5 days. It’s one of the quickest rewards in the garden!
If your spring is on the cooler side or the soil dries out a bit, don't panic. It just might take a little longer, maybe 7 to 10 days. The big takeaway here is that warmth is the most important ingredient for getting those seeds to jump into action.
2. Can I Save Zinnia Seeds for Next Year?
You absolutely can, and it's a fantastic way to keep your garden going for free! But there's one key thing you need to know: the difference between heirloom and hybrid zinnias.
- Heirloom (or Open-Pollinated) Zinnias: Seeds from these plants will grow "true to type." That just means the flowers next year will look like the parent plant you saved them from.
- Hybrid Zinnias (often labeled F1): These are a cross between two different parents. You can save their seeds, but what grows next year will be a genetic surprise—it probably won't look like the flower you originally planted. It's a fun experiment, but not reliable if you want a specific look.
Saving them is easy. Just let a few of your best-looking flowers dry completely on the stem until they're brown and brittle. Pull the petals off the dried seed head, and you'll find the little arrowhead-shaped seed attached to the base of each one. Just be sure to store them somewhere cool, dark, and dry.
Saving seeds is a great way to connect with the full cycle of your garden. My best tip? Always label your saved seeds immediately. You'd be surprised how quickly you forget which is which!
3. Why Are My Zinnias Not Blooming?
It’s so frustrating when you have big, leafy zinnia plants that just won't make flowers. When this happens, it almost always comes down to one of three things in their environment.
- Not Enough Sun: Zinnias are total sun-worshippers. They need at least 6 to 8 hours of direct, unfiltered sun every day to power their bloom production. Any less, and you'll get a lot of green leaves but very few flowers.
- Too Much Nitrogen: If you've been heavy-handed with a fertilizer that’s high in nitrogen, you've accidentally told the plant to focus all its energy on growing leaves. Cut back, and if you must fertilize, switch to a bloom-focused formula with more phosphorus.
- Forgetting to Deadhead: A zinnia's main goal in life is to produce seeds. Once a flower fades and starts to form a seed head, the plant thinks its job is done. By snipping off those spent blooms (deadheading), you trick it into trying again, which forces it to push out more and more flowers.
Ready to grow your own vibrant patch of zinnias? At Homegrown Garden, we have a curated collection of high-quality, non-GMO zinnia seeds, from tall, dramatic backdrop plants to compact varieties perfect for pots. Explore our zinnia seed collection and find the perfect match to bring stunning, season-long color to your garden.
Ready to plant a patch of color? Try our California Giant zinnia seeds for tall, cut-flower blooms.
Prefer compact zinnias for pots and edging? Try our Thumbelina dwarf zinnia seeds for containers and borders.

