

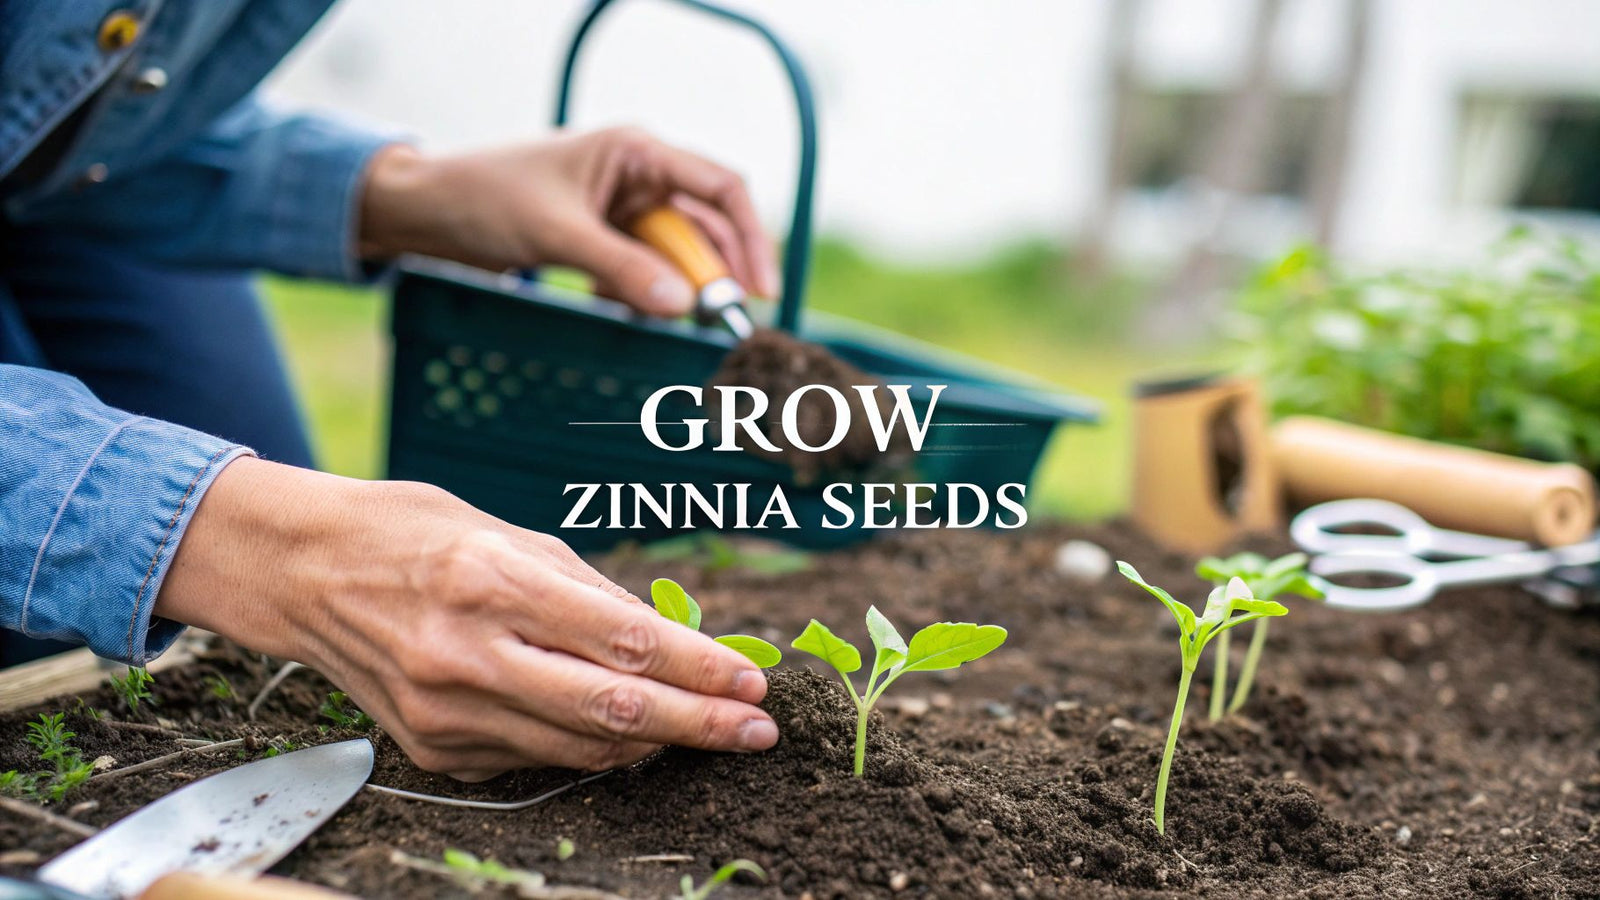

Welcome to the vibrant world of zinnias! Turning a handful of tiny zinnia seeds into a garden bursting with color is far easier than you might imagine. These cheerful, hardworking flowers are a fantastic pick for any gardener, known for their resilience, incredible variety, and ability to bring in the butterflies. A stunning, pollinator-friendly garden is really just a few seeds away.
3 Reasons Zinnias Are the Perfect Flower to Grow from Seed
If you want a flower that delivers a huge reward for very little fuss, zinnias are your answer. They're genuinely one of the simplest flowers to grow directly from seed, which makes them perfect for beginners and a reliable favorite for those of us who have been gardening for years. Their journey from native Mexican wildflowers to global garden staples is a real testament to their charm.
It's fascinating to see how their popularity exploded. After the genus Zinnia was officially named in 1759, the global demand for their seeds took off in the 19th century. In fact, seed exports from Mexico to Europe shot up by an estimated 50% between 1870 and 1900. By the 1920s, zinnia seed sales in the United States had jumped by a reported 30% over previous decades, cementing their place in gardens everywhere. You can learn more about their incredible history in this historical overview of zinnias.
1. Unbeatable Simplicity and Resilience
One of the best things about growing zinnias is just how easygoing they are. They aren't picky about soil—as long as it drains well—and they absolutely love full sun, a requirement for most blooming plants. This hardiness makes them incredibly forgiving, even if you forget to water them once in a while.
Unlike more delicate flowers that might wilt at the first sign of a heatwave, zinnias are tough and can handle the peak of summer heat with grace. That resilience means you get to spend less time worrying and more time enjoying the show.
2. A Dazzling Array of Choices
The sheer variety you can get from zinnia seeds is just astounding. Whether you're dreaming of towering, dinner-plate-sized blooms for a cutting garden or compact, button-like flowers for lining a walkway, there is a zinnia out there for you.
Just think about the options:
- Color Palette: You can find everything from fiery reds and oranges to soft pastel pinks, funky lime greens, and even multi-toned showstoppers.
- Flower Shape: There are the classic single-petal daisies, big fluffy double blooms, and even unique "cactus" flowered types with cool, quilled petals.
- Plant Size: Varieties range from the tiny 'Thumbelina' series, which stays around six inches tall, to the impressive 'Benary's Giant' series that can stretch up to four feet high.
Here's a tip I learned long ago: the more you cut zinnias, the more they bloom. This "cut-and-come-again" trait means you'll have a continuous supply of fresh flowers for bouquets all season long.
3. A Magnet for Pollinators
Planting zinnias is like putting out a giant welcome mat for pollinators. Bees, butterflies, and even hummingbirds can't resist their bright, open-faced flowers. A patch of zinnias quickly becomes a bustling hub of activity, adding so much life and movement to the garden.
It’s such a simple way to support your local ecosystem. For more ideas on what to grow, check out our complete guide to growing beautiful flower seeds. When you grow zinnias, you're not just creating a beautiful space for yourself—you're making a positive contribution to the environment, too.
7 Best Zinnia Varieties to Grow from Seed
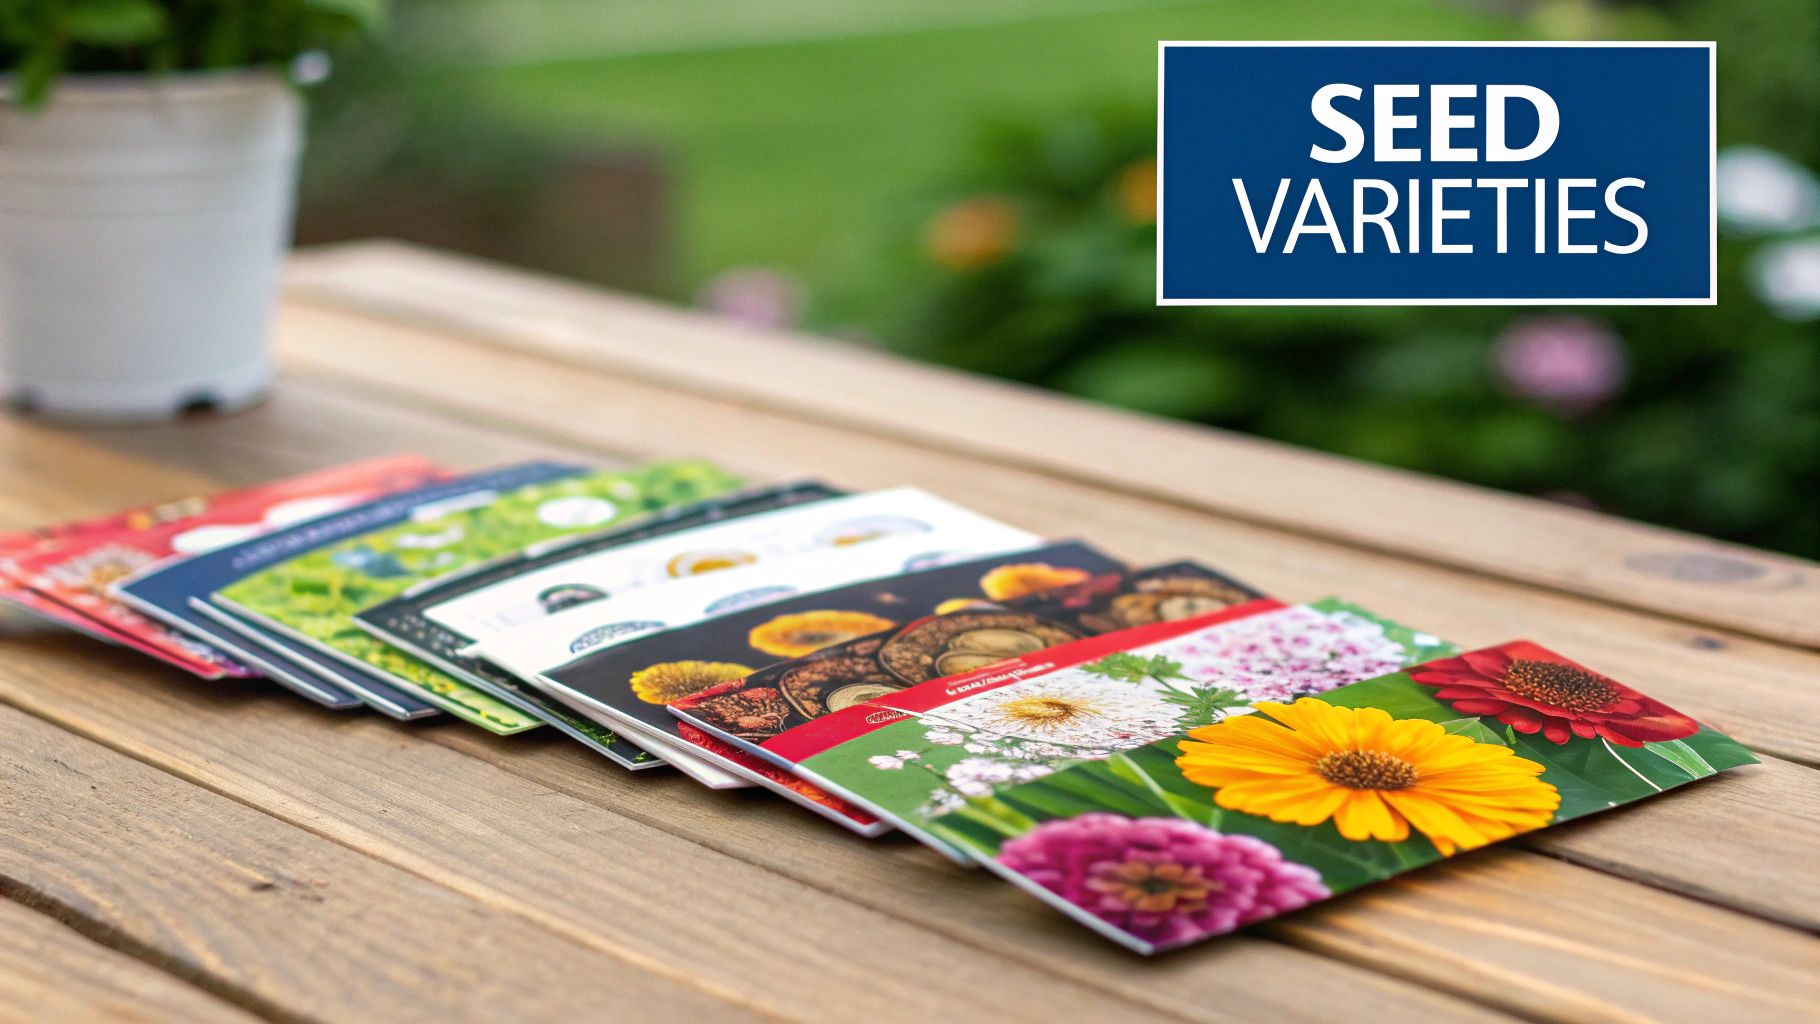
Choosing your zinnia seeds is where the fun really begins. With so many shapes, sizes, and colors out there, it’s easy to feel a bit lost. But don't worry, I've narrowed it down to seven fantastic varieties that I've seen perform beautifully, each with its own unique personality.
Think of this as your starting point for picturing what your garden could look like. Are you dreaming of towering stems loaded with giant blooms for cutting? Or maybe a charming, compact border bursting with color? Let’s find the perfect zinnia for you.
Top 7 Zinnia Varieties for Your Garden
To help you decide, here's a quick look at some of the most popular and reliable zinnia varieties you can grow from seed. This table compares them based on their size, bloom style, and what they're best used for in the garden.
| Variety Name | Average Height | Bloom Type | Best For |
|---|---|---|---|
| Benary's Giant Series | Up to 40 inches | Large, dahlia-like double blooms | Professional-quality cutting gardens |
| Oklahoma Series | 24-30 inches | Medium, double & semi-double blooms | Prolific blooming and disease resistance |
| Queen Lime Series | 24-30 inches | Unique double blooms | Antique, moody floral arrangements |
| Thumbelina Dwarf Mix | Under 8 inches | Small, button-like single blooms | Containers and small garden borders |
| Cactus Flowered Mix | 30-36 inches | Large, quilled and spiky blooms | Adding unique texture to bouquets |
| Persian Carpet Mix | 12-16 inches | Small, bicolored single blooms | Meadow-style plantings, groundcover |
| Peppermint Stick | 24-30 inches | Medium, striped & speckled blooms | Whimsical, fun, and unique bouquets |
Each of these brings something special to the table, so think about your garden's style and what you want from your flowers as you read on.
1. Benary's Giant Series
If you're serious about growing flowers for bouquets, look no further than Benary's Giant. This series is the gold standard for cut flower farmers for a reason. They produce massive, dahlia-like blooms that can easily reach 4 to 5 inches across, all held up by incredibly long, sturdy stems.
They grow tall, often hitting 40 inches, so they're perfect for the back of a border or a dedicated cutting patch. Plus, they were bred for excellent disease resistance, which is a huge advantage.
2. Oklahoma Series
For a plant that is just an absolute workhorse, you can't beat the Oklahoma Series. These zinnias produce slightly smaller, 2-inch double and semi-double blooms, but they do it with unbelievable abundance. Their branching habit means you'll be cutting dozens of flowers from a single plant all season long.
Their best trait? They have fantastic resistance to powdery mildew, which can be a real headache for zinnia growers in humid areas. This makes them a super reliable choice.
3. Queen Lime Series
Looking for something with a bit of antique charm? The Queen Lime Series is a showstopper. These zinnias step away from the classic brights and into a more sophisticated palette of chartreuse green, often with a delicate rosy center, like in the 'Queen Lime with Blush' variety.
Floral designers go crazy for these because they add such a unique, vintage feel to arrangements. Growing these from zinnia seeds is a surefire way to have something truly special in your garden that you won't find at the local nursery.
A key to success with any zinnia variety is understanding their "cut-and-come-again" nature. The more you harvest the flowers, the more the plant will produce. It's a simple trick that ensures a constant supply of fresh blooms all summer long.
4. Thumbelina Dwarf Mix
Not everyone has space for plants that grow four feet tall! For pots, window boxes, or edging a garden path, the Thumbelina Dwarf Mix is an absolute gem. Just like the name implies, this variety stays incredibly compact, usually under 8 inches tall.
But don't let their small size fool you. They churn out an impressive number of cute, button-like flowers in all the classic zinnia colors. They’re a great pick for getting kids into gardening because they grow so quickly.
5. Cactus Flowered Mix
If you love unique textures, you have to try the Cactus Flowered Mix. Instead of smooth, flat petals, these zinnias have quilled and rolled petals that give the blooms a spiky, starburst look. They make a huge statement in the garden and in a vase.
This mix comes in a whole range of vibrant, electric colors. They’re fantastic for adding a pop of unexpected texture to bouquets, standing out beautifully against more traditional flowers.
6. Persian Carpet Mix
The Persian Carpet Mix is a nod to the zinnia's wild origins. These belong to a different species (Zinnia haageana) and produce tons of small, often bicolored flowers in rich, earthy tones like gold, mahogany, and cream. Many have contrasting colored tips, creating a tapestry-like effect across the plant.
These plants are shorter and have a more sprawling, bushy habit. This makes them perfect for creating a wildflower or meadow-like feel. For more ideas on how to prepare your garden beds, our guide on planting zinnia gardens has some great pointers.
7. Peppermint Stick
Last but not least, for a touch of pure whimsy, you can't go wrong with Peppermint Stick. Every flower is a surprise! The petals are creamy white or pale yellow and are randomly splashed, speckled, and streaked with red, pink, and orange. No two flowers are ever the same.
This one is always a conversation starter. It brings a playful energy to the garden and produces plenty of medium-sized flowers that are perfect for cutting.
4 Essential Steps to Prepare Your Garden for Zinnia Seeds
A garden overflowing with zinnias doesn't just happen by accident. The real secret to a stunning display starts with the groundwork you lay long before a single seed touches the soil. Giving your future zinnia patch the right foundation is the single most important thing you can do for healthy, bloom-packed plants all summer.
1. Pick a Sunny Spot
First things first: sunlight. Zinnias are absolute sun-worshippers, and they won't compromise. To get those famously sturdy stems and vibrant, non-stop blooms, they need at least 6-8 hours of direct, unfiltered sun every day. Take a day to really watch the light in your yard. Find a spot that isn't cast in shadow by the house, a big tree, or a fence during the sunniest parts of the day. A south-facing bed is usually a safe bet.
2. Create the Perfect Soil Bed
Once you've pinpointed your sunniest spot, it's time to get your hands dirty and talk soil. While zinnias are pretty forgiving, they truly shine in soil that’s rich and well-draining. If you have heavy, dense clay, it can hold too much water and lead to root rot—one of the few things that can really take down these otherwise tough-as-nails flowers.
Your goal is to make your soil both fertile and fluffy. The best way to do that? Organic matter.
- Bring on the Compost: Don't be shy here. Spread a good 2 to 3-inch layer of finished compost over the entire planting area. Compost is a miracle worker; it loosens up heavy clay so it drains better and helps sandy soil hold onto precious moisture.
- Mix It In: Grab a garden fork or a tiller and work that compost into the top 6 to 8 inches of your soil. You're aiming for a loose, crumbly texture that zinnia roots can easily push through.
Here’s a little trick I use: the perfect soil for zinnias should feel like a handful of brownie mix. It clumps together when you squeeze it but falls apart easily when you poke it. That’s the sweet spot for moisture retention and drainage.
3. Clear and Level the Ground
With your soil feeling just right, the last step is to create a clean, smooth canvas for your seeds. This ensures they aren't fighting for resources right from the start.
To get your garden ready for planting, you'll need a few essential garden tools for digging, weeding, and smoothing everything out. Pull out every last weed, and remove any big rocks or leftover plant debris. Those pesky weeds will steal water, sun, and nutrients from your tiny zinnia seedlings, so be thorough.
Once the bed is clear, use a garden rake to level the entire surface. A smooth, even seedbed isn't just for looks—it helps water spread out evenly and allows you to plant all your seeds at a consistent depth, which is absolutely crucial for good germination.
4. Prep Your Pots for Container Growing
No garden bed? No problem at all. Zinnias, especially the charming dwarf varieties like 'Thumbelina', are fantastic in containers. The prep work is just as vital, but the approach is a little different.
- Pick the Right Pot: Go for a container that’s at least 8 inches deep and wide. This gives the roots plenty of room to stretch out. And the most important rule of container gardening: make sure it has drainage holes. This is non-negotiable.
- Use Potting Mix, Not Garden Soil: Never use soil straight from your garden in a pot. It gets incredibly dense and waterlogged. Instead, fill your containers with a high-quality, all-purpose potting mix. It's specifically designed to be light and airy, providing the perfect drainage and aeration for happy roots.
- Leave a Little Room: As you fill the pot, stop about an inch from the rim. This little bit of headspace makes watering so much easier and prevents soil from washing out over the sides.
3 Easy Ways to Sow Zinnia Seeds for Strong Germination
This is where the fun really begins—turning that little seed packet into a garden full of vibrant flowers. Sowing zinnias is pretty straightforward, but a few key details can make a huge difference. Get the timing, depth, and spacing right, and you'll be on your way to a thriving zinnia patch instead of a few sparse sprouts.
1. Plant at the Ideal Time
First things first: zinnias are heat lovers. They absolutely hate the cold, and planting them too early is a classic mistake. If the soil is too chilly and damp, the seeds might rot before they even have a chance to sprout.
The best rule of thumb is to wait until all danger of frost has passed and the soil has warmed up to at least 65°F (18°C). For most of us, that's about one or two weeks after the last average frost date. A little patience now pays off big time with healthy, fast-growing seedlings later.
Want to get a head start? You can definitely start zinnia seeds indoors. Just sow them in trays about 4 to 6 weeks before your last frost date. This gives you little plantlets ready to pop into the garden as soon as the weather cooperates.
Honestly, though, zinnias grow so quickly that direct sowing—planting them right into the garden bed—is often the easiest way to go. They pop up fast in warm soil, sometimes in as little as 4 to 7 days, and they'll catch up to any indoor-sown plants in no time.
This guide shows just how simple it is to plant your zinnia seeds directly outside.

As you can see, getting your seeds into a prepared garden bed is a quick and easy process.
2. Master Seed Depth and Spacing
With your timing sorted, it's time to get the seeds in the ground. Precision here really matters. Zinnias don’t need to be buried deep; planting them too far down is a sure way to prevent them from ever seeing the sun.
Aim for a shallow depth of just 1/4 inch. An easy way to do this is to press the seed lightly onto the soil's surface and then just sift a fine layer of soil over the top. This gives them the contact they need without making them work too hard to grow.
Spacing is just as critical. If you plant zinnias too close together, they'll end up fighting for sunlight, water, and nutrients. Worse, the poor air circulation creates a perfect breeding ground for fungal diseases like powdery mildew.
Here’s a quick spacing guide based on the type of zinnia you're growing:
- Dwarf Varieties: For small plants like 'Thumbelina', give them about 6 to 8 inches of space.
- Medium Varieties: Mid-sized zinnias, like the 'Oklahoma' series, need around 10 to 12 inches between them.
- Tall Varieties: For the big ones like 'Benary's Giant', provide a generous 12 to 18 inches so they have plenty of room to branch out.
My favorite tip: For perfectly straight rows, I run a string line between two stakes as a guide. But if you're going for a more natural, cottage-garden look, just scatter the seeds lightly over the prepared bed. Then, gently rake them in to make sure they're touching the soil.
3. Water with a Gentle Touch
Okay, your seeds are in the ground. The final step is watering them in. The goal is to keep the soil consistently moist, but never soggy. A powerful blast from a garden hose can easily wash your tiny seeds away or bury them too deep.
Instead, use a watering can with a "rose" attachment or set your hose nozzle to a gentle shower setting. Water the area slowly and thoroughly to settle the soil around the seeds without disturbing your handiwork. Keep the soil moist until you see those first little green shoots emerge.
For more great advice that applies to all sorts of seeds, check out these 10 tips for sowing and germination. By following these simple steps, you're doing more than just planting seeds—you're setting the stage for a spectacular show of flowers all season long.
3 Essential Ways to Help Your Zinnia Seedlings Thrive
So, you've got sprouts! Seeing those first little green leaves poke through the soil is always a thrill. But this is where the real work—and fun—begins. Getting your zinnias from fragile seedlings to powerhouse bloomers is all about consistent, smart care. The good news? Zinnias are famously unfussy.
You don't need a complicated routine. In fact, they're pretty forgiving. But a few key things you do in these early weeks will pay off big time with a summer full of vibrant, healthy flowers. Let's walk through what these little guys need right now.
1. Water Deeply (But Infrequently)
It's so easy to over-love your new seedlings, especially with the watering can. But constantly damp soil is the fastest way to kill zinnias. It invites fungal diseases like powdery mildew—a zinnia’s worst enemy—and encourages a weak, shallow root system.
The trick is to water deeply but infrequently. When you do water, give the bed a really good, long soak. You want that water to seep down at least 6 to 8 inches. Then, and this is the important part, let the soil dry out. Let the top inch or two get completely dry before you even think about watering again. This forces the roots to dig deeper for moisture, building a stronger, more resilient plant that won't wilt at the first sign of a hot day.
Not sure when to water? Just use the old-school finger test. Stick your index finger down into the soil near the plants. If it feels dry up to your first knuckle, it's time for a drink. If you feel any moisture, hold off for another day or two.
2. Give Them Elbow Room by Thinning
You probably sowed your seeds pretty thickly to make sure you got good germination. Now, you’ve likely got crowded little clumps of seedlings. It can feel wrong to pull out perfectly healthy-looking plants, but thinning is non-negotiable for a spectacular zinnia display.
When they’re packed in too tightly, zinnias have to fight for everything: sunlight, water, and nutrients. This leads to weak, leggy plants that produce dinky flowers. Worse, it kills the airflow between them, creating a humid little jungle that’s a breeding ground for powdery mildew.
Here’s how to thin them out the right way:
- Wait until the seedlings have their first set of "true leaves." These are the second set of leaves they’ll grow, and they look like miniature versions of an adult zinnia leaf.
- Instead of pulling, which can disturb the roots of the plants you want to keep, just snip the weaker seedlings off at the soil line with a small pair of scissors.
- Check your seed packet for the specific spacing, but a good rule of thumb is to aim for 6-12 inches of space between each plant.
3. Get More Flowers by Pinching Back
Want to know the secret to turning a single-stemmed zinnia into a bushy, flower-producing machine? It’s called pinching. This one little snip encourages the plant to branch out, giving you a sturdier plant with way more blooms.
Wait until your zinnia plant is about 8 to 12 inches tall with at least four sets of leaves. Then, using clean clippers or even just your fingertips, snip off the very top of the main stem, taking off about 3 to 4 inches. Make your cut just above a set of leaves.
I know, it feels brutal to cut the top off your new plant! But what you're doing is removing the main growth tip. The plant's response is to redirect its energy and send out two new stems from the spot just below your cut. You're basically trading one future flower for two or more, creating a multi-branched plant that will churn out flowers all season.
5 Common Zinnia Problems and How to Solve Them
Even the most seasoned gardeners run into trouble now and then. While zinnias are workhorses in the garden, they aren't completely bulletproof. The good news is that most of the common zinnia woes are easy to fix if you catch them early.
Let's walk through the top five challenges you might face when growing zinnias from zinnia seeds. Think of this as your go-to guide for keeping those blooms coming all season long.
1. The Dreaded Powdery Mildew
If there's one issue that plagues zinnia lovers, it's this one. You'll spot it as a white, dusty film on the leaves, like someone sprinkled them with flour. If you let it go, it’ll spread, turning leaves yellow and brown until they eventually wither.
This is a fungal disease that absolutely loves high humidity and crowded conditions where air can't move. Some of the newer zinnia varieties are bred for great resistance, but many beloved heirlooms can be real magnets for it.
How to Fight Back:
- Give Them Space: Good airflow is your best friend. When you thin your seedlings, don't skimp on spacing. This is the single most effective way to prevent mildew from ever starting.
- Water the Soil, Not the Leaves: Fungal spores need wet leaves to thrive. Always water at the base of the plant.
- Try an Organic Spray: If you see the first signs of white dust, act fast. Mix one tablespoon of baking soda and a half teaspoon of liquid soap into a gallon of water. A weekly spray can stop the spread.
2. Unwanted Pests Chewing on Your Blooms
A few critters find zinnias as lovely as we do. The two you'll see most often are aphids and Japanese beetles. Aphids are tiny, soft-bodied insects that huddle on new growth, while Japanese beetles are shiny, metallic green bugs that can turn leaves and petals into lace in no time.
You'll know they've moved in when you spot the damage—chewed-up flowers or sticky, distorted leaves, which is a tell-tale sign of aphid "honeydew."
Before you reach for a chemical spray, try the simple stuff. A sharp blast of water from your hose is often all it takes to knock aphids off your plants. For Japanese beetles, the most satisfying solution is to go out in the cool of the morning, hand-pick them, and drop them into a bucket of soapy water.
3. Seedlings are Tall and Spindly
Did your indoor-sown seedlings shoot up into long, pale, and floppy stems? That's a classic case of being "leggy." This happens when they aren't getting enough strong, direct light. They're literally stretching themselves to exhaustion trying to find the sun.
Leggy seedlings are weak and often don't make it once they're planted outside. The fix is all about light.
Stopping the Stretch:
- Get the Light Right: A sunny windowsill just won't cut it. You need a grow light positioned just 2-3 inches above the tops of your seedlings.
- Mimic Summer Days: Keep that light on for 14-16 hours a day.
- Add a Little Breeze: A small fan blowing gently on your seedlings for a few hours a day will help strengthen their stems, preparing them for the real world.
4. Your Seeds Never Sprouted
It's one of the most frustrating feelings in gardening: you sow your seeds with high hopes, and... nothing. When zinnia seeds fail to germinate, it almost always comes down to one of three things: the soil was too cold, you planted them too deep, or you weren't consistent with watering.
Zinnia seeds need warmth to wake up from dormancy. They're looking for soil that's at least 70°F (21°C). Planting them in cool spring soil is a common mistake that often leads to them rotting. And if you bury them deeper than a quarter-inch, they might use up all their stored energy before they can reach the light.
5. Lots of Green Leaves, but No Flowers
Are your plants looking lush and healthy, but the flowers are nowhere to be seen? This is a classic "all leaves, no blooms" scenario. The culprit is usually a lack of sun or too much nitrogen.
Zinnias are sun-worshippers and need at least 6-8 hours of direct sunlight every day to get the energy they need to produce flowers. If they're shaded by a nearby tree or building, they'll put all their effort into growing leaves instead.
It could also be your fertilizer. A mix that's heavy on nitrogen will give you gorgeous green foliage but will discourage blooming. Check your fertilizer's N-P-K numbers and switch to a balanced formula or one with a higher middle number (phosphorus) to get the flower show started.
2 Common Questions About Zinnia Seeds Answered
Even though zinnias are some of the easiest flowers you can grow, a few questions always seem to come up. Let's tackle some of the common ones so you can get your seeds in the ground with confidence.
1. How Long Until Zinnia Seeds Sprout?
You won't have to wait long! Zinnias are eager to get started. When the soil is nice and warm—think 70-80°F (21-26°C)—you'll likely see the first little green shoots poking through in just 4 to 7 days.
If you've had a cool, damp spring and the soil is a bit chilly, it might take them a few extra days, but you should still see signs of life within 10 days or so. Their speedy germination is one of the most satisfying parts of growing them from seed.
A key tip from my own experience: consistent moisture is everything during this early stage. You want the soil to feel like a wrung-out sponge—damp, but never soggy. This gives your seeds the perfect conditions to wake up and grow.
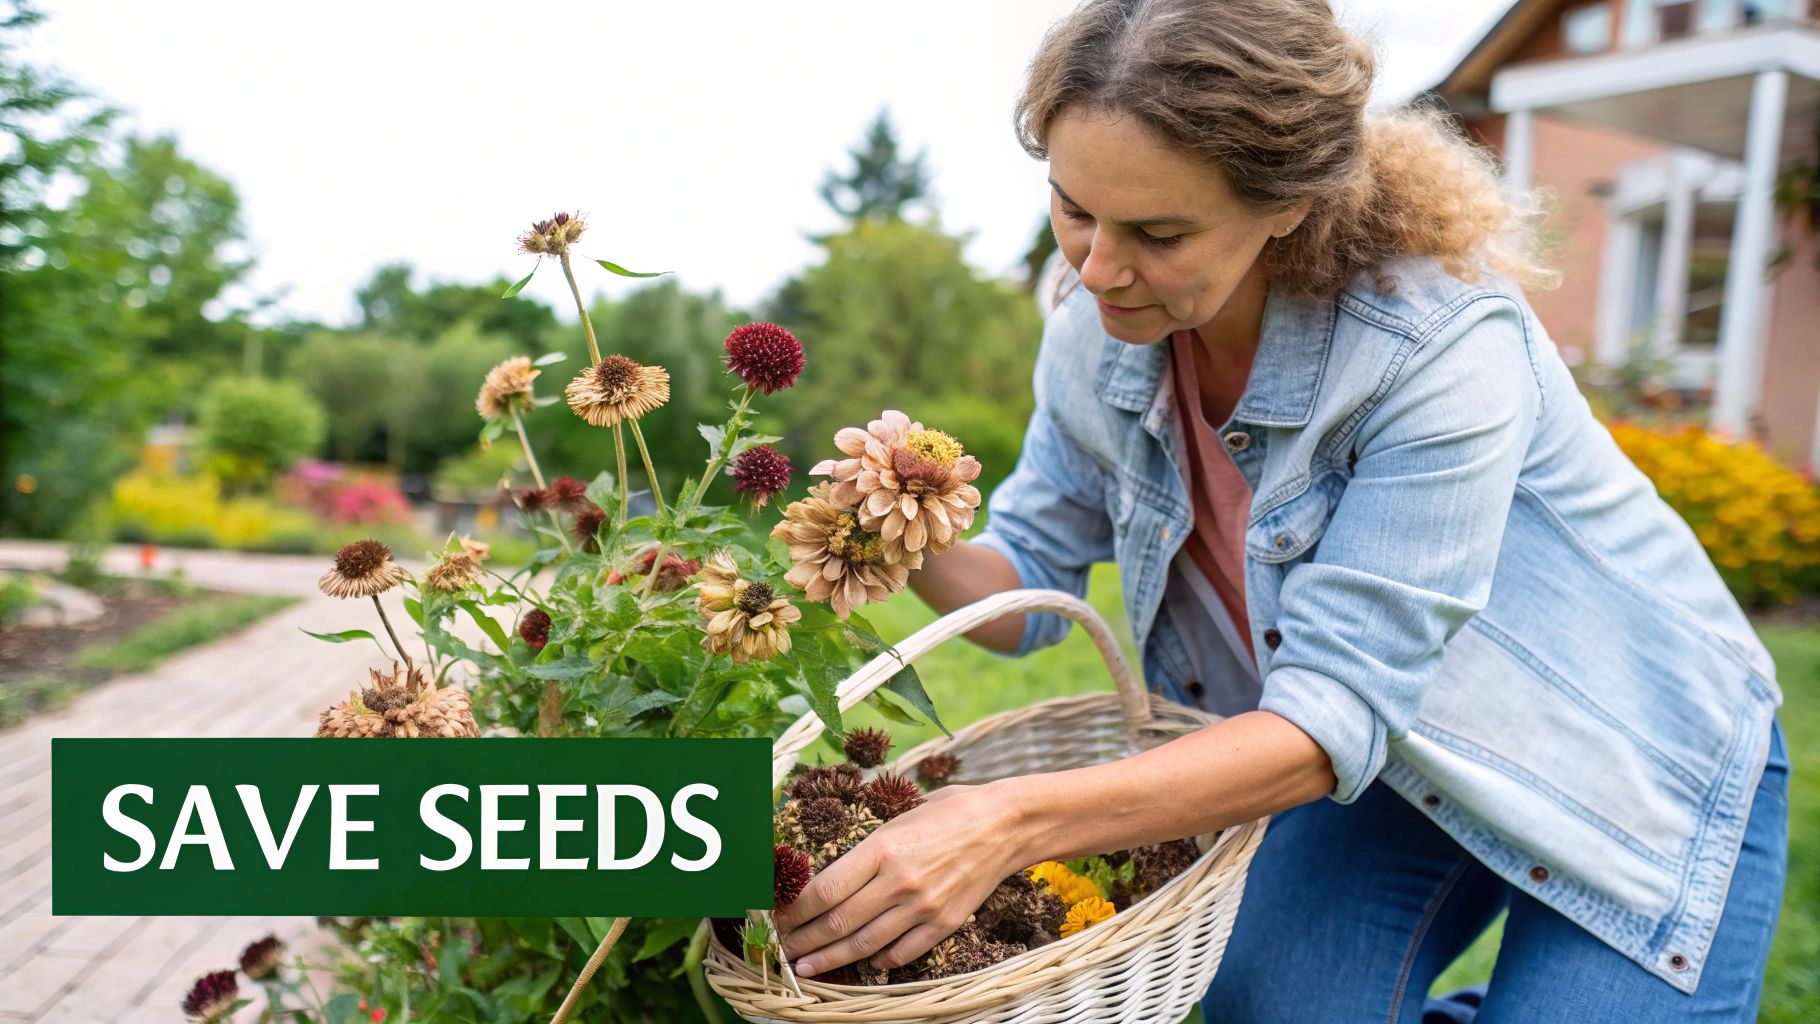
2. Can I Save Seeds for Next Year?
You bet! Saving zinnia seeds is one of my favorite end-of-season tasks. It's a fantastic, money-saving way to guarantee a garden full of your favorite blooms next year, and it couldn't be simpler.
Here's my method for harvesting them:
- Let the Blooms Dry: Near the end of the season, pick a few of your best-looking, healthiest flowers and just leave them on the plant. You want them to dry out completely right on the stem.
- Snip the Flower Head: Once the flower head is brown, brittle, and totally dry to the touch, it's ready. Snip it off.
- Break it Apart: Gently crumble the dried flower head over a paper plate or bowl. The arrowhead-shaped seeds are attached to the base of each petal. They'll fall right out.
- Store Them Safely: Let the seeds air-dry for another day or two just to be sure, then pop them into a labeled paper envelope. Store it somewhere cool, dark, and dry until next spring.
One thing to keep in mind: if you're growing hybrid varieties, the seeds you save might not produce flowers that look exactly like the parent plant. I actually think this is part of the fun—you never know what beautiful surprise you'll get!
Ready to get your own zinnia patch started? At Homegrown Garden, we have a huge selection of high-quality, heirloom zinnia seeds that will bring incredible color to your space. You can explore our zinnia collection and find everything you need for a stunning garden.

