


The secret to a fantastic tomato harvest really boils down to one simple rule of thumb: start your seeds indoors about 6 to 8 weeks before your area's last frost date. This timing is the sweet spot. It gives your seedlings enough time to grow strong and sturdy without becoming weak and overgrown before it's safe to plant them outside.
7 Essential Tips for Perfect Tomato Seed Timing
When it comes to tomatoes, timing is everything. Get it right, and you're setting yourself up for a summer full of juicy, homegrown fruit. That 6-to-8-week window is your golden ticket.
If you jump the gun and plant too early, you'll end up with "leggy" seedlings—tall, spindly plants that are too fragile to handle the move to the garden. Wait too long, and you're just cutting into your precious growing season, which means fewer ripe tomatoes later on.
This timeline gives you a great visual for mapping out your indoor seed-starting journey, from sowing the first seed to transplanting your healthy starts into the garden.
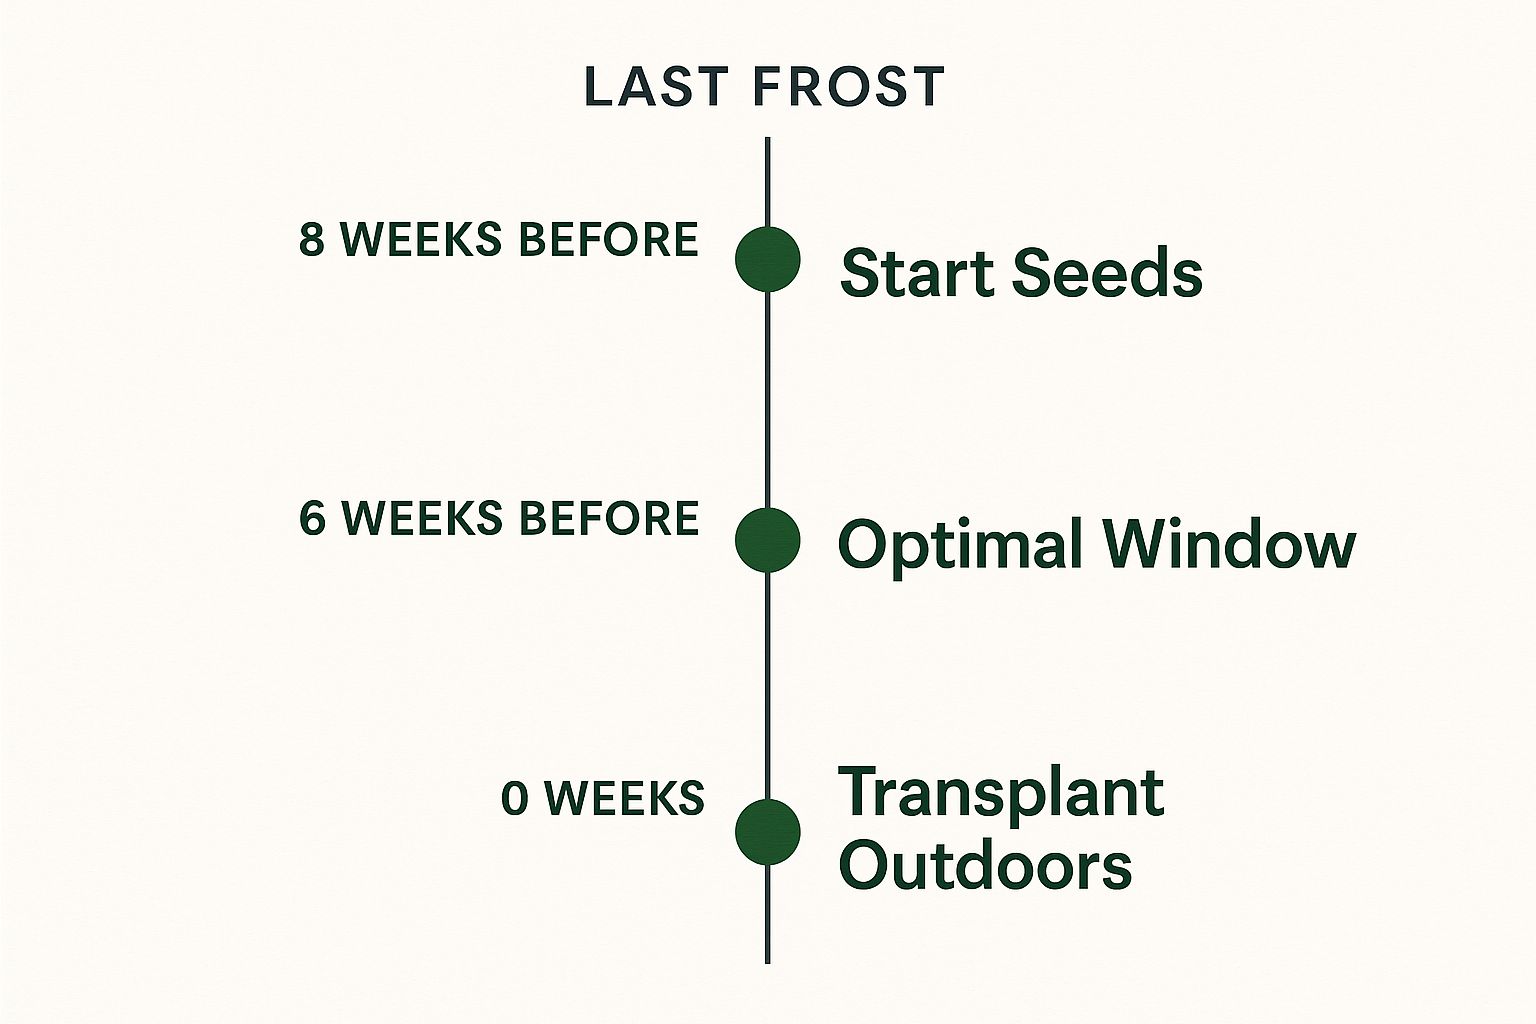
As you can see, the whole point is to have vibrant, well-developed seedlings ready to go right when the outdoor temperatures become reliably warm.
Tip 1: Understand Why the 6-to-8-Week Window Matters
That 6-to-8-week period isn't just an old gardener's tale; it's a proven method for getting the most out of your plants. In fact, studies show that tomato seedlings transplanted within this optimal timeframe produce, on average, a 25% higher yield than those planted later. It gives them the perfect head start to develop a robust root system, preparing them for explosive growth once they hit the garden soil.
The goal is to cultivate a stocky, healthy seedling that's eager to grow but not yet root-bound or stressed from sitting in a small pot for too long.
To give you a clearer picture, here’s a quick reference table. Just find your last frost date to see your ideal seed-starting window.
Quick Guide to Tomato Seed Starting Dates
| If Your Last Frost Date Is... | Start Tomato Seeds Indoors Between... |
|---|---|
| April 15 | February 18 - March 4 |
| May 1 | March 6 - March 20 |
| May 15 | March 20 - April 3 |
| June 1 | April 6 - April 20 |
This simple chart makes it easy to work backward from your local frost date and pinpoint the perfect time to get those seeds in soil.
Of course, timing is only part of the equation. Getting those seeds to sprout successfully also hinges on creating the right environment. Consistent soil temperature is absolutely critical. For a deep dive into the specifics, take a look at our guide on the ideal seed germination temperature chart to make sure your indoor setup is just right.
Tip 2: Pinpoint Your Local Last Frost Date
If there's one piece of information you absolutely need to know before starting your tomato seeds, it's your area's average last frost date. Seriously, this date is the starting pistol for your entire growing season. It's the key to knowing when you can safely move those precious tomato seedlings outdoors without a late-season freeze wiping them out.
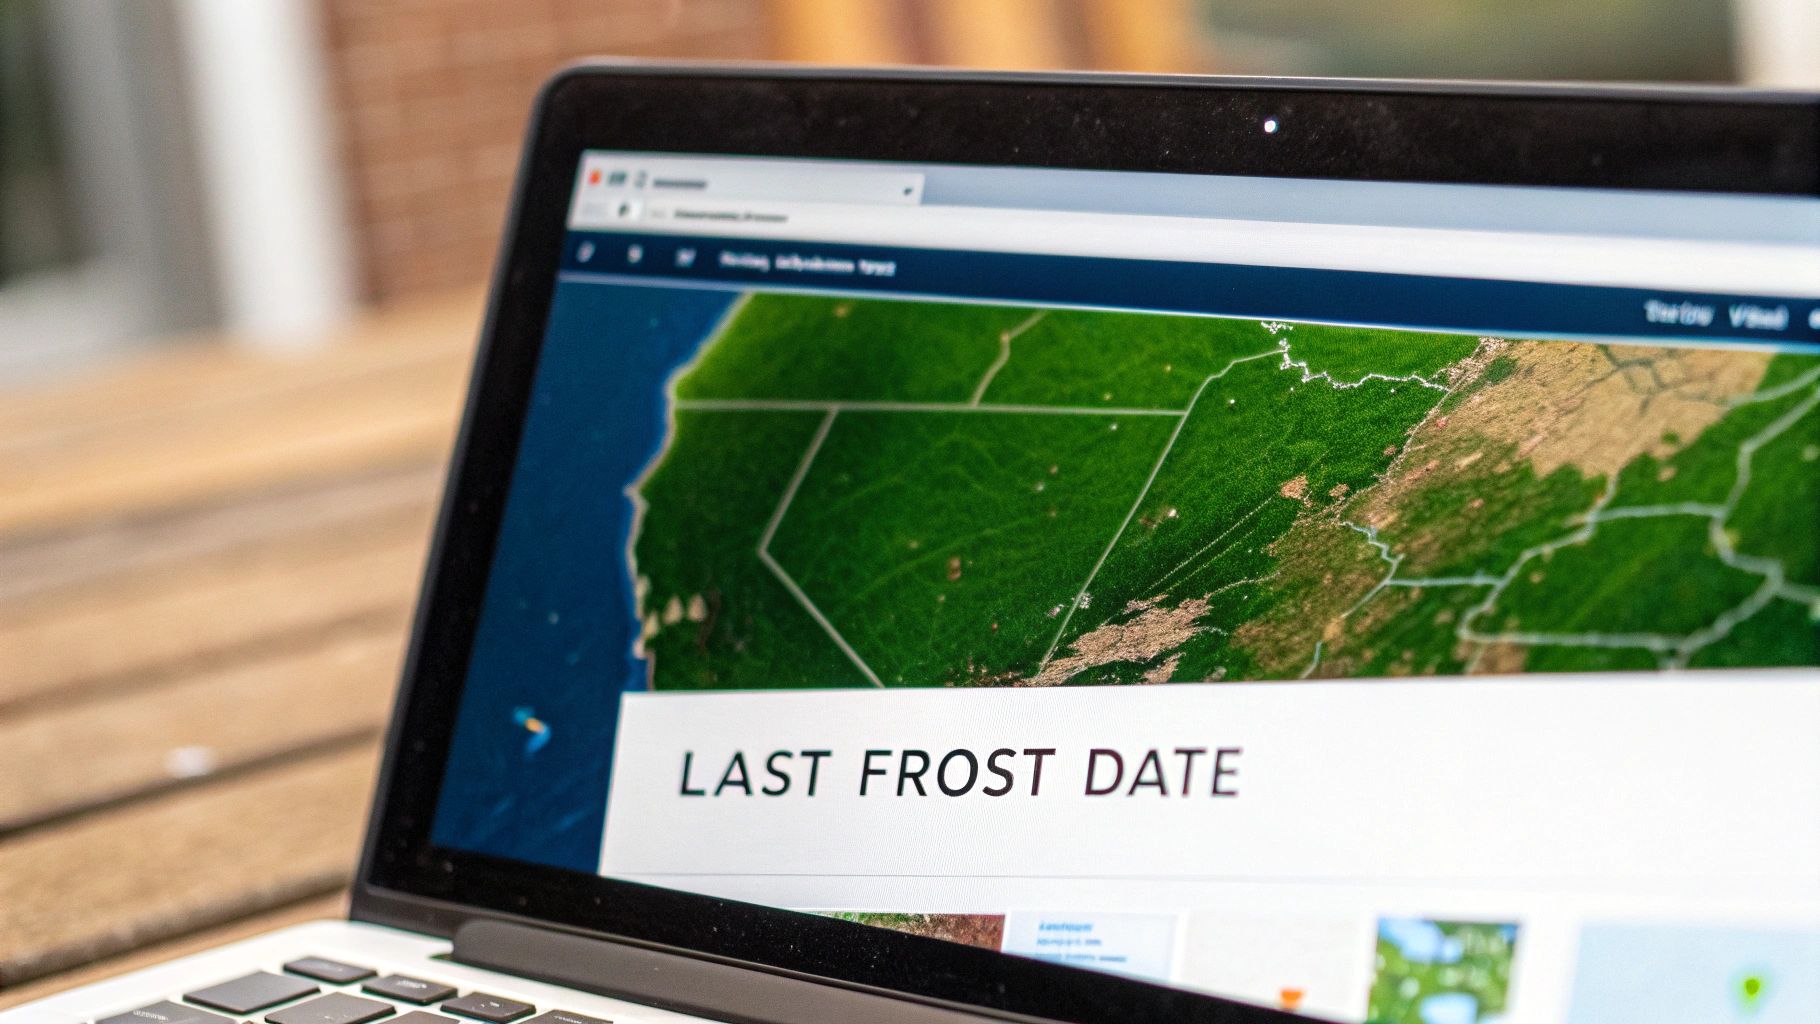
This isn't just some random day on the calendar. It's an average calculated from decades of local weather data, marking the last day temperatures are likely to hit that plant-killing mark of 32°F (0°C). Nailing this down for your specific garden is the bedrock of a successful tomato season.
Reliable Resources for Frost Dates
Thankfully, you don't have to be a meteorologist to figure this out. There are some fantastic online tools that do the heavy lifting for you, providing data that's way more accurate than a wild guess.
Here are a couple of my go-to resources:
- USDA Plant Hardiness Zone Map: This is a great place to start. It won't give you an exact date, but it tells you what climate zone you're in based on average winter lows. This gives you the big-picture context for your entire garden.
- Local Agricultural Extension Websites: These are gold mines of information. Run by universities, these sites offer incredibly reliable, hyper-local advice. Just search for something like "[Your State] agricultural extension frost dates," and you'll likely find detailed charts for your county.
Remember, the last frost date is a historical average, not a guarantee carved in stone. I always, always check the local 10-day forecast before even thinking about moving my seedlings outside. Mother Nature loves a good surprise.
The best strategy is to use these tools to create your plan and then use real-time weather forecasts to execute it. While we're talking about tomatoes here, the same logic applies to most of your other garden veggies. If you want to get the timing right for everything, check out our broader guide on when to plant vegetable seeds for a complete garden plan.
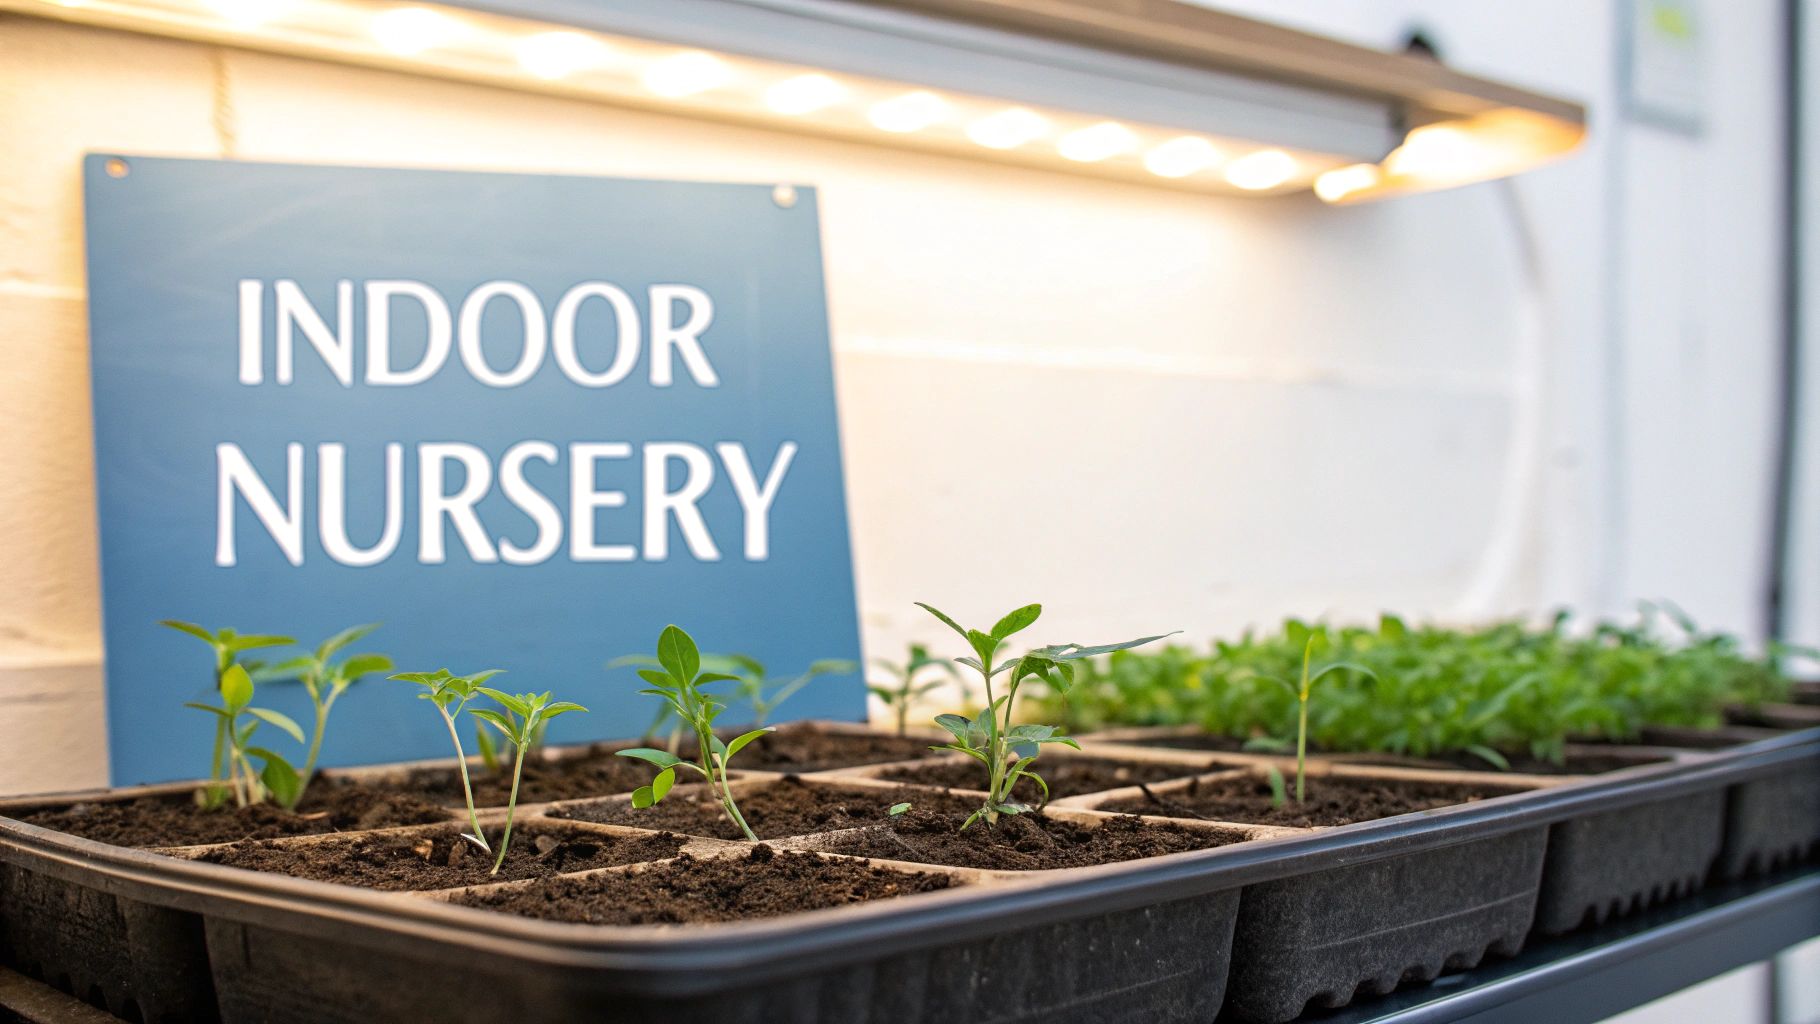
Tip 3: Create the Perfect Indoor Seed Nursery
Once you've got your planting dates marked on the calendar, it's time to create a cozy indoor space for your tomato seeds to get their start. This is the fun part—where tiny, dormant seeds wake up and begin their journey. Getting this initial environment right is the single best thing you can do to guarantee strong, healthy plants down the road.
First things first, let’s talk containers. You've got plenty of options, from classic plastic seed trays to biodegradable peat or cow pots. What you plant them in is far more important than the container itself. You absolutely must use a sterile, seed-starting mix.
Don't be tempted to scoop up soil from your garden or use standard potting mix. It's way too dense for delicate new roots and can harbor pathogens that cause "damping off," a fungal disease that's a death sentence for seedlings. A quality seed-starting mix is light, fluffy, and sterile, giving your seeds the perfect conditions to sprout.
Nailing the Light and Temperature
Tomatoes are heat lovers, right from the very beginning. For seeds to germinate reliably, the soil needs to be a consistent 70-80°F (21-27°C). Most of us don't keep our homes that warm, especially on a drafty windowsill. The easiest way to solve this is with a seedling heat mat placed right under your trays. It provides gentle, constant bottom heat that can seriously speed up germination.
As soon as you see those first little green sprouts, light becomes their number one need. Without intense, direct light, your seedlings will get "leggy"—long, pale, and weak as they stretch for the sun. A sunny window just won't cut it.
You'll need a dedicated grow light or even a simple fluorescent shop light. The key is to hang it just a few inches above the tops of the seedlings and leave it on for 12-16 hours a day. This encourages them to grow stout and strong, not tall and floppy.
Think of it like this: you're trying to replicate a perfect day in late spring. The soil is warm from below, and the sun is bright and directly overhead. This combination is the secret to growing stocky, garden-ready transplants.
Watering requires a gentle touch. You want the soil to stay moist but never soggy, sort of like a well-wrung-out sponge. Overwatering is probably the most common rookie mistake, and it can quickly suffocate roots or invite disease. I find that using a simple spray bottle to mist the soil surface is perfect for keeping things damp without washing the seeds away.
The practice of starting seeds indoors comes from the world of protected cultivation, where growers use greenhouses to get a jump on the season. This same principle allows home gardeners to extend their harvest. For a complete walkthrough on putting all the pieces together, check out our guide to building the perfect indoor seed starting setup.
Tip 4: Learn from Global Planting Schedules
While the basic rules for starting tomato seeds are pretty universal, the actual dates on the calendar are all over the map. Looking at how people do it around the world is a great way to see the "count back from frost" method in action across wildly different climates.
It really drives home the point that both commercial growers and backyard gardeners are playing the same game, just on different fields. Their experiences prove that being a good observer is just as critical as following any formula.
Learning From the World's Biggest Growers
If you want some real-world insight, look no further than the top tomato-producing countries. Their entire operations hinge on perfect timing to maximize every harvest and get their crops to market. We can definitely borrow a few clues from their playbooks.
Let’s look at a few examples:
- China: As the world's largest producer, they manage tomatoes across an estimated 1.11 million hectares. They don’t have one planting date; they use staggered schedules to work with their incredibly diverse climate zones.
- India: Here, farmers often start their seeds around December and January. This lines them up perfectly for transplanting into the fields in February and March, right as conditions become ideal.
- United States: Producing about 12.6 million tons, most American growers get their seeds going in late winter. This gives the seedlings plenty of time to get strong before being planted out in spring.
You can dive deeper into these global tomato production statistics on lianshouseeds.com. Each country’s schedule is fine-tuned to its regional weather, which is the secret to their massive yields.
The key takeaway from these agricultural giants is simple but powerful: successful tomato growing is about working with your climate, not against it. They don’t fight the seasons; they anticipate them.
This worldwide view confirms there’s no magic "one-size-fits-all" date to plant your tomatoes. Success comes from knowing your own backyard—your last frost date, your average spring temperatures, and the length of your growing season.
When you start paying attention to those local cues, you’re using the same core principles as the biggest growers on the planet. It’s the surest way to give your plants the head start they need for a fantastic harvest.
Tip 5: Avoid Common Seed Starting Mistakes
Timing is everything when starting tomato seeds, but even with the perfect schedule, a few simple mistakes can set you back. We’ve all been there. It's easy to get tripped up, but once you know what to look for, these common pitfalls are surprisingly easy to sidestep.

The biggest temptation, especially after a long winter, is starting your seeds too early. It feels like you’re getting a head start, right? The problem is, sowing seeds nine or ten weeks before your last frost date often leads to root-bound seedlings. These poor plants get stressed and cramped in their little starter pots, and when you finally move them outside, they can struggle for weeks just to recover.
Of course, the opposite is also true. Waiting too long puts you behind the eight ball. If you only start your seeds four weeks before it's time to plant them out, they'll be tiny. That delay eats into your precious harvesting season and ultimately means fewer ripe, juicy tomatoes for you to enjoy.
Sidestepping Common Seedling Setbacks
Beyond just timing, a few other issues consistently trip up gardeners. The key to raising strong seedlings indoors is to create an environment that mimics their ideal outdoor world, and it's the little details that count. For example, it's so easy to kill your seedlings with kindness by overwatering them.
Soil that's constantly saturated is a death sentence for young roots. It not only suffocates them but also creates the perfect environment for damping off—a nasty fungal disease that can wipe out an entire tray of seedlings seemingly overnight.
Keep an eye out for these frequent mistakes:
- Inadequate Light: A sunny windowsill almost never cuts it. Seedlings need 12-16 hours of strong, direct light from a grow light to thrive. Without it, they'll become weak and "leggy" as they stretch desperately toward the nearest window.
- Overwatering Tender Roots: The goal is soil that feels like a wrung-out sponge—consistently moist, but never soggy. Let the top of the soil dry out just a bit between waterings. This encourages strong root growth.
- Skipping the Hardening Off Process: This might be the most crucial step of all. You can't just take a seedling from your warm, stable home and toss it into the great outdoors. The shock from the sun, wind, and temperature swings can burn their leaves or even kill them.
Hardening off is non-negotiable. This simple process of gradually introducing your plants to the outdoors over 7-14 days helps them acclimate to real-world conditions. It's the single best thing you can do to ensure a smooth, successful transition into the garden.
Tip 6: Know the Answers to Common Questions
Even the most seasoned gardeners run into a few questions when it's time to get those tomato seeds in the soil. Let's tackle some of the most common ones I hear, because getting these details right can make all the difference come harvest time.
Can I Just Plant My Tomato Seeds Straight in the Garden?
Technically, yes, you can. But for most of us, it's a huge gamble. Direct sowing really only works if you live somewhere with a super long, reliably warm growing season.
For everyone else, starting seeds indoors is the way to go. It gives your tomatoes the critical head start they need to grow, mature, and give you a full harvest before that first fall frost rolls in. If you wait to plant seeds outside, the soil needs to be at least 60°F (15°C), and that delay can seriously cut into your harvest window.
Why Do My Tomato Seedlings Look So Tall and Spindly?
Ah, the classic "leggy" seedling. This is almost always a cry for more light. When seedlings don't get enough bright light, they stretch and stretch, desperately reaching for a source. This leads to long, weak stems that are prone to breaking.
The solution is pretty simple: your seedlings need a solid 12-16 hours of bright, direct light every day. You don't need a fancy setup; a basic shop light or an LED grow light positioned just a couple of inches above the plants will give them what they need to grow strong and sturdy.
Tip 7: Don't Skip "Hardening Off"
Hardening off is a make-or-break step you can't afford to skip. It’s the process of gradually getting your cozy, indoor-grown seedlings used to the great outdoors. Think of it like boot camp for your baby plants.
Seedlings started inside are accustomed to stable temperatures and zero wind. Tossing them straight into the garden is a recipe for shock, which can look like scorched leaves, wind-battered stems, or worse. To harden them off, you'll take them outside for a few hours a day, slowly increasing the time over a 7-14 day period. After that, they’ll be tough enough to handle being transplanted into their permanent spot.
At Homegrown Garden, we know that a great garden begins with quality seeds and a little bit of know-how. Find your new favorite heirloom varieties and get ready to grow at https://www.homegrown-garden.com.

