


There’s something uniquely satisfying about growing collard greens right from the seed. It’s a simple process that connects you to a deep-rooted gardening tradition, putting you in charge of everything from the variety you choose to the final harvest. It's a perfect project for any gardener, no matter how much experience you have.
3 Big Reasons You Should Grow Collard Greens from Seed

Before you even touch a trowel, let’s talk about why starting with a tiny seed is one of the best things you can do as a gardener. It’s more than just a planting method; it’s an empowering way to grow that you just don't get when buying seedlings from a nursery.
Watching that dormant seed push through the soil, unfold its first true leaves, and grow into a full-sized plant is incredibly rewarding. You're not just gardening; you're nurturing life from the very beginning, and there's a real sense of accomplishment in that.
1. Complete Control and Incredible Variety
When you start with seeds, you’re the boss. You decide when to plant, what kind of soil to use, and exactly how you want to handle pests or fertilize your plants. This is a huge plus for anyone who wants to know precisely what goes into their food.
But the real magic is the variety. Your local garden center might have one or two types of collards, but the world of seeds is enormous. You can find amazing heirloom varieties with unique flavors, textures, and fascinating histories.
- Access to Heirlooms: Get your hands on varieties that have been passed down for generations, each with its own story.
- Explore Different Flavors: Find collards that are sweeter, more tender, or have a much richer taste than what you'll find at the grocery store.
- Adapt to Your Climate: Pick seeds from plants that are known to thrive in your specific region, whether you've got scorching summers or a short growing season.
For instance, you could try a classic like the Vates Collard, which is famous for being slow to bolt and tough enough to handle a frost. The point is, you get to tailor the whole experience to your garden and your tastes.
Growing from seed is the ultimate act of garden independence. It frees you from the limitations of commercial nurseries and connects you directly to the agricultural heritage of the food you eat.
2. A Rich History and Rising Popularity
Collard greens aren't just another leafy vegetable; they're a piece of living history. Closely related to cabbage and kale, they’ve been a staple food for centuries, valued for their toughness and nutritional punch in cuisines all over the world.
And they’re more popular than ever. In 2023, global production hit around 125.65 billion kilograms, a massive increase that shows just how much demand for this hardy green is growing. You can dig into these production trends on Tridge, a platform for global agriculture data. By planting these seeds, you're taking part in a tradition that’s both ancient and very much alive today.
From Seed to Supper: Your 11-Step Guide to a Bountiful Collard Harvest
Think of this as a complete roadmap, taking you from a humble packet of seeds to a basket overflowing with fresh, homegrown greens. We've broken down the entire journey into 11 practical steps, each one packed with the kind of hands-on advice you need to make every decision with confidence. Let's get growing.
Step 1: Pick Your Collard Variety
This is where the fun begins. When you start from seed, you're not limited to the one or two generic types you might find at a big-box nursery. Suddenly, a whole world of flavor, texture, and history opens up. You can choose a variety that’s perfectly suited to your climate, your cooking style, or just your curiosity.
- Georgia Southern: This is the tried-and-true classic for a reason. It's a dependable heirloom with big, tender leaves and fantastic heat tolerance, making it a go-to for gardeners in warmer regions.
- Vates: I often recommend this one because it's such a workhorse. Vates plants are more compact, incredibly slow to bolt (go to flower), and can handle both heat and cold with ease. It's about as versatile as they come.
- Champion: A newer variety developed from Vates, it offers even better bolt resistance and produces beautiful, uniform, deep green leaves. A really solid performer.
Don't forget to look into local heirloom varieties, too. You might just stumble upon a regional gem that has been passed down for generations because it thrives right where you live.
Before we dive deeper, here's a quick look at some popular collard green varieties to help you find the perfect match for your garden.
4 Popular Collard Green Varieties to Try
| Variety Name | Days to Maturity | Key Features (e.g., heat tolerance, flavor) | Best For |
|---|---|---|---|
| Georgia Southern | 75 days | Excellent heat tolerance, large tender leaves, classic flavor | Southern gardens and hot climates |
| Vates | 75 days | Slow to bolt, compact growth, cold and heat tolerant | Gardeners wanting a long harvest season |
| Champion | 78 days | Very bolt-resistant, uniform growth, deep green color | Anyone who's had trouble with bolting |
| Morris Heading | 80 days | Forms a loose head, cabbage-like texture, frost-hardy | Cooler climates and those who like a denser green |
Choosing the right seed is the first step, but it sets the stage for everything that follows. Now, let's get them in the ground.
Step 2: Get Your Timing Right
Collards are a cool-season crop through and through. Their flavor peaks when they mature in crisp weather—a light frost actually makes them sweeter by concentrating the sugars in their leaves. Your planting schedule really boils down to your local climate and whether you're aiming for a spring or fall harvest.
For a spring or early summer harvest, you’ll want to get your seeds in the ground as soon as the soil is workable. A good rule of thumb is 2 to 4 weeks before your last expected frost date.
For a sweeter, more flavorful fall harvest, the goal is to plant in late summer. This allows the plants to mature as the temperatures begin to drop. Just count back about 6 to 8 weeks from your first predicted fall frost to find your perfect planting window.
A Little Gardener's Wisdom: Most seasoned gardeners, myself included, will tell you that a fall harvest is superior. The cooler weather means fewer pests like cabbage worms, and the flavor is undeniably richer and sweeter.
Step 3: Prep Your Soil for Success
Collards are hungry plants. They're what we call "heavy feeders," so giving them a rich, fertile foundation is non-negotiable if you want a big, leafy crop. They do best in soil with a pH between 6.5 and 7.5.
Before you even think about planting, work a generous amount of organic matter into your garden bed. A few inches of well-rotted compost or aged manure tilled into the top 6-8 inches of soil will do wonders. This not only provides essential nutrients but also improves drainage and soil structure, which is key to preventing root rot.
Step 4: Give Your Seeds an Indoor Head Start
Starting seeds indoors is a fantastic strategy, especially if you have a short growing season. It gives your plants a crucial jump on the season. Plan to get this process going about 4 to 6 weeks before your last spring frost.
Fill some seed starting trays or small pots with a sterile seed-starting mix. Pop one or two seeds in each cell, about a quarter-inch deep. Keep the soil consistently moist (but not soggy!) and find a warm spot—around 70°F (21°C) is ideal—to get them to sprout.
Step 5: Go Straight to the Garden with Direct Sowing
If you'd rather keep things simple, you can sow your collard seeds directly into the garden bed. This works perfectly for both spring and fall plantings, just as long as your soil has warmed up to at least 45°F (7°C).
Plant the seeds about a half-inch deep, spacing them an inch or two apart in your rows. Gently cover them with soil, pat it down, and give them a good drink of water. The big advantage here is that the plants establish a strong root system from the get-go, without the stress of being transplanted.
Step 6: Transplant Seedlings Without the Shock
Once your indoor-started seedlings have at least two sets of true leaves and the danger of a hard frost is gone, it's time to move them to their permanent home. But first, you have to "harden them off." This just means getting them used to the great outdoors over 7 to 10 days by gradually increasing their exposure to sun and wind.
When you're ready to plant, handle the seedlings by their leaves, not their fragile stems. Set them in the ground at the same depth they were in their containers and water them in well to help settle the soil around their roots.
Step 7: Thin Your Plants for Better Growth
This might be the hardest part for some gardeners, but it’s one of the most important. To grow big, healthy collard plants, you have to give them space. Crowded plants will just compete for light, water, and nutrients, resulting in a weak, stunted harvest.
Once your direct-sown seedlings are a few inches tall, it's time to thin them out. Go through and carefully remove the weaker seedlings, leaving the strongest ones spaced about 18 to 24 inches apart. It feels tough, but this single step ensures the remaining plants have the room they need to thrive.
Step 8: Nail the Watering and Feeding Routine
To get those tender, delicious leaves, collards need consistent moisture. You should aim for about 1 to 1.5 inches of water per week, whether that comes from rain or your hose. I'm a big fan of using a soaker hose or drip irrigation—it delivers water right to the roots and keeps the leaves dry, which helps prevent disease.
About a month after you've transplanted or thinned your plants, it's a good idea to give them a little boost. A side-dressing of compost or a shot of a nitrogen-rich liquid fertilizer, like fish emulsion, will encourage that vigorous leafy growth you're looking for.
Step 9: Keep Pests Away the Natural Way
Like their cousins in the cabbage family, collards can attract a few common pests. The ones you'll see most often are cabbage worms (those little green caterpillars) and aphids.
Luckily, you don't have to resort to harsh chemicals. Floating row covers are a simple physical barrier that can stop pests from laying eggs on your plants in the first place. You can also just hand-pick the cabbage worms off, or for a bigger problem, use a product containing Bacillus thuringiensis (Bt), a naturally occurring bacteria that’s harmless to us but effective against caterpillars.
Step 10: Harvest for a Never-Ending Supply
Here’s the best part: the long harvest season. You can start picking leaves as soon as they’re big enough to eat, which is usually around 50-60 days after planting.
The trick is to use the "cut-and-come-again" method. Simply harvest the larger, outer leaves from the bottom of the plant, and leave the smaller inner leaves and the central growing point alone. This encourages the plant to keep producing new leaves from the center for weeks, sometimes even months.
Step 11: Save Your Seeds for Next Year's Garden
If you're growing an open-pollinated or heirloom variety, you can bring your gardening journey full circle by saving your own seeds. Collards are biennials, which means they produce seeds in their second year. To do this, you'll need to leave a few of your healthiest plants in the garden over the winter.
Come spring, they'll shoot up tall flower stalks with bright yellow blooms. Once the flowers fade and the seed pods that form have turned brown and dry, you can cut the stalks. Let them dry completely in a sheltered spot before breaking open the pods to collect the seeds. Now you're all set for next season
Starting Indoors vs. Direct Sowing: 2 Great Methods to Choose From
One of the first big decisions you'll make is where to plant your collard seeds. Will you give them a pampered start indoors or sow them straight into the garden soil? Honestly, both methods work great for collards, but the right choice for you really boils down to your climate, your timeline, and how you like to garden.
This simple graphic breaks down the journey: good soil, proper sowing, and a timely harvest. That’s the core of it.
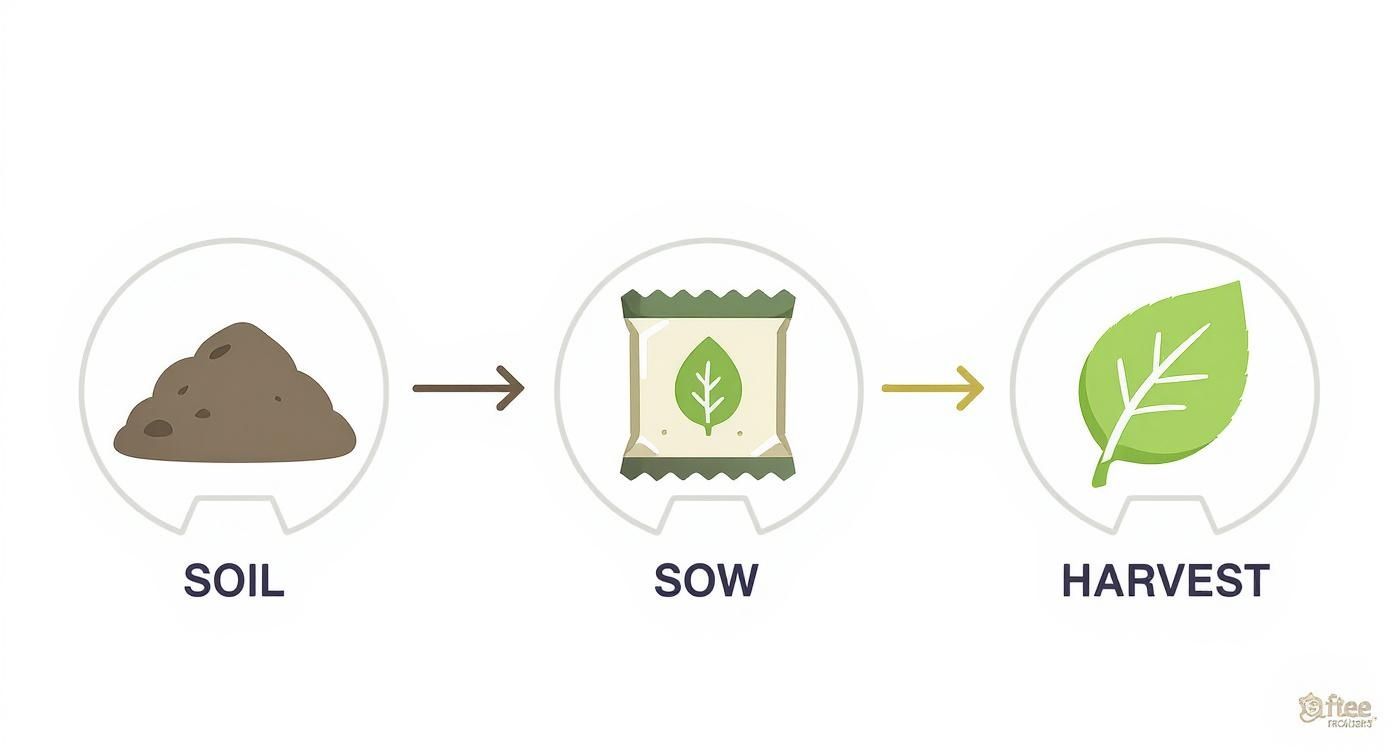
No matter where you begin, success starts with a strong foundation.
Method 1: The Case for Starting Seeds Indoors
Think of starting seeds indoors as giving your collards a head start on life. This is my go-to method, especially here where the spring can be unpredictable. If you have a short growing season, this is absolutely the way to go.
By starting seeds inside about 4 to 6 weeks before your last expected frost, you’ll have strong, healthy seedlings ready to transplant the moment the weather cooperates. You're basically creating a controlled environment, protecting those tender sprouts from harsh spring winds, hungry birds, and pests.
You don't need a fancy setup. A few simple items will do the trick:
- Containers: Seed trays, peat pots, or even old yogurt cups with holes punched in the bottom work perfectly.
- Soil Mix: Always use a sterile, lightweight seed-starting mix. This is crucial for preventing "damping off," a fungal disease that can wipe out your seedlings overnight.
- Light: A sunny, south-facing window can work in a pinch. But for the best results—strong, stocky plants that won't get leggy—a simple shop light or LED grow light kept just a few inches above the seedlings is ideal.
A critical step many beginners miss is "hardening off." Once your seedlings have two sets of true leaves, you must gradually acclimate them to the outdoors over 7-10 days. Rushing this can lead to shock, stunting their growth or even killing them.
If you want to nail this technique for all your veggies, we've put together more tips for starting seeds indoors that walk you through the whole process.
Method 2: Why Direct Sowing Is a Simple and Effective Choice
Direct sowing—planting seeds right where they'll grow—is as straightforward as it gets. It’s a fantastic, low-fuss option if you live somewhere with a longer growing season. The biggest advantage here is that the plants establish their roots in their permanent home from day one, which means zero transplant shock.
Without that disruption, you often get incredibly vigorous and resilient plants. Collards are tough; their seeds will germinate in soil as cool as 45°F (7°C), making this a great choice for both spring and fall crops.
When you direct sow, plant your seeds about a half-inch deep and an inch or so apart. Once they pop up and are a few inches tall, you’ll have to thin them out to a final spacing of about 18 inches apart. It can feel ruthless, but this gives each plant the room it needs to grow big and leafy.
Which of the 2 Methods Should You Choose?
So, what's the verdict? It really depends on your garden and your goals. Here’s a quick breakdown to help you decide.
| Factor | Starting Indoors | Direct Sowing |
|---|---|---|
| Best For | Short seasons or getting a jump on the spring harvest. | Gardeners in mild climates or those planting for fall. |
| Control | You control everything: temperature, water, and light. | You're at the mercy of weather, pests, and soil conditions. |
| Effort | More upfront work with trays, lights, and hardening off. | Super simple: just plant, water, and thin. |
| Transplant Shock | A real risk if you don't harden seedlings off properly. | No risk at all. Roots grow strong and undisturbed. |
For a lot of us, a hybrid approach is the sweet spot. I often start my first spring crop indoors to get an early harvest, then direct sow a second round in late summer for a fall crop that gets even tastier after a light frost. Give both methods a try and see what works best in your own backyard.
3 Common Collard Seedling Problems (and How to Fix Them)
https://www.youtube.com/embed/MCra1u59gBY
Even with the most careful planning, seedlings can be a bit fussy. If you’re just getting the hang of growing collard greens from seed, hitting a snag can feel like a major setback. But don’t throw in the towel—most of these early issues are simple to diagnose and fix. In fact, learning to read your plants' signals is one of the most valuable skills a gardener can have.
Think of your seedlings as newborns. They have very specific needs for light, water, and food. When something is off, they'll let you know. Here’s how to decipher their cries for help and get them back on track.
1. Why Didn't My Seeds Sprout?
You planted everything perfectly, but after a week or more, your seed trays are still just trays of dirt. If it's been more than 10 days with no action, it’s time to play detective. A failure to germinate usually comes down to one of a few common culprits.
First, take the soil's temperature. Collards are cool-weather crops, but their seeds still need a bit of warmth to wake up—at least 45°F (7°C). If you jumped the gun on spring planting, the ground might just be too chilly. Planting depth is another critical factor. Seeds buried deeper than a half-inch can run out of steam before they ever reach the sunlight.
Consistent moisture is the other big piece of the puzzle. The soil needs to stay damp like a well-wrung sponge, but never soggy. If the soil dries out completely, even for an afternoon, the germination process can stall for good. On the flip side, waterlogged soil will rot the seeds before they ever get a chance to sprout.
Gardener's Tip: Worried your old seed packet is a dud? Do a quick viability test. Fold ten seeds into a damp paper towel, pop it in a plastic bag, and leave it somewhere warm. If you don't have at least five or six sprouts after a week, it’s probably time to buy fresh seeds.
2. What to Do About Tall, Spindly Seedlings
Are your seedlings shooting up with long, pale, and weak-looking stems? This is a classic sign of etiolation, a fancy word for what gardeners simply call "leggy" growth. It’s a desperate, frantic stretch toward the light.
This problem almost exclusively plagues seeds started indoors. That sunny spot on the windowsill might look bright to you, but for a tiny plant, it’s often not enough. The light is too weak and comes from only one direction, causing the seedling to strain.
The fix is to give them a much more intense and direct light source from above.
- Lower Your Grow Lights: Position your light source just 2-3 inches above the tops of the seedlings. This gives them all the light they need without having to stretch for it.
- Extend the "Daylight" Hours: Keep the lights on for 14-16 hours a day. A simple outlet timer makes this a set-it-and-forget-it task.
- Introduce a Gentle Breeze: A small fan set on low and aimed at your trays for a couple of hours a day works wonders. The movement forces the stems to grow thicker and stronger.
3. Why Are My Seedling Leaves Turning Yellow?
Yellowing leaves are a universal sign of plant stress. To figure out the cause, you need to look at which leaves are turning yellow.
If the very first two little leaves (the cotyledons) turn yellow and drop off after the plant has grown its first "true" leaves, don't panic! This is perfectly normal. The plant is just shedding its baby leaves now that it has a better set.
However, if the new, true leaves are the ones turning yellow, it's a clear signal of a problem—usually with water or nutrients. Overwatering is the number one offender. Soaked soil chokes the roots, making it impossible for them to absorb nutrients. Make sure your pots have good drainage, and always let the top inch of soil dry out before watering again. If you’re confident your watering is on point, the issue might be a lack of food. Most seed-starting mixes are pretty sterile. A very weak, half-strength dose of a liquid fertilizer high in nitrogen will usually green them right up.
Growing Abundant Collards in Containers: 2 Key Steps
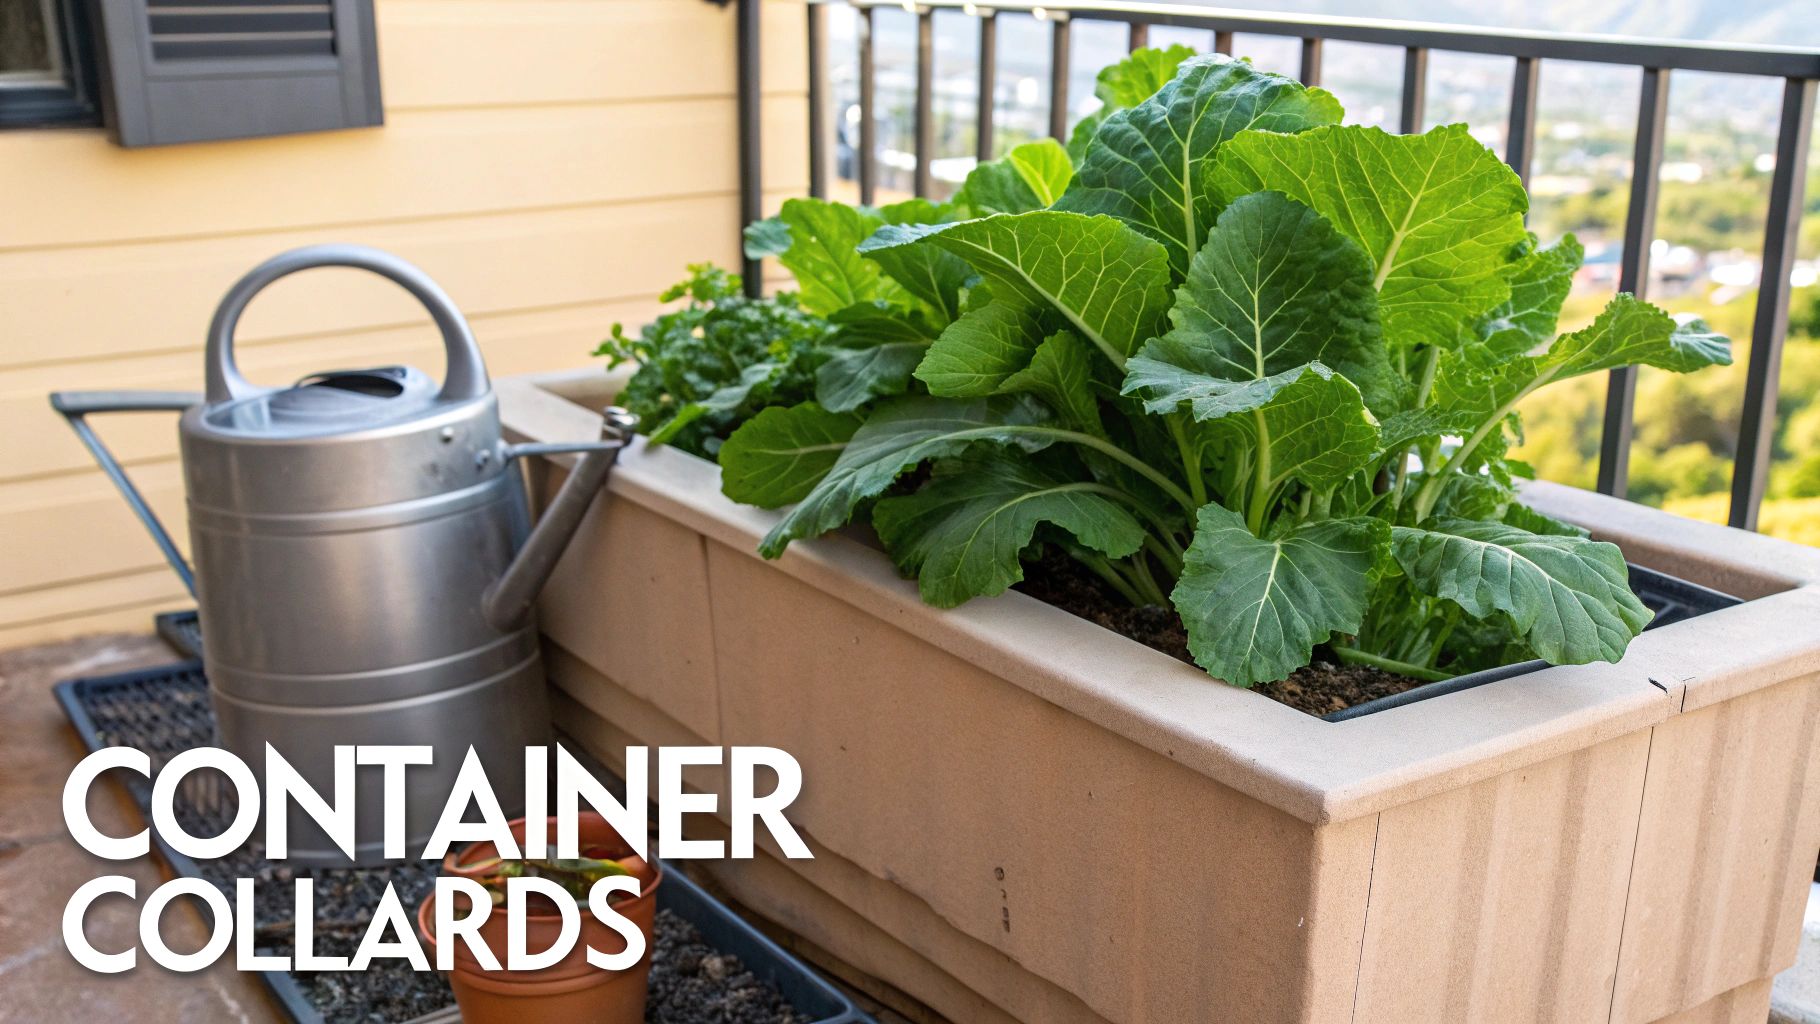
Don't have a sprawling backyard? Don't worry. You can absolutely grow a fantastic crop of collards on a patio, balcony, or any sunny little corner you can find. Container gardening brings the harvest right to your doorstep.
Think of a container as a self-contained ecosystem. You're in complete control of the soil, water, and nutrients. This is great, but it also means your plants are totally dependent on you to get it right.
1. The Perfect Container Setup
Getting started with collard greens in pots is pretty straightforward once you nail the setup. Success really comes down to a few key decisions you make before a single seed ever touches the soil.
First things first: choose a large enough container. A single collard plant develops a surprisingly hefty root system and needs its space. From my experience, a pot that's at least 5 gallons in volume and 10-12 inches deep is the sweet spot. This gives the roots plenty of room to grow and holds enough soil to avoid drying out too quickly.
Next up is the soil. Whatever you do, don't just scoop up dirt from your yard. Garden soil becomes a dense, compacted brick in a pot, which suffocates roots and kills drainage. You need a high-quality potting mix designed for containers. Look for a blend with ingredients like peat moss, perlite, and compost—this creates a light, fluffy medium that holds moisture but still drains well.
A great container setup gives your collards the best of both worlds: a steady supply of moisture and nutrients without the risk of waterlogged roots. This is the single biggest hurdle for new container gardeners to overcome.
2. Tailored Care for Potted Plants
Plants in pots live by a different set of rules than those in the ground. Their soil dries out much, much faster, especially on hot or windy days. You’ll need to be on top of your watering game.
Make it a habit to check the soil daily. Just stick your finger about an inch deep. If it feels dry at your fingertip, it’s time to give it a good, deep drink. Water until you see it running out of the drainage holes at the bottom—that’s how you know you’ve saturated the entire root ball.
Feeding is also a bigger deal in containers. Every time you water, you're washing a small amount of nutrients out of the pot. To keep your collards producing those big, lush leaves, you have to put those nutrients back in.
- The Initial Boost: When you're filling your pot, mix a slow-release granular fertilizer right into the potting mix.
- Ongoing Nutrition: About a month after the seedlings pop up, start feeding them with a balanced liquid fertilizer (fish emulsion is a fantastic choice) every 2-3 weeks.
This one-two punch provides the steady diet of nitrogen that collards crave for vigorous growth. For a deeper dive, check out our complete guide to container gardening tips for more strategies on managing a thriving portable garden.
Growing on a small scale is also a great way to connect with sustainable practices. It’s interesting to see how choices matter, even on a large scale. Research on commercial collard farming shows that total greenhouse gas emissions can range from about 3,485 to 8,587 kilograms of CO2 equivalent per hectare, all depending on the specific methods used. You can read the full research on crop cultivation emissions to learn more. It’s a good reminder that even our small, thoughtful gardening choices are part of a bigger picture.
7 Common Questions About Growing Collards Answered
Even with the best-laid plans, a few questions always seem to pop up when you're growing collards from seed. Let's dig into some of the most common ones I hear from fellow gardeners. Think of this as the final piece of the puzzle, giving you that extra bit of confidence to turn a handful of seeds into a fantastic harvest.
Here are some straightforward answers to seven frequently asked questions, pulled from years of hands-on experience and a little bit of garden science.
1. How Long Do Collard Seeds Take to Germinate?
Patience is a virtue, but you won't need much of it here. Collard seeds are impressively quick to sprout under the right conditions. You should see the first signs of life popping up within 5 to 10 days.
The biggest factors are soil temperature and moisture. Seeds germinate fastest when the soil stays consistently warm, somewhere between 65°F and 75°F (18°C and 24°C). Keep the soil evenly moist—like a wrung-out sponge—and you'll be on the faster end of that window.
2. Can I Really Grow Collards All Year Long?
This one depends entirely on your climate. Collards are tough cookies, but they do have their limits. In milder areas (think USDA zones 8-10), it's absolutely possible to get a near year-round harvest by succession planting in both spring and fall.
In places with scorching summers, the plants will bolt (go to seed) and the leaves will turn bitter. And in regions with truly harsh, freezing winters, they'll eventually die back. The real secret is to time your plantings so the crop matures during the cool weather it loves.
3. What Makes My Collards Taste Bitter?
Bitter collards are almost always a sign of stress, and heat is the number one offender. When temperatures climb, especially above 80°F (27°C), the plants can develop a sharp, unpleasant flavor.
Another common cause is inconsistent watering. Letting the soil dry out completely can also concentrate those bitter compounds in the leaves. For sweet, mild-flavored greens, make sure they mature in cool weather and get consistent moisture. Better yet, let them get kissed by a light frost—it actually converts starches into sugars, making the leaves noticeably sweeter.
The sweetest collards are always harvested after the first fall frost. It's a simple trick of nature that transforms good greens into great ones. Planning your garden for a late-season harvest is the best way to guarantee exceptional flavor.
4. How Much Sun Do Collard Greens Need?
Collards are sun-worshippers and thrive in full sun, which means at least 6 to 8 hours of direct sunlight every day. This is what fuels the photosynthesis they need to produce those big, beautiful leaves.
That said, if you live somewhere with blistering afternoon heat, giving them a little shade can be a lifesaver. It helps prevent bitterness and keeps the leaves from wilting. Planting them where they get morning sun and some afternoon protection is a great strategy in hotter climates.
5. Why Are the Bottom Leaves Turning Yellow?
Don't panic if you see a few yellow leaves at the very bottom of your mature plants. This is usually just the plant’s natural life cycle, shedding older, less productive leaves to send energy into new growth up top.
However, if you're seeing widespread yellowing, it's likely a cry for nitrogen. Collards are heavy feeders and can suck the soil dry of nutrients pretty quickly. A quick dose of a nitrogen-rich liquid fertilizer, like fish emulsion, will usually green them right back up.
6. Do I Need to Fertilize My Collard Plants?
Yes, for the best results, you definitely should. The best start is soil that’s already rich in organic matter, like well-rotted compost. This gives your plants a solid foundation.
About a month after your seedlings are in the ground and growing strong, it’s time for a boost. Side-dress your plants with more compost or give them a balanced liquid fertilizer every 3 to 4 weeks during the growing season. This ensures they have the steady stream of food they need to keep pumping out new leaves.
7. What Can I Do with Extra Collard Leaves?
A healthy patch of collards can be ridiculously productive. If you find yourself with more greens than you can possibly eat fresh, they are fantastic for blanching and freezing for winter. They also make a wonderful "green" addition to your compost pile.
And if you keep chickens, they'll be thrilled with the trimmings. Chickens are natural foragers who enjoy a diverse diet. You can learn more about what chickens eat naturally and see how your garden surplus can become a healthy treat for your flock.
Ready to start your own collard patch? At Homegrown Garden, we have everything you need, from high-quality heirloom seeds to expert guides, to make your gardening journey a success. Explore our collection and start growing today at https://www.homegrown-garden.com.

