


Watching a tiny seed transform into a thriving plant is easily one of the most magical parts of gardening. It all comes down to a few key stages: picking a good seed, giving it a clean place to grow, and then creating that perfect mix of warmth, moisture, and light to get it started.
Success really boils down to creating that ideal environment right from the beginning.
Step 1: Your Essential Seed Starting Checklist
Learning how to grow from seed isn't about some secret formula; it’s about getting the fundamentals right. Every great garden starts here, and this checklist is your game plan. It’s more than just dirt and water—it’s about understanding what a seed needs to come to life and giving it that consistently. A successful year also begins with good prep work, so it's worth reading up on preparing your garden for the spring season before you even open a seed packet.
So, what are the non-negotiables? There are really only four.
- A Quality Growing Medium: Seedlings are incredibly delicate. They need a light, fluffy, sterile mix to get going—not heavy, dense garden soil. This prevents disease and gives their tiny roots room to stretch out.
- Consistent Moisture: You’re aiming for the growing medium to feel like a wrung-out sponge—damp, but never soggy or completely dry. That moisture is the signal that tells a seed it's time to wake up.
- The Right Amount of Warmth: Most seeds are happiest when the soil temperature is somewhere between 65-75°F (18-24°C). Finding a warm spot in your house or using a simple heat mat can make all the difference.
- Proper Light: As soon as you see that little green sprout, it needs bright light. Without it, the seedling will stretch, getting weak and "leggy" as it searches for the sun. A south-facing windowsill can work, but a simple grow light is often a more reliable bet.
And don't forget, how you store your seeds is just as crucial as how you plant them. If you want to keep them viable for next season, we have a whole guide on how to store seeds long term.
Here's the key takeaway: Your job is to mimic the perfect spring day. Think gentle warmth, consistent moisture, and bright light. You're creating that ideal setting indoors until your seedlings are tough enough to handle the real world.
To give you a practical starting point, I've put together a quick cheat sheet for a few popular, easy-to-grow plants.
3 Beginner-Friendly Seeds to Grow
This simple table breaks down the basic needs for a few beginner-friendly seeds to help you get started with confidence.
| Seed Type | Ideal Soil Temp (°F) | Germination Time | Sunlight Needs |
|---|---|---|---|
| Sunflowers | 70-85°F | 7-10 days | Full Sun |
| Basil | 65-75°F | 5-10 days | Full Sun |
| Zinnias | 75-80°F | 3-7 days | Full Sun |
Think of this as your starting point. As you gain experience, you'll develop an instinct for what your little seedlings need to thrive.
Step 2: Choosing the Right Seeds for Your Garden
Everything in your future garden starts with a single, tiny seed. The choice you make right here, before you even touch any soil, will shape your entire growing season. It influences everything from the taste of your tomatoes to how well your plants fight off pests.
It can feel a little overwhelming when you're staring at a wall of seed packets, but it all gets a lot simpler once you understand the main players.
3 Main Seed Types: Heirloom, Hybrid, and Organic
When you get down to it, you'll mostly run into three main categories on the seed rack: heirloom, hybrid, and organic. Each one brings something different to the table, and the "right" one really just depends on what you're hoping to get out of your garden.
-
Heirloom Seeds: Think of these as the classics. They're open-pollinated varieties that have been passed down for at least 50 years, often much longer. People love heirlooms for their incredible flavor and fascinating stories. The real magic? You can save the seeds from your harvest, plant them next year, and they'll grow "true to type," meaning the new plants will be just like their parents.
-
Hybrid Seeds (F1): These are the result of intentionally cross-pollinating two different parent plants to get the best traits of both. Hybrids are often bred for practical perks like bigger yields, better disease resistance, or having all your veggies ripen at the same time. They're incredibly reliable, but there's a catch: seeds saved from hybrid plants won't give you the same plant next year. You'll have to buy a fresh packet each season.
-
Organic Seeds: This label is less about the type of seed and more about how it was produced. Organic seeds are harvested from plants grown according to strict standards—no synthetic pesticides or fertilizers involved. You can easily find both heirloom and hybrid varieties that are certified organic.
The global seed market is booming, showing just how much gardeners value these choices. It was valued at USD 7.69 billion in 2024 and is expected to climb to USD 13.88 billion by 2033. This growth is all about giving us home gardeners access to better, more resilient seeds. You can explore more data on the global seed market if you want to dig deeper.
The 5 Key Things to Read on a Seed Packet
That little paper packet is your new plant's biography and instruction manual all rolled into one. Knowing how to decipher the info on it is a fundamental skill for anyone learning how to grow from seed. It’s packed with clues for success.
Here's what you absolutely need to look for:
- Planting Depth: How deep should the seed go? A great rule of thumb for most seeds is to plant them about twice as deep as they are wide.
- Plant Spacing: This tells you how much elbow room to give your plants so they aren't fighting for sunlight, water, and nutrients.
- Days to Germination: This is the company's best guess for how long it'll take your seed to sprout. Don't panic if it takes a little longer; this is just an estimate for ideal conditions.
- Days to Maturity/Harvest: This is a big one for planning. It's the approximate time from planting until you're enjoying your harvest.
- Sunlight Requirements: It’ll say something like "Full Sun" (6+ hours of direct light), "Partial Sun" (4-6 hours), or "Shade." This is non-negotiable!
Picking the right seed is more than just the first step—it's the foundation of your entire garden. When you understand these basics, you're not just planting a seed; you're setting yourself up for a season of success.
Step 3: Mastering the Art of Seed Germination
Germination is that magical moment a seed finally wakes up. It's the first real test on your gardening journey, and honestly, creating the right environment is everything. Think of it like a secret code: you need just the right combination of moisture, warmth, and oxygen to crack it.
Your main goal here is to keep things consistently moist without suffocating the seed. This is where so many beginners go wrong. They drench the soil, which cuts off oxygen and invites rot. You're aiming for soil that feels like a well-wrung-out sponge—damp, but never dripping wet.
This infographic lays out the classic method of sowing seeds in a tray, which is a fantastic starting point for getting germination right.
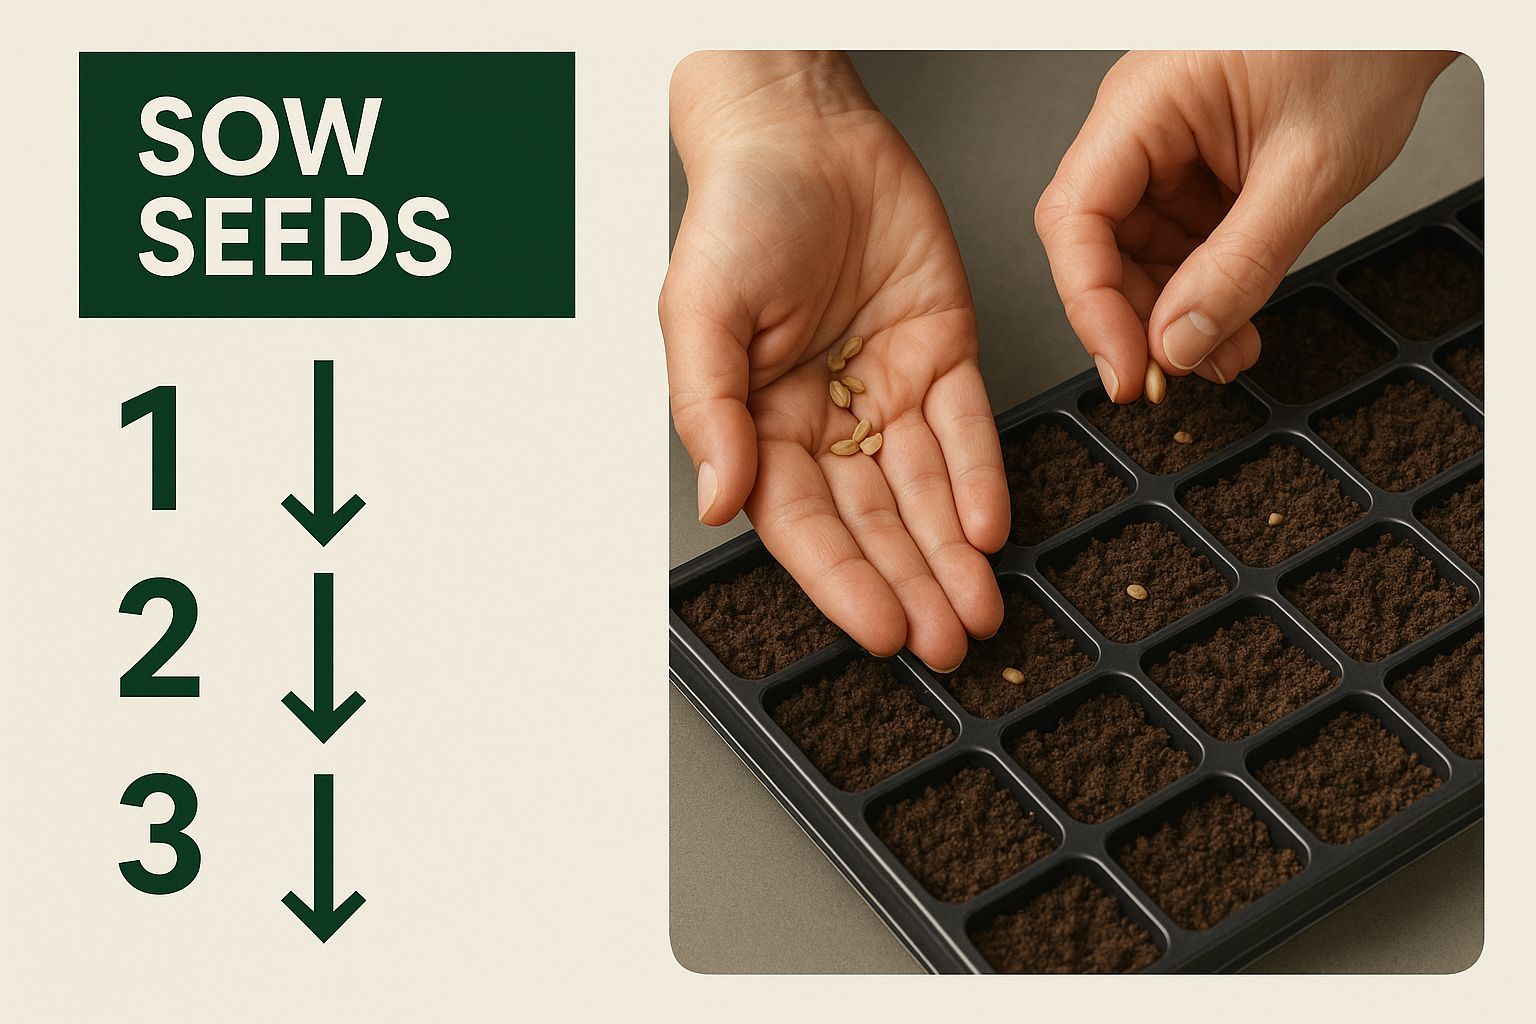
By giving each seed its own little pocket of quality soil, you're setting it up with the space and resources it needs to sprout successfully.
3 Proven Germination Methods
While planting directly into a seed starting mix is the go-to for most, some seeds are a little stubborn and need some extra encouragement. For tiny seeds that are hard to handle or older seeds you’re not sure about, the "paper towel method" is my favorite trick.
Just lay your seeds on a damp paper towel, fold it, and slide it into a plastic bag. Find a warm spot for it, and you've created a perfect little germination chamber. The best part? You can peek inside and see exactly which seeds have sprouted before you even plant them.
- Direct Sowing: The best route for most common vegetable and flower seeds. It gives them a stable environment right from the get-go.
- Paper Towel Method: Perfect for fine seeds (like petunias), slowpokes, or for doing a quick viability test on that old packet you found in the shed.
- Soaking: Big, hard-shelled seeds like peas, beans, and nasturtiums love an overnight soak. It softens their tough exterior and gives germination a real head start.
Here's a pro tip: A plastic dome or even a simple piece of plastic wrap over your seed tray acts like a mini-greenhouse. This simple trick traps humidity and warmth, creating a stable environment that can dramatically boost your germination rates.
Troubleshooting 2 Common Germination Problems
Sometimes, despite your best efforts, nothing happens. If your seeds fail to pop up, don't get discouraged. It happens to all of us. A quick review of your setup will usually point to the culprit.
More often than not, the issue is temperature. Most seeds won't even think about sprouting until the soil is between 65-75°F (18-24°C). If your house runs on the cool side, a simple heat mat placed under the seed tray can be a total game-changer. Every plant is a little different, so it's worth checking a detailed seed germination temperature chart to dial in the perfect conditions.
Another common headache is damping off. This is a fungal disease that causes brand-new seedlings to rot right at the soil line and collapse. It thrives in cool, overly wet conditions, but you can fight back.
To prevent it, make sure you:
- Have good air circulation.
- Start with a sterile seed-starting mix.
- Water from the bottom of the tray to keep the surface soil drier.
- Whatever you do, don't overwater!
Modern seeds have come a long way. Thanks to advancements in the commercial seed market, from special coatings to hybridization, we're seeing much more uniform and faster germination. These technologies are crucial for big farms, but they also give home gardeners more reliable seeds to work with. Once you get these germination basics down, you’ll be well on your way to growing strong, healthy seedlings.
Step 4: Giving Your Sprouted Seeds Their First Real Home
You've done it! Those tiny green shoots have pushed through the soil, and now the real fun begins. The next crucial step is moving them into a bigger home, a process we gardeners call transplanting. This is when your seedlings graduate from tender babies to strong young plants.
Think of this move as giving their roots the room they need to stretch out and find all the good stuff in the soil. The whole point is to make this transition as gentle as possible—like moving a sleeping baby. A golden rule I learned the hard way: always, always handle seedlings by their leaves, never by their delicate stems. A crushed stem is game over.
Step 5: Finding the Right Pot and Soil Mix
The size of the new pot really does matter. It's tempting to put a tiny sprout in a giant pot to save time, but that's a classic rookie mistake. All that extra soil holds way too much water, which is a fast track to root rot.
A good rule of thumb is to pick a pot just 1-2 inches larger in diameter than what it's currently in. This gives the roots space to explore without leaving them swimming in a soggy mess.
Just as important is what you fill that pot with. Your seedlings are hungry now and need more than the basic seed-starting mix. They're ready for a richer diet. I've had great success with a simple 4-part homemade potting mix:
- 4 parts coco coir or peat moss to hold onto moisture.
- 2 parts rich, organic compost for a steady supply of nutrients.
- 1 part perlite to keep the soil light and airy.
- 1 part vermiculite which acts like a sponge for water and nutrients.
This blend gives you a light, well-draining, and nutrient-packed home where roots can thrive. If you want to really dial in your entire process from the get-go, checking out a complete indoor seed starting setup can give you a leg up.
The biggest mistake I see people make is planting their seedlings too deep. For almost everything you grow, plant it at the same depth it was in its starter cell. The big exception here is tomatoes—they’re special. You can plant them deep because they’ll actually grow new roots all along the buried stem, making them super sturdy.
Step 6: The 4-Stage Art of Hardening Off
Before your little plants can make their final move into the garden, you have to prepare them for the real world. This is called hardening off, and skipping it is a recipe for disaster.
Seedlings raised indoors have had a sheltered life—no wind, no harsh sun, just stable, comfortable temperatures. Tossing them straight outside is like sending a kid to college without a coat in the middle of winter. It's a shock they might not recover from.
The hardening-off process takes about 7 to 14 days. Here’s a simple schedule that works for me:
- Days 1-3: Find a protected, shady spot outside and leave them for just 1-2 hours.
- Days 4-6: Start increasing their outdoor time to 3-5 hours, letting them catch some gentle morning sun.
- Days 7-10: Now they can stay out for most of the day and handle more direct sunlight.
- Days 11-14: If the nighttime temperatures stay above 50°F (10°C), it's time for them to spend their first night outdoors.
This slow introduction builds up their strength, thickening their cell walls to prevent sunburn and wind damage. It's a bit of extra work, but properly transplanting and hardening off your seedlings is what sets them up for a long, healthy, and productive life in your garden.
Even with the best intentions, things can go sideways. Here are a few common issues and how to get your plants back on track.
4 Common Planting Mistakes and How to Fix Them
| Common Mistake | Why It's a Problem | How to Correct It |
|---|---|---|
| Planting Too Deep | The stem can rot, and the seedling may struggle to reach the light, stunting its growth. | Gently lift the seedling and add more soil mix underneath to raise it to the proper level. Exception: Tomatoes love being planted deep! |
| Using a Giant Pot | Excess soil stays wet for too long, suffocating the roots and causing root rot, a fungal disease that can kill the plant. | Transplant the seedling into a smaller pot, just 1-2 inches wider than its current root ball. Ensure the new pot has good drainage holes. |
| Skipping Hardening Off | Indoor-grown seedlings aren't tough enough for outdoor conditions. They can suffer from sunburn, windburn, or die from shock. | If you've already moved them, bring them back inside or to a very sheltered spot. Start the hardening-off process slowly from day one. |
| Handling by the Stem | The stem is the plant's lifeline. Crushing it damages the vascular system, preventing water and nutrients from moving. | This is often irreversible. The best fix is prevention. Always handle seedlings by their leaves or the soil ball around their roots. |
Troubleshooting is a normal part of gardening. Don't get discouraged if you hit a snag—every mistake is a lesson that makes you a better gardener next season.
Step 7: Nurturing From Sprout to Strong Young Plant
Seeing those first green shoots poke through the soil is a thrill, but this is where the real fun—and the real work—begins. Your job now is to guide those tender sprouts into becoming sturdy, resilient young plants. It's less about following a rigid formula and more about learning to observe and respond to what they need.
The biggest hurdle for most beginners? Finding that sweet spot with watering. It’s so easy to either drown them with love or forget them for a day too long.
Step 8: Getting Watering Just Right
Forget strict schedules. The best tool you have is your finger. Just touch the surface of the soil. If it feels dry, it's time for a drink.
But how you water matters. Drenching them from above can easily wash away tiny seedlings. This is why I swear by bottom watering.
Just set your seed tray or pots in a shallow pan of water for about 15-20 minutes. The soil will wick up moisture through the drainage holes, getting water right to the roots where it's needed most. This method keeps the surface a bit drier, which is a huge help in preventing common fungal problems like damping off.
Think of the ideal soil moisture as a well-wrung-out sponge. It should be consistently damp but never soggy. This encourages the roots to stretch and grow deeper, building a much stronger foundation for the plant.
Step 9: Give Them the Light They Crave
The moment your seeds sprout, they start looking for light. And they need a lot of it. Without enough light, you get "leggy" seedlings—tall, pale, and floppy stems that are stretching desperately for a decent source.
A sunny windowsill sounds perfect, but honestly, it's rarely enough, especially on cloudy days. To grow the kind of stout, healthy seedlings that thrive in the garden, a simple grow light is your best friend.
You don't need anything fancy. Just hang the light a few inches above the seedlings and keep it on for 14-16 hours a day. That consistent, close-up light is the secret to preventing stretching and encouraging that deep green, vigorous growth we all want to see.
- Move it up: As the plants grow, remember to raise the light to keep it just a few inches from the top leaves.
- Create a breeze: A small fan aimed at your seedlings on a low setting for an hour or two a day works wonders. It mimics the wind, which signals the stems to grow thicker and stronger.
Step 10: A Seedling's First Meal
For the first week or two, a seedling has everything it needs packed right inside its seed. But once you see the first set of true leaves appear—that's the second pair of leaves that actually look like the mature plant's foliage—it's time to think about food.
The key here is to start weak. You want a balanced, water-soluble fertilizer, but dilute it to one-quarter or one-half the recommended strength. Anything stronger will burn their delicate new roots. I typically feed them this weak solution once a week, using it in place of a regular watering.
It’s amazing to think that the global seed market, valued at around USD 70.28 billion in 2024, is driving so much research into helping home gardeners succeed. All that investment leads to better education on what works best. You can actually discover more insights about these seed market trends and see how they're empowering growers. By getting these three things—water, light, and nutrients—right from the start, you’re giving your plants the best possible shot at a long, productive life.
Step 11: Answering 3 Common Questions About Growing Seeds
https://www.youtube.com/embed/qzhbOJyHC7E
Starting seeds can feel like you've suddenly got a million questions. Don't worry, every single gardener has been there. Let's tackle some of the most common head-scratchers so you can grow with confidence.
How Do I Know if My Old Seeds Are Still Good?
This is a classic. You unearth a half-used seed packet from a couple of years ago and wonder, "Is this even worth the effort?" Most seeds come with a "packed for" date, and while they can last for years, their germination rate—the percentage that will actually sprout—drops over time.
You don't have to guess, though. A simple viability test gives you a clear answer.
- Grab 10 seeds from the packet.
- Place them on a damp paper towel, fold it over, and slip it into a plastic bag.
- Keep the bag in a warm spot for about as long as the packet says germination should take.
After a week or so, check your results. If five seeds sprouted, you've got a 50% germination rate. That tells you that you'll need to plant them much more thickly to get a decent crop, or maybe it's just time for a fresh packet.
Why Are My Seedlings So Tall and Skinny?
Ah, the dreaded "leggy" seedlings. It's a frustrating sight, but it's almost always caused by one thing: not enough light. The poor things are desperately stretching for any light source they can find, which creates weak, pale, and floppy stems that can barely hold themselves up.
The key is to act fast. Move your seedlings immediately to a much brighter spot, like a south-facing window that gets hours of direct sun.
Even better, get a grow light. You don't need anything fancy. Just position it a few inches above the seedlings and keep it on for 14-16 hours a day. Here's a pro tip: point a small fan at them on a low setting for an hour or two each day. That gentle breeze mimics the wind and helps strengthen those spindly stems.
A common mistake is thinking any bright room will do. Seedlings need intense, direct light. If you can't provide that naturally, a simple, inexpensive grow light is one of the best investments you can make for your seed-starting success.
What Does Hardening Off Mean?
Hardening off is the critical process of getting your indoor-grown seedlings used to the great outdoors. Think of it like this: your seedlings have been living in a five-star hotel with perfect temperatures, no wind, and filtered light. Tossing them straight into the garden is a recipe for disaster.
This shock from sun, wind, and temperature swings can stunt their growth or even kill them. Hardening off toughens them up for the real world.
The whole process usually takes about 7 to 14 days.
- Start slow. On the first day, put your seedlings outside in a sheltered, shady spot for just an hour or two.
- Increase exposure. Each day, leave them out a little longer and let them get a bit of gentle morning sun.
- Work up to it. By the end of the week or two, they should be tough enough to handle a full day outside before you plant them in their permanent home.
This little bit of patience makes a huge difference in helping your plants not just survive, but thrive.
Ready to start your garden with seeds you can trust? At Homegrown Garden, we offer a wide selection of heirloom seeds, beginner-friendly kits, and all the supplies you need to grow with confidence. Explore our collection and get started today.

