


If you're serious about growing your own vegetables, forget about fancy tools and trendy seeds for a moment. The single most important thing you can do for a successful harvest is to prepare your soil properly. It's the foundation of everything.
We're not just talking about digging in some dirt. We're talking about creating a living, healthy ecosystem that will nourish your plants all season long. This means testing your soil, adding the right organic matter, and making sure it has the perfect balance of nutrients and moisture.
Your Foundation for a Thriving Vegetable Garden
Think of it this way: you wouldn't build a house on a shaky foundation. The same logic applies to your garden. The quality of the ground beneath your feet will make or break your entire gardening season. This isn't just a chore; it's the science and art of building the perfect home for your plants to flourish.
Good soil is so much more than just dirt. It's a complex world teeming with life, and it's responsible for delivering everything your vegetables need. A well-prepared garden bed provides:
- Essential Nutrients: From the nitrogen that fuels leafy greens to the phosphorus that builds strong roots.
- Optimal Water Retention: Healthy soil acts like a sponge, holding onto moisture without drowning your plants' roots.
- Proper Aeration: Roots need to breathe, and good soil structure provides the tiny air pockets they need to thrive.
Why Soil Preparation Matters More Than Anything
Cutting corners on soil prep is a recipe for frustration. You'll end up with weak, stunted plants, disappointing harvests, and a constant struggle against pests and diseases. On the flip side, putting in the effort now will reward you tenfold with robust, productive, and resilient vegetables.
This isn't just a secret that experienced gardeners know. The global garden soil market is expected to hit a value of around $4.4 billion in 2025, which shows just how much gardeners everywhere understand the importance of this first step. You can dig deeper into this trend and the value of quality soil over at Market Report Analytics.
Healthy soil is the cornerstone of a productive garden. It’s a living system that feeds your plants, which in turn feed you. By nurturing your soil, you are creating a self-sustaining cycle of growth and nutrition right in your backyard.
Before we get our hands dirty, let's quickly review the major stages of getting your soil ready.
Quick Guide to Soil Preparation Stages
| Stage | Primary Goal | Key Actions |
|---|---|---|
| Assessment | Understand your starting point. | Test soil pH and nutrient levels, assess texture (clay, loam, sand), and check for compaction. |
| Amendment | Improve soil structure and fertility. | Add compost, aged manure, or other organic matter to enrich the soil. |
| Tilling/Turning | Loosen and aerate the soil. | Break up compacted earth to a depth of 8-12 inches to allow roots to penetrate easily. |
| Final Prep | Create a smooth planting surface. | Rake the bed level, remove rocks and debris, and allow the soil to settle before planting. |
Following these stages sets you up for success.
Beyond the soil itself, think about your garden's other essential needs, like water. Incorporating smart and sustainable practices, such as rainwater harvesting strategies, can make your garden more resilient and cut down on your water bill. It’s all part of building a complete, self-sufficient ecosystem.
Now that we've covered the "why," let's get into the "how." It's time to get our hands dirty and build the garden you've been dreaming of.
The 7 Essential Steps to Perfect Garden Soil
Building incredible garden soil doesn't happen overnight. It’s a process, but a deeply rewarding one. By following a solid game plan, you can turn just about any patch of dirt into a fertile, thriving foundation for your vegetables. This isn't about luck; it's about methodically creating a living ecosystem right under your feet.
I've broken the whole process down into 7 manageable stages. Each one naturally flows into the next, taking you from a weedy, forgotten plot to a garden bed that’s practically begging for plants. Whether you're starting from scratch or just giving an old bed a refresh, these are the steps that guarantee success.
1. Clear and Weed the Garden Bed
Before you can add any of the good stuff, you have to get rid of the junk. The very first thing on your to-do list is a total clean-up of your garden space. That means pulling out all the grass, weeds, and leftover plant debris from last season. It's not enough to just pull the tops off perennial weeds—you have to get the roots. Nasty invaders like bindweed, thistle, or quackgrass have deep, sprawling root systems that will come back with a vengeance if you leave even a small piece behind.
Leaving old plant material behind is an open invitation for pests and diseases to move in. For instance, those blighted tomato vines from last year can harbor fungal spores that will happily attack your brand-new seedlings. A clean slate is always a healthy slate.
2. Conduct a Soil Test
Trying to garden without a soil test is like flying blind. You’re just guessing. A simple test is the most powerful tool you have for understanding what's really going on in your soil. Is it acidic? Is it missing key nutrients? The test will tell you.
You can grab a basic DIY kit from any garden center, but for the best information, I always recommend sending a sample to your local cooperative extension service. They’ll send back a detailed report on your soil’s pH and the levels of the big three: Nitrogen (N), Phosphorus (P), and Potassium (K).
A soil test takes all the guesswork out of feeding your garden. It tells you exactly what your soil needs—and, just as importantly, what it doesn't need. Tossing in amendments without testing can create nutrient imbalances that are just as bad as not having enough.
3. Add Rich Organic Matter
Here’s where the magic really starts. Organic matter is the lifeblood of healthy soil. It fixes everything—it improves drainage in heavy clay and helps sandy soil hold onto water. You'll want to spread a generous layer, about 2 to 4 inches deep, over the entire bed.
What should you use? Well-rotted, nutrient-rich materials are your best bet.
- Compost: This is the absolute gold standard. It provides balanced nutrients, boosts soil texture, and feeds the beneficial microbes that make a garden thrive.
- Aged Manure: A fantastic source of nitrogen. Just be sure it’s well-rotted (at least six months old), because fresh manure is too "hot" and will burn your plants' roots.
- Leaf Mold: Decomposed leaves create a light, fluffy amendment that’s a rockstar at improving soil structure and retaining moisture.
This simple infographic gives you a great visual of the workflow for testing, amending, and getting your soil ready.
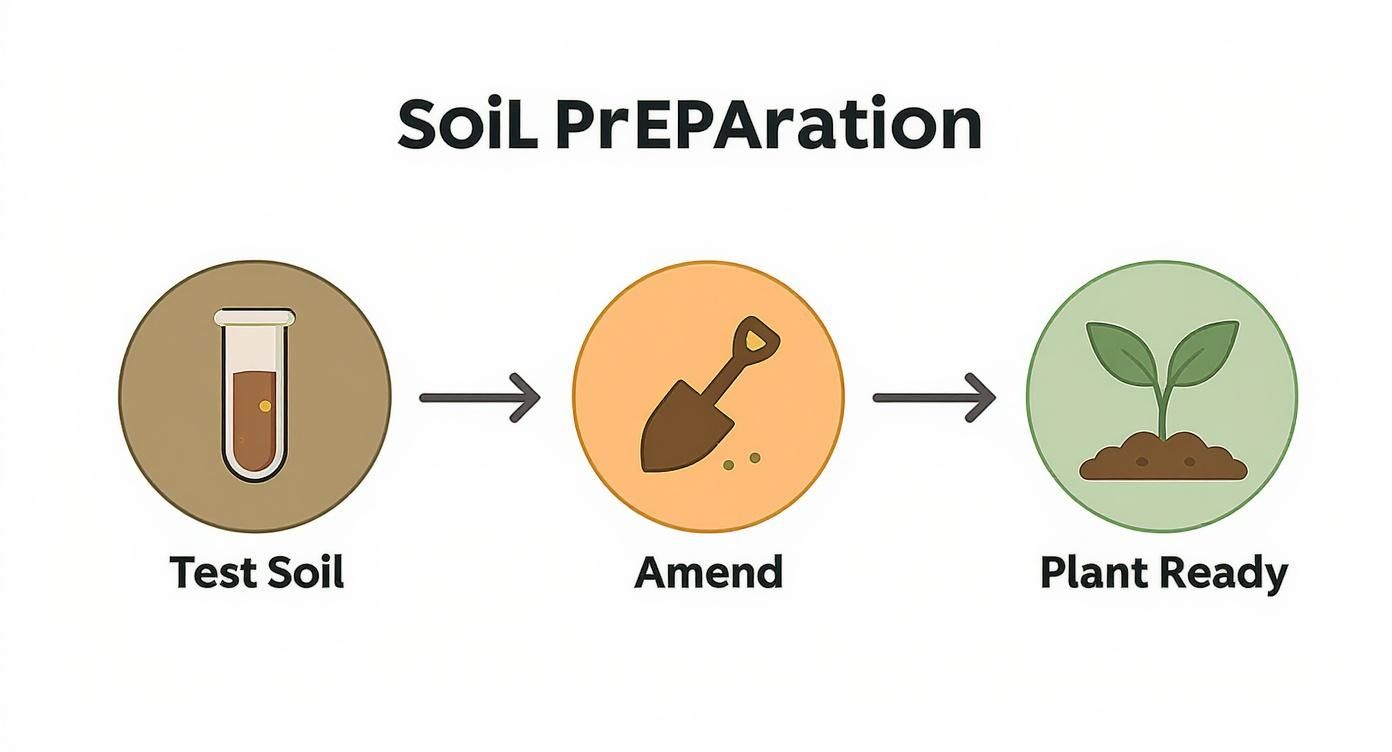
Seeing it laid out like this really drives home that great soil prep is a logical sequence, not just a bunch of random chores.
4. Adjust Soil pH and Add Minerals
Your soil test will give you a pH number. Most vegetables are happiest in a slightly acidic to neutral range, somewhere between 6.0 and 7.0. If your pH is way off, your plants can't access the nutrients in the soil, even if they're there. It’s like a locked pantry.
Depending on your results, you might need to make some tweaks:
- To Raise pH (make it less acidic): Add dolomitic lime or wood ash.
- To Lower pH (make it less alkaline): Add elemental sulfur or sphagnum peat moss.
Your soil test might also flag a deficiency in secondary nutrients or micronutrients. Common mineral amendments include greensand for potassium, bone meal for phosphorus, or Epsom salt for magnesium. Only add these if your test shows a clear need.
5. Loosen and Till the Soil
Compacted soil is the enemy of healthy roots. Your plants' roots need little pockets of air to breathe and grow. Loosening the soil is absolutely critical. Grab a digging fork or a broadfork and gently lift the soil to a depth of about 8-12 inches.
Once you've spread your amendments, you need to work them in. Using a rototiller or spade (traditional tilling) is great for breaking new ground. Alternatively, the "no-till" method involves layering amendments on top and letting worms do the mixing. The no-till method is popular for preserving the delicate web of life in your soil.
6. Rake Smooth and Add a Top Dressing
Time to create that perfect, fluffy seedbed. Use a sturdy garden rake to smooth out the soil surface, breaking up any big clumps and pulling out any leftover rocks or sticks. You’re aiming for a fine, level, and crumbly texture. This ensures seeds make good contact with the soil.
As a finishing touch, spread a final 1-2 inch layer of good, finished compost over the entire bed. This top dressing acts like a slow-release fertilizer, gives young seedlings an immediate nutrient boost, helps keep weeds down, and conserves moisture.
7. Water the Bed Before Planting
One last step before you can plant! Give the prepared bed a gentle but deep watering a day or two before you put anything in the ground.
Watering ahead of time lets the soil settle and makes sure your seeds or transplants go into a nice, moist environment. This encourages roots to start growing right away. It's so much better than planting in dry soil and then blasting it with water, which can wash seeds away or shock your new plants. Now, your bed is officially ready to grow.
Get to Know Your Soil: Why a Simple Test is a Game-Changer
Trying to build a great vegetable garden without first testing your soil is like trying to bake a cake without a recipe. It's pure guesswork. A soil test is your garden's cheat sheet, revealing exactly what's going on under the surface so you can give your plants what they actually need.
Honestly, this one step is what separates frustrated gardeners from successful ones. It saves you from wasting money on amendments you don’t need and time on "solutions" that won't work.
You wouldn't take medicine without knowing what’s wrong, right? The same logic applies here. Don't just start dumping stuff into your garden bed. A quick test gives you the critical data you need to make smart decisions for a killer vegetable patch.
The Two Main Ways to Test Your Soil
When it comes to peeking into your soil’s health, you’ve got two main options. Both work well, but they offer different levels of detail and convenience. What you choose really just depends on your budget, your timeline, and how nerdy you want to get about soil chemistry.
-
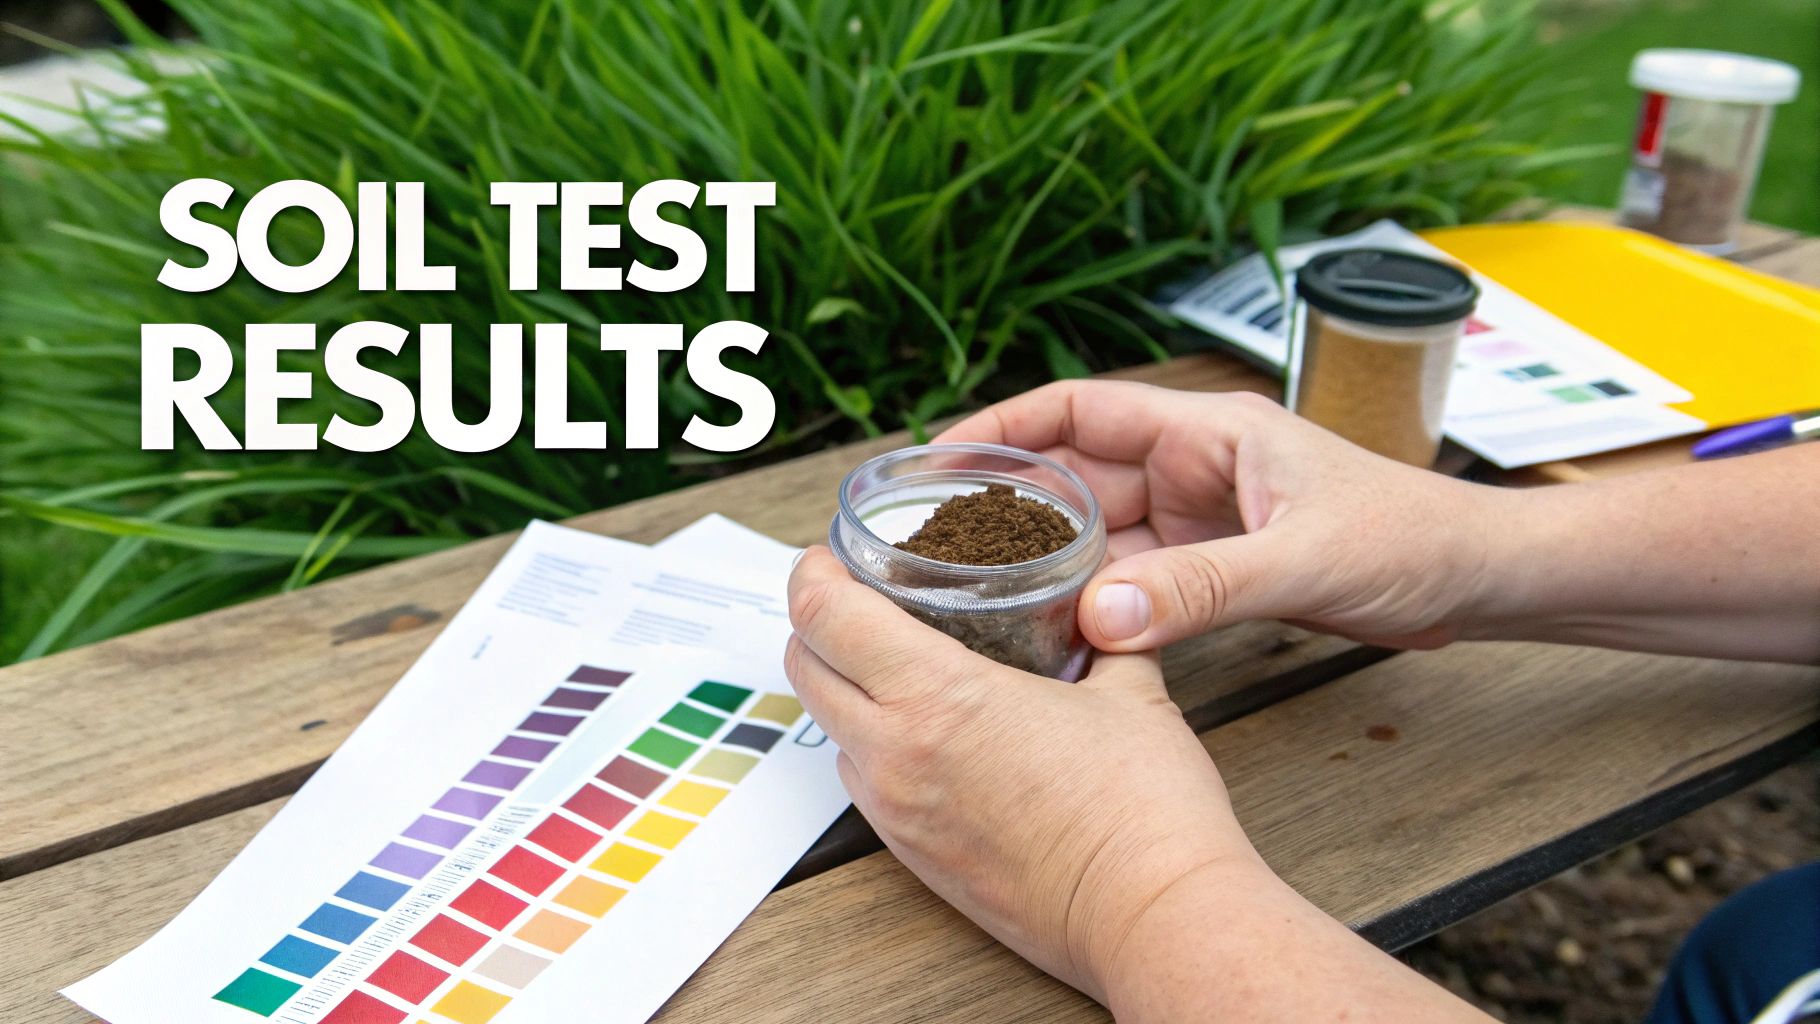
DIY Home Test Kits: These are the fast and easy option you can grab at just about any garden center. They usually involve color-coded strips or test tubes to give you a quick reading of your soil's pH and the big three macronutrients: Nitrogen (N), Phosphorus (P), and Potassium (K). They aren't as pinpoint accurate as a lab test, but they're fantastic for getting a solid baseline.
-
Professional Lab Analysis: If you want the most accurate and detailed results, nothing beats sending a sample to a lab. You just follow their instructions to collect some soil and mail it in. The report you get back is incredibly thorough. It often breaks down secondary nutrients (like calcium and magnesium), micronutrients, your soil's organic matter percentage, and even gives you specific recommendations for amendments. Many local cooperative extension offices offer this service for a surprisingly low cost.
The most common mistake I see new gardeners make is skipping the soil test. They'll spend a fortune on beautiful plants and bags of amendments, only to watch everything struggle. A simple $15-$20 lab test is your roadmap. It tells you exactly what to add and, just as importantly, what not to add.
What Your Soil Test Results Are Telling You
Getting your report back can feel a little intimidating with all its numbers and terms. Don't sweat it. Understanding just a few key metrics is the first step in learning how to prepare soil for planting vegetables like a pro.
-
Soil pH Level: This is a measure of how acidic or alkaline your soil is, on a scale from 0 to 14. Most vegetables are happiest in a slightly acidic to neutral sweet spot, somewhere between 6.0 and 7.0. If your pH is way off, plants can't access the nutrients in the soil, even if they're present. It's a condition called "nutrient lockout."
-
Macronutrients (N-P-K): Think of these as the "big three" nutrients plants need most. Nitrogen is all about lush, green leafy growth. Phosphorus is crucial for strong roots and flowers. Potassium is the all-rounder, supporting overall plant health and disease resistance. Your test will tell you if your levels are low, just right, or too high.
-
Organic Matter Percentage: This number shows how much decomposed plant and animal material is in your soil. You're shooting for a healthy range of 3-5% or more. Organic matter is the secret sauce for great soil structure, water retention, and feeding the beneficial microbes that keep everything in balance.
If you're curious and want to do a basic assessment without a kit, you can learn more about how to test soil at home using simple techniques like the jar test to figure out its texture.
By decoding this information, you're no longer guessing—you're making strategic moves. Your test results will guide every decision, from which compost to buy to whether you need to add a little lime or sulfur. It's the most powerful tool you have for a bountiful harvest.
Choosing the Right Amendments for Your Vegetables
Alright, you've got your soil test results. This is where the real fun begins. You can finally stop guessing and start giving your garden exactly what it needs to thrive. Think of yourself as a chef, and these results are your recipe for creating the perfect soil blend for your vegetables.
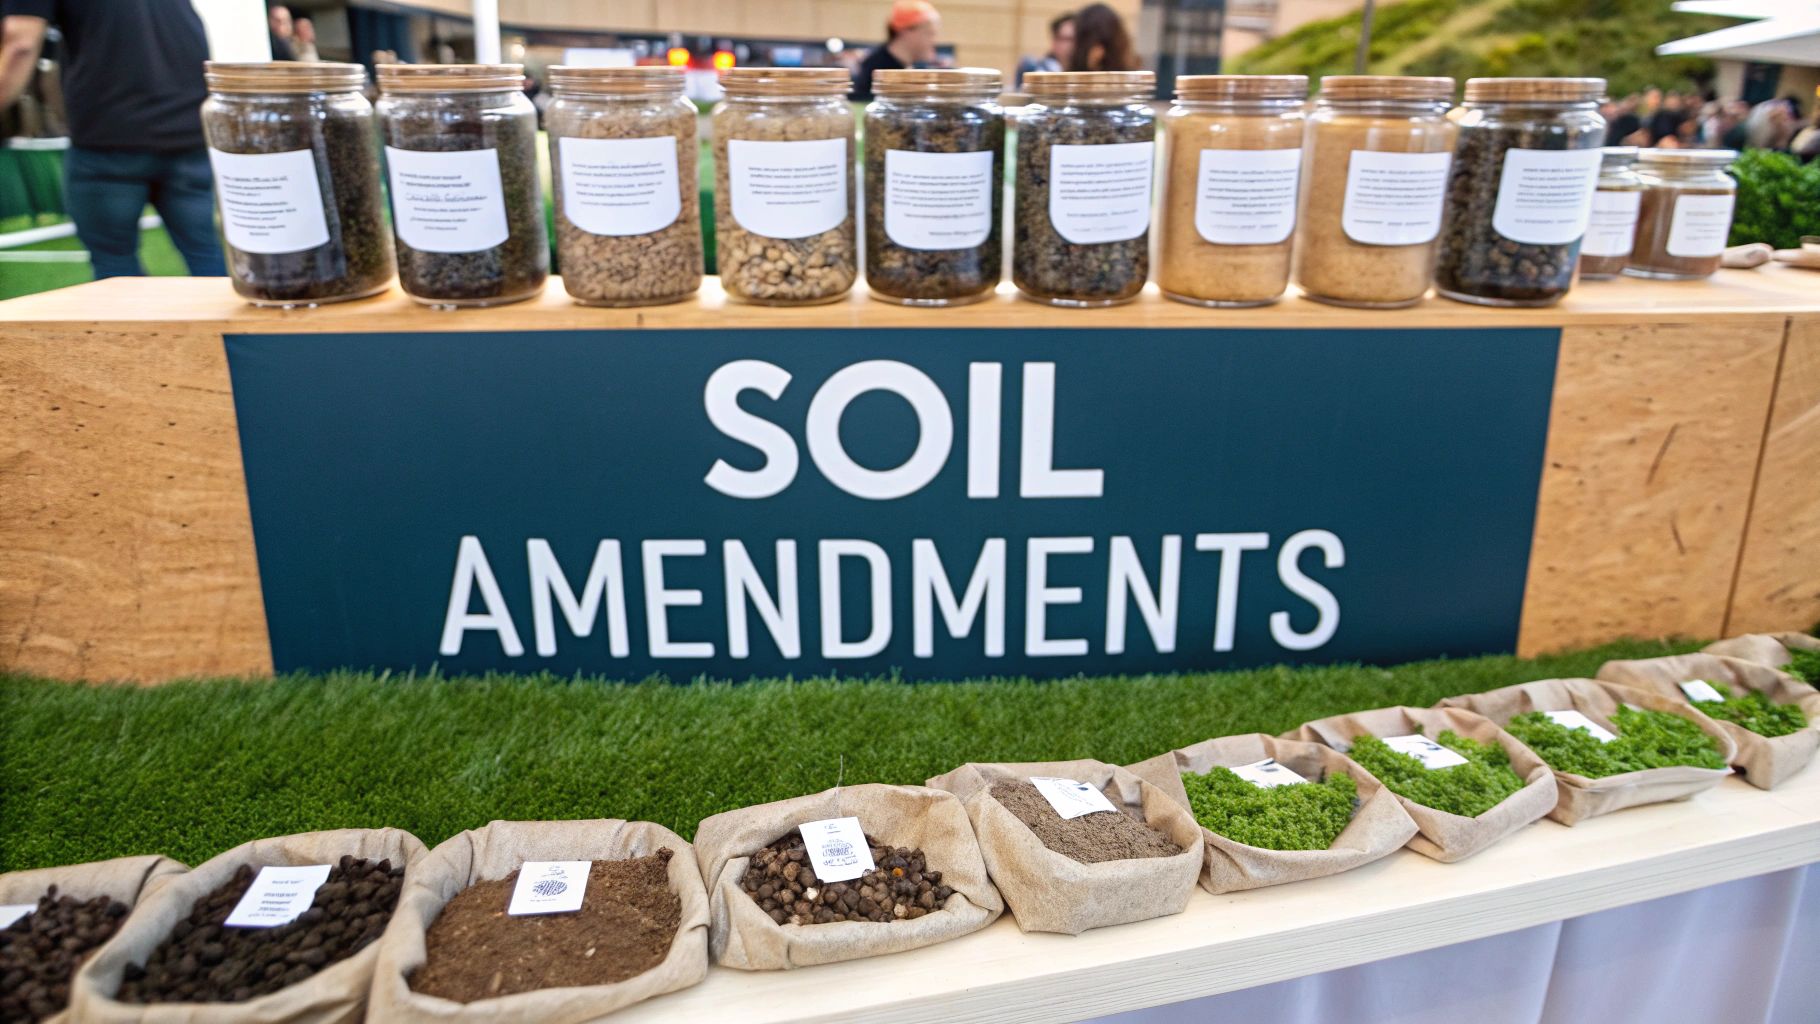
Soil amendments really boil down to two types: organic matter, which builds great soil structure and feeds the ecosystem under your feet, and mineral supplements, which are for making targeted fixes to nutrient levels or pH. Getting this combination right is the secret to a garden that truly takes off.
More and more gardeners are catching on to the importance of starting with the best possible ingredients. The global market for premium potting soil was valued at $1.58 billion in 2023 and is projected to hit nearly $2.21 billion by 2033. That trend, tracked by Spherical Insights, shows a growing understanding that what you put in the soil directly impacts your harvest.
Mastering Organic Matter for Better Soil Structure
If your soil has a heart and soul, it’s organic matter. It’s the stuff that helps sandy soil hold onto water and gives heavy clay that beautiful, crumbly texture. It's also lunch for the billions of microbes that do the heavy lifting of feeding your plants.
Here are my go-to organic options:
- Compost: This is the gold standard for a reason. Good, finished compost offers a slow-release buffet of nutrients, improves soil texture, and inoculates your garden with beneficial life. It’s the best all-around conditioner you can use.
- Aged Manure: If you're growing heavy feeders like tomatoes, corn, or squash, they'll thank you for a dose of aged manure. It’s a fantastic source of nitrogen, but it absolutely must be well-rotted—think at least six months old. Fresh manure is too "hot" and will burn the roots of your plants.
- Leaf Mold: Don't throw away your fall leaves! Once decomposed, they create leaf mold, a powerhouse for moisture retention. It can hold up to 500% of its weight in water, which is a game-changer in dry spells. It's lower in nutrients than compost but unmatched for creating light, airy soil.
- Cover Crops: Often called "green manure," plants like clover, vetch, or rye are grown to be tilled back into the earth. They protect your soil from winter erosion, smother weeds, and give back a huge boost of organic material and nitrogen.
Targeting Deficiencies with Mineral Supplements
While organic matter is your long-term investment in soil health, mineral supplements are the precision tools for fixing immediate problems your soil test uncovered. They’re like a specific prescription for a specific ailment.
I’ve seen this happen too many times: a gardener adds amendments without a soil test, only to create a bigger problem. For example, adding too much lime can make phosphorus unavailable to your plants, even if there’s plenty in the soil. Let your test results be your guide.
Here’s a quick rundown of the most common mineral fixes:
| Amendment | Primary Function | Ideal for... |
|---|---|---|
| Lime | Raises pH | Correcting overly acidic soil, a common issue in regions with lots of rain. |
| Sulfur | Lowers pH | Correcting overly alkaline soil, which you'll often find in drier, more arid climates. |
| Bone Meal | Adds Phosphorus | Promoting strong roots, flowers, and fruit, especially for crops like carrots and tomatoes. |
| Greensand | Adds Potassium | Improving a plant's overall hardiness, its ability to manage water, and its resistance to disease. |
When you understand how to use these amendments, you can create the best soil mix for your vegetable garden because it's tailored to your unique conditions. By combining the foundational power of organic matter with a few targeted mineral adjustments, you’re setting the stage for healthy, vigorous plants all season long.
The Hidden Payoff of Healthy Soil
When you spend an afternoon preparing your garden beds for vegetables, you’re doing so much more than just aiming for bigger tomatoes or crisper lettuce. You're making a direct investment in your family's health and creating a small but mighty ecosystem in your own backyard. The rewards go far beyond what you'll carry inside in your harvest basket.
Think of great soil as the engine that drives nutrient-dense food. When the ground is loaded with rich organic matter and buzzing with microbial life, your plants can easily pull up the full spectrum of vitamins and minerals they need to flourish. That nutritional value gets passed directly onto your plate, resulting in vegetables that are packed with both nutrients and flavor.
A Harvest for Your Health
It's no secret there's a strong link between gardening and better health. People who grow their own food simply tend to eat more of it, which naturally leads to better eating habits. It’s a rewarding cycle: the effort you put into the soil encourages you to enjoy the fruits (and vegetables) of your labor.
This isn’t just a hunch. A 2013 study in the USA found that 35% of households were growing at least some of their own food. The research consistently shows that gardeners tend to have healthier Body Mass Index (BMI) profiles and are far more likely to get their recommended daily servings of fresh produce compared to non-gardeners. It all starts in the ground—quality soil is what makes those bountiful, healthy harvests possible.
By focusing on building rich, living soil, you are essentially pre-packaging your vegetables with the best possible nutrition. It’s a proactive step towards a healthier lifestyle, starting from the ground up.
Your Garden's Environmental Impact
Beyond the personal health perks, that well-prepped garden bed becomes a small force for environmental good. Every time you mix in compost or other organic materials, you kick off a positive ripple effect.
For starters, healthy soil is a champion of the planet's carbon cycle. Rich in organic matter, it acts like a giant sponge, pulling carbon from the atmosphere and storing it safely underground. This process, known as carbon sequestration, helps offset the effects of climate change, one garden at a time.
But that's not all. Well-structured soil delivers a few other key ecological wins:
- Smarter Water Management: Spongy, organic-rich soil soaks up rainwater like a champ, drastically reducing runoff during heavy storms. This not only prevents erosion but also helps recharge the local groundwater supply.
- A Boost for Biodiversity: Your garden bed becomes a bustling metropolis for earthworms, beneficial bacteria, fungi, and helpful insects. This underground biodiversity is the true foundation of a resilient garden.
- Less Waste, More Good: Composting your kitchen scraps and yard trimmings to feed your soil keeps all that organic waste out of landfills, where it would otherwise release harmful methane gas. Covering your soil with organic material is also a fantastic strategy; you can learn all about the best mulch for vegetable gardens in our guide.
When you learn how to properly prepare your soil for planting vegetables, you become more than just a gardener. You become a steward of your own little patch of earth, cultivating better health for your family and making a real, positive contribution to the world around you.
Questions That Pop Up When Prepping Garden Soil
No matter how many times you've done it, getting your hands dirty always brings up a few questions. That's just part of gardening. Let's walk through some of the most common things people ask when they're getting their soil ready for planting.
How Often Do I Really Need to Test My Soil?
If you're breaking ground on a brand new garden, testing the soil right away is non-negotiable. You need to know what you're starting with. That first test is your roadmap.
After you've amended the soil based on that initial report, you can relax a bit. Testing every 2 to 3 years is a great rhythm to get into. Soil doesn't change on a dime, so this gives you plenty of time to spot a nutrient deficiency or a pH drift before it starts causing real trouble for your plants.
The exception? If your plants are suddenly looking unhappy—maybe the leaves are yellowing or they just aren't growing—a soil test is your best diagnostic tool. It's the fastest way to figure out what's going on beneath the surface.
Can I Get Away With Not Tilling My Garden?
You sure can. In fact, many experienced gardeners swear by it. This approach is usually called "no-till" or "no-dig" gardening, and it's a fantastic way to build incredible soil health over the long haul.
Instead of digging and turning everything over, you just keep adding layers of good stuff—like compost, shredded leaves, or aged manure—right on top. The worms and microbes will handle the job of pulling all that organic matter down into the soil for you.
There are some serious perks to this method:
- You don't disturb the natural soil structure that worms and roots create.
- Fewer weed seeds get churned up to the surface where they can sprout.
- The soil holds onto moisture much more effectively.
It's a more patient, gentle way to garden that really pays off by creating a robust, living ecosystem for your vegetables.
What's the Real Difference Between Compost and Fertilizer?
This is a big one, and getting it right is key to a healthy garden. Here's the simplest way I think about it: compost feeds the soil, and fertilizer feeds the plant.
Compost is a soil builder. It’s bulky, full of organic matter, and improves everything from drainage to water retention. It releases a wide range of nutrients slowly over time, creating a healthy foundation. Fertilizer, on the other hand, is like a targeted vitamin supplement, delivering a concentrated punch of specific nutrients like Nitrogen (N), Phosphorus (P), and Potassium (K).
The best strategy is to use both, but in the right way. Focus on building rich, healthy soil by adding plenty of compost every season. Then, if your soil test shows you're low on something specific, you can use a targeted fertilizer to give your plants that extra boost they need. It’s a one-two punch that leads to a truly resilient and productive garden.
Ready to grow the garden of your dreams? At Homegrown Garden, we provide the heirloom seeds, tools, and expert guidance you need to succeed. From our fast-shipping seed collections to our comprehensive grow guides, we're here to help you cultivate a bountiful harvest. Start your gardening journey with us today at https://www.homegrown-garden.com.

