


Starting an herb garden is one of the most satisfying projects you can tackle at home, and it really boils down to just a few key decisions. You need to find a sunny spot, pick some easy-to-grow herbs, and grab the right container and soil. That's it.
Even if all you have is a tiny balcony or a single sunny windowsill, you can create a flourishing source of fresh flavors. A little bit of planning upfront means you'll be enjoying fresh ingredients right from your doorstep in no time.
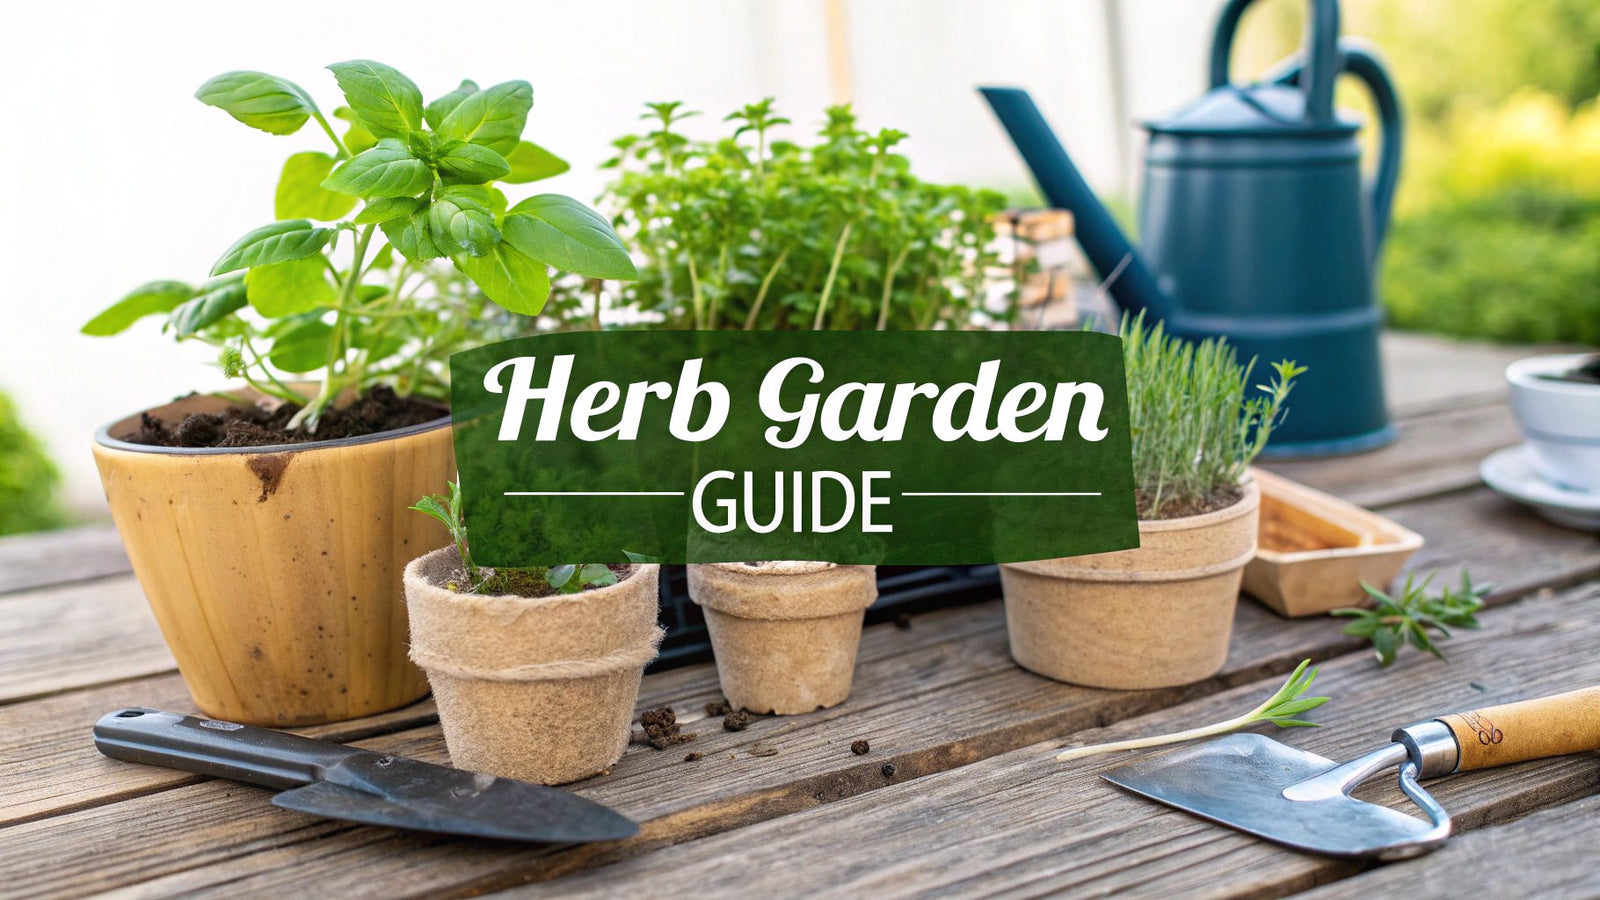
Your Quick Start Guide to a Thriving Herb Garden
Growing your own herbs is so much more than a hobby—it’s about connecting with your food and instantly elevating your cooking. Nothing beats the satisfaction of snipping fresh basil for your pasta sauce or grabbing a few mint leaves for a refreshing drink. And here’s the best part: you don't need a huge yard or years of gardening experience to make it happen. Honestly, some of the most productive herb gardens I've seen have been in surprisingly compact spaces.
The surge in home gardening isn't just a fleeting trend; it’s a movement toward fresh, homegrown ingredients. The global home gardening market is expected to jump from about USD 15.78 billion in 2025 to a whopping USD 26.47 billion by 2034. This just goes to show how accessible and popular starting a garden has become. If you're curious, you can explore the full home gardening market trends to see how this is taking shape in homes everywhere.
4 Core Elements for Herb Garden Success
Before we get into the nitty-gritty, let's look at the foundational pieces of a successful herb garden. Think of these as the main things to focus on as you start out. Getting them right from the beginning will save you a lot of headaches and help you sidestep common beginner mistakes.
- Sunlight and Location: Most of the herbs you'll use in the kitchen need at least six hours of direct sun each day. This is what helps them produce the essential oils that give them those incredible flavors and aromas.
- Containers and Soil: The right pot gives roots room to grow, and a good-quality potting mix provides the drainage and nutrients that your average garden soil just doesn't have.
- Herb Selection: I always tell people to start with hardy, forgiving herbs. Think basil, mint, and parsley. They build your confidence and give you some quick wins.
- Consistent Care: A simple watering and harvesting routine is all it really takes to keep your plants happy and productive all season long.
A thriving herb garden isn’t about having a "green thumb"—it’s about understanding a few basic needs. Sunlight, good soil, and the right amount of water are the simple secrets to success.
Thinking through these elements ahead of time makes the whole process feel less overwhelming and much more achievable. It's all about creating a small, controlled environment where your plants are set up to flourish from day one.
To help you organize your thoughts, here's a quick checklist of the initial decisions you'll be making.
Herb Garden Quick Start Checklist
| Decision Point | Key Consideration | Beginner Recommendation |
|---|---|---|
| Location | Does the spot get 6+ hours of direct sun? | A south-facing window, balcony, or patio. |
| Containers | Is there good drainage? Is it big enough? | A 10-12 inch pot with drainage holes. |
| Soil | Does it drain well and hold nutrients? | Bagged, high-quality potting mix (not garden soil). |
| Herb Choices | Is it easy to grow and something you'll use? | Start with 2-3 favorites like basil, mint, or parsley. |
| Watering Plan | How will you remember to check the soil? | Set a phone reminder to check soil every 2-3 days. |
This checklist simplifies the planning stage, ensuring you have everything you need before you even buy your first plant.
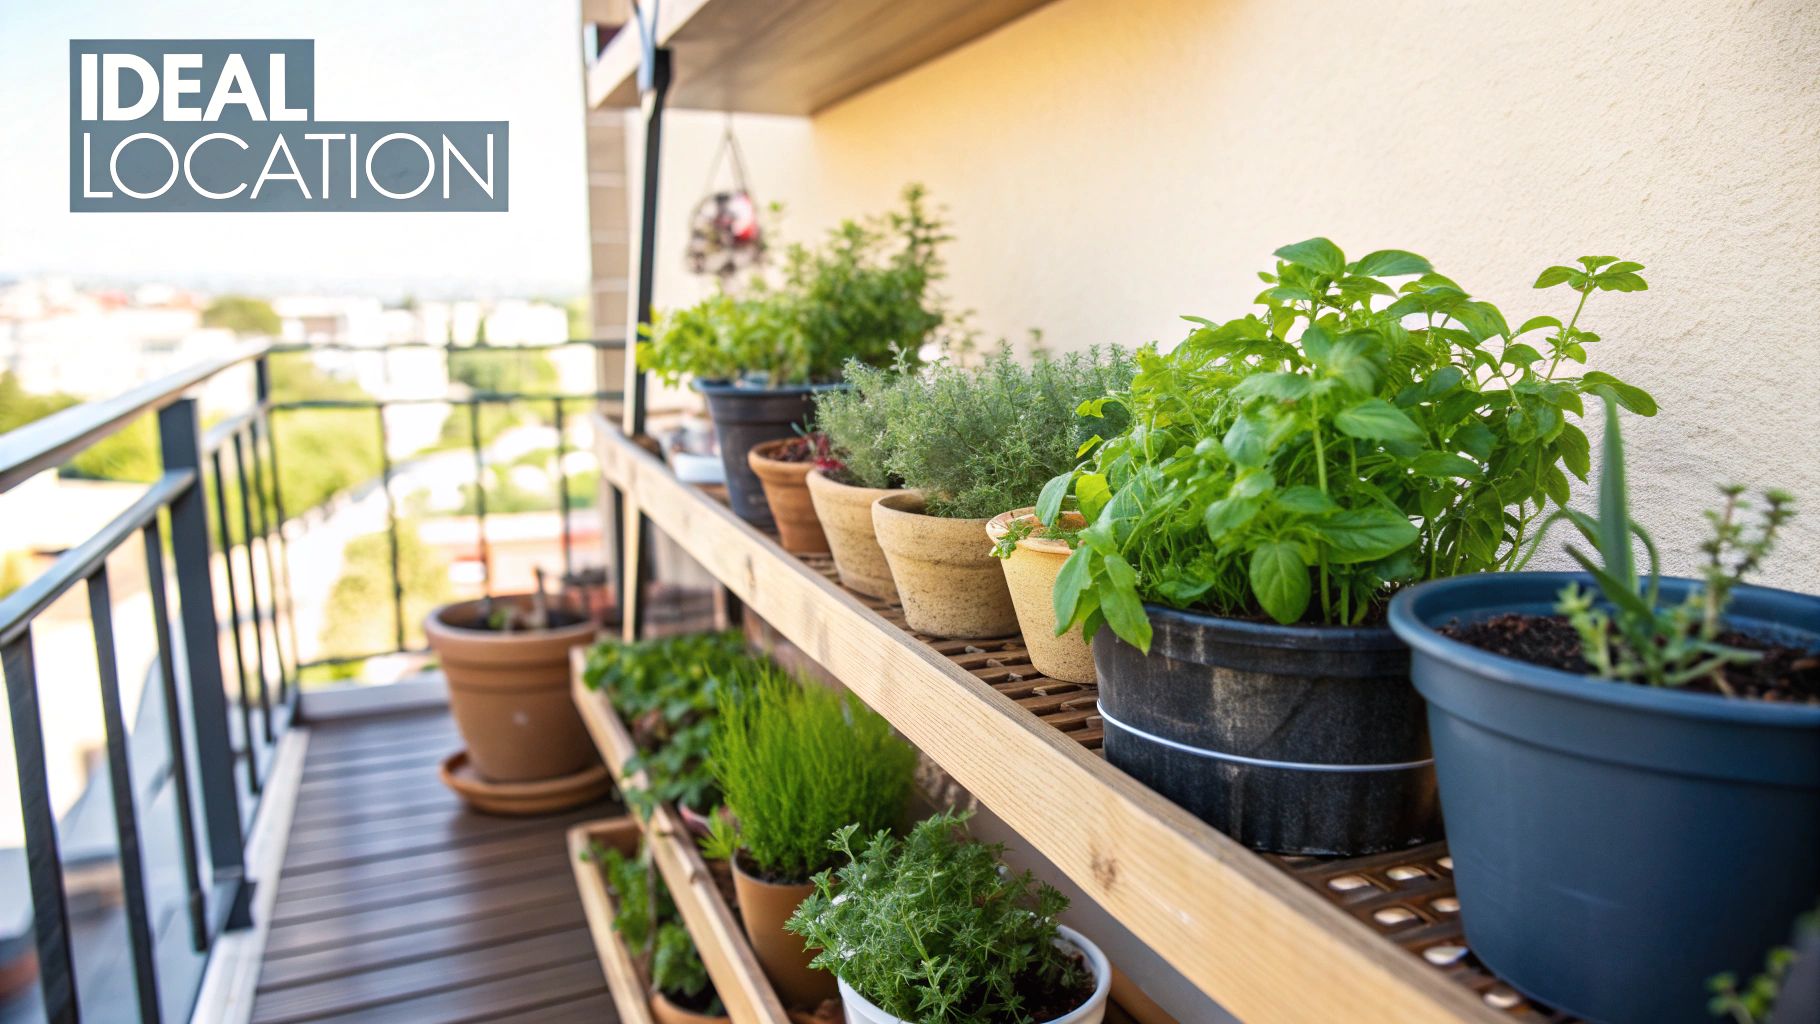
Step 1: Find the Perfect Sun-Drenched Spot
Before you even think about buying a single seed or pot, take a walk around your space. The absolute most important decision you'll make is where your herb garden will live. You see, the secret to incredibly flavorful herbs isn’t some fancy fertilizer—it's sunlight. Plain and simple.
Most of the herbs we love to cook with, like basil, rosemary, and thyme, originally come from sunny Mediterranean climates. To develop those fragrant essential oils that make them taste and smell so incredible, they need to bask in the sun for hours.
Your first task is to become a bit of a sun detective. You're looking for a spot that gets a solid six to eight hours of direct, unfiltered sunlight every day. This might be a south-facing windowsill, a corner of your patio that the roof doesn't shade, or a patch in your yard that's clear of shadows from the house or trees. Don't just guess; watch how the light moves across your space throughout the day.
2 Easy Ways to Track the Sun
An easy way to find your sunniest real estate is to check a potential spot three times on a clear day: once in the morning (say, 9 AM), again at midday (around 1 PM), and finally in the late afternoon (around 4 PM). If it's getting direct sun at all three points, you’ve probably found your sweet spot.
If you want to get a little more technical, here are a couple of my favorite tricks:
- The Stick Trick: Pop a tall garden stake or even a broom handle into the ground where you plan to plant. Check on its shadow throughout the day. A tiny or nonexistent shadow around noon is a fantastic sign that you're getting that powerful, direct overhead sun.
- Use an App: There are some great smartphone apps out there that will show you the exact path of the sun over your property on any given day. This is a huge help if you're planning in the dead of winter or on a cloudy week.
Once you’ve pinpointed that perfect, sunny patch, you can be confident your herbs will have the fuel they need to flourish. I’ve learned the hard way that you can always fix overwatering and you can manage pests, but you just can't fake sunlight.
A quick tip from experience: The intensity of the sun matters just as much as the duration. A spot that gets six hours of strong afternoon sun is almost always better than a spot that gets eight hours of weak, dappled light filtered through a tree.
It's Not Just About the Sun
While sunlight is the main event, two other factors are absolutely essential for heading off common issues like powdery mildew and the dreaded root rot: good airflow and proper drainage.
Think of sunlight, air circulation, and drainage as the three-legged stool of a healthy herb garden.
Your Herb Garden's Environmental Checklist
| Factor | Why It's a Game-Changer | How to Nail It |
|---|---|---|
| Air Circulation | Good airflow helps leaves dry out quickly after you water or after it rains, which is your best defense against fungal diseases. | Don't crowd your plants! Leave at least a few inches between pots so air can move freely all around them. |
| Proper Drainage | This prevents a soggy mess at the bottom of the pot, which will suffocate the roots and lead to root rot. Herbs absolutely hate having "wet feet." | This is non-negotiable: only use pots with drainage holes. If you fall in love with a decorative pot that doesn't have them, either drill some yourself or use it as a cachepot (a decorative outer pot) by slipping a smaller pot with holes inside. |
Getting these three elements right from the very beginning sets the foundation for everything else. A sun-soaked spot with a nice breeze and great drainage is the trifecta for a thriving, low-stress herb garden that will keep your kitchen stocked with fresh flavor.
Step 2: Choose the Right Containers and Soil
Alright, you've scouted the perfect sunny spot. Now it's time to create the ideal home for your herbs. The container and soil you choose are just as critical as sunlight—they're the foundation for healthy roots and lush growth. I've seen so many beginners stumble here, so let's get it right from the start.
Think of the container as your herb's personal real estate. It needs enough room to stretch its roots and, most importantly, a way for excess water to escape. Overwatering is the number one killer of potted herbs, making great drainage an absolute must.
7 Tips for Picking the Perfect Pot
Choosing a container isn't just about what looks good on your patio; it’s about giving your plant what it needs to thrive. The material, size, and even color of your pot can make a huge difference.
- Drainage is Everything: Seriously, this is non-negotiable. Look for pots with at least one, preferably multiple, drainage holes at the bottom. If you fall in love with a decorative pot that doesn't have them, you have two choices: either drill some yourself or use it as a "cachepot" by slipping a plain nursery pot with holes inside.
- Go Bigger Than You Think: Tiny pots are cute, but they dry out in a flash and cramp your plant's style. For most individual herbs, a pot that's at least 6-8 inches deep and wide is a good starting point. If you want to create a mixed container, grab something that's at least 12 inches across.
- Know Your Materials: Terracotta is a classic for a reason. It's porous, so it "breathes," helping prevent dreaded root rot. The downside? It dries out fast. Glazed ceramic or plastic pots hold moisture longer, which is great for thirsty plants like basil but can be a death sentence for drought-lovers like rosemary.
- Consider Wooden Planters: Wood offers a beautiful rustic look and provides excellent insulation for roots against heat and cold. If you go this route, just make sure it’s untreated or finished with a plant-safe sealant. It's also worth learning how to protect outdoor wooden planters to keep them from rotting.
- Think About Weight: A big ceramic pot filled with damp soil is surprisingly heavy! If you plan on moving your herbs around—say, to chase the sun or bring them indoors—a lightweight plastic pot or a fabric grow bag might be a much better fit for you.
- Lighter Colors are Cooler: On a hot summer day, a dark-colored pot can absorb a ton of heat and literally bake your herb's roots. Lighter-colored pots will reflect that heat and help keep the soil temperature much more stable.
- Match the Pot to the Plant: Not all herbs have the same needs. Mint, for instance, is a notorious spreader and should always get its own pot unless you want a mint takeover. Others, like parsley and cilantro, grow a long central taproot and do best in a deeper container.
The single biggest favor you can do for your container herbs is to give them enough space. A larger volume of soil holds moisture longer and provides more insulation for the roots against temperature swings.
Why Your Garden Soil Is a Bad Idea
It's tempting to save a few bucks by just scooping up some dirt from your yard to fill your pots. Please don't. This is one of the most common and critical mistakes a new container gardener can make.
Garden soil is heavy and dense. In a pot, it quickly compacts, choking out roots by cutting off oxygen and preventing water from draining properly. It’s also a wild card—you have no idea what weed seeds, pests, or diseases might be lurking in it.
Your secret weapon here is a high-quality potting mix. This isn't just "dirt"; it's a specially engineered blend designed to create the perfect environment for container plants.
A good potting mix will usually contain:
- Peat Moss or Coco Coir: These act like a sponge, holding onto moisture and nutrients for the plant to use as needed.
- Perlite or Vermiculite: Those little white specks are lightweight volcanic rock. They create tiny air pockets, ensuring roots get plenty of oxygen.
- Compost or Worm Castings: This is the good stuff—organic matter that provides a slow, steady release of nutrients to feed your herbs.
Investing in a good bag of organic potting mix is one of the smartest moves you can make. If you get really into it and want to create your own blends, our guide on https://homegrown-garden.com/blogs/blog/preparing-garden-soil provides some great insights for building the perfect foundation for any plant. It truly ensures your herbs get the best possible start in life.
Step 3: Select 11 of the Easiest Herbs to Grow
Alright, this is the fun part—picking your plants. The trick to a successful first herb garden is choosing herbs that are generous, forgiving, and taste incredible. Think of them as the hardworking heroes of the plant world. They’ll bounce back if you forget to water them once in a while and still reward you with more than you can use.
Starting with the right plants is a huge confidence booster. It guarantees your first gardening adventure is all about fresh flavors and easy wins. Whether you grab some starter plants from a nursery or decide to try your hand at seeds, these 11 herbs are proven performers.
The 3 Kitchen Staples
Every great herb garden starts with the classics. These are the workhorses you'll find yourself snipping from constantly, and luckily, they're some of the simplest to grow.
1. Basil (Ocimum basilicum)
This is the absolute icon of summer herbs and a must-have for any cook. Basil craves heat and sun, so give it the brightest, warmest spot you have. It's also a thirsty plant, so check the soil often and keep it consistently moist, but never waterlogged.
- Pro Tip: Pinch off the top sets of leaves on each stem every week. This little trick stops the plant from getting tall and spindly and encourages it to grow into a full, bushy powerhouse, literally doubling your harvest.
- Start With: A starter plant from a nursery is instant gratification, but basil is also super easy and fast to grow from seed.
2. Parsley (Petroselinum crispum)
Whether you prefer the robust flavor of flat-leaf (Italian) or the frilly texture of the curly kind, parsley is an essential. It loves full sun but is one of the few that will happily put up with a bit of afternoon shade, which is a lifesaver in really hot climates. Keep its soil evenly moist.
- Pro Tip: Parsley develops a long central root, known as a taproot. To give it the room it needs to thrive, choose a pot that’s at least 8-10 inches deep.
- Start With: Go for a nursery plant. Parsley seeds can take their sweet time to sprout, which can be frustrating when you’re just starting out.
3. Chives (Allium schoenoprasum)
Chives are ridiculously easy to grow and are perennials, meaning they'll come back faithfully year after year. Their mild oniony kick is perfect for waking up eggs, potatoes, and salads. Just give them a sunny spot and regular water.
- Pro Tip: When you harvest chives, don't be timid. Snip them about two inches from the base with scissors. This actually encourages the plant to regrow even faster.
- Start With: Either a plant or seeds will work great.
3 Mediterranean Sun-Lovers
These herbs are native to the sun-drenched Mediterranean coast, and that’s exactly what they want in your garden: tons of sun, warmth, and soil that gets a chance to dry out completely.
4. Rosemary (Salvia rosmarinus)
This woody, incredibly aromatic herb is a game-changer for savory dishes. Rosemary is non-negotiable on its needs: it demands at least 6-8 hours of direct, blazing sun and absolutely hates having "wet feet." Let the soil get bone dry before you even think about watering it again.
- Pro Tip: Rosemary is a perennial that wants to grow into a big shrub. Plan ahead and give it a roomy pot from the start—something at least 12 inches wide.
- Start With: Definitely a nursery plant. It's notoriously tricky to start from seed.
5. Thyme (Thymus vulgaris)
Thyme is a tough, low-growing herb that brings an earthy depth to almost anything. Just like rosemary, it needs full sun and soil that drains quickly. Its trailing habit makes it a fantastic "spiller" plant to cascade over the edge of a mixed container.
- Pro Tip: Thyme is one of the most forgiving plants out there. If you forget to water it, it’ll probably be fine. In fact, overwatering is its only real kryptonite.
- Start With: A nursery plant is the quickest way to get going.
6. Oregano (Origanum vulgare)
The soul of so much Italian and Greek cooking, oregano is a vigorous plant that just loves to sprawl out in the sun. It's another one that's quite drought-tolerant and prefers its soil on the drier side.
- Pro Tip: Regular haircuts keep oregano compact and productive. The more you trim, the bushier and more flavorful it becomes.
- Start With: A starter plant or seeds will both do the job well.
Here's the key takeaway for Mediterranean herbs: they thrive on a little neglect. Overwatering is the single fastest way to kill them. If you’re ever unsure, just wait another day before watering rosemary, thyme, or oregano.
The 2 Unstoppable Spreaders
Some herbs are just so enthusiastic about life that they need to be kept in check. They're fantastic for beginners because they are nearly impossible to kill, but you have to manage their ambition.
7. Mint (Mentha species)
Whether it's spearmint for mojitos or peppermint for a soothing tea, mint is an absolute powerhouse. It grows like a weed and will even tolerate a bit of shade. It does, however, like its soil to stay consistently moist.
- Pro Tip: Never, ever plant mint in a garden bed or a pot with other herbs unless you want it to stage a complete takeover. Its roots are incredibly aggressive. Always give mint its own dedicated container.
- Start With: A nursery plant or even just a cutting from a friend's plant will root in water in no time.
8. Lemon Balm (Melissa officinalis)
As a member of the mint family, lemon balm has that same unstoppable growth habit paired with a wonderful, uplifting citrus scent. It makes a fantastic tea. Like its cousin mint, it needs a pot all to itself. It's not fussy and will grow just fine in part shade.
- Pro Tip: On a stressful day, just crush a leaf between your fingers and take a deep breath. It's an instant mood-lifter.
- Start With: A nursery plant is easiest.
3 Unique and Easy Additions
Let's round out your garden with a few more flavorful picks that are still low-maintenance enough for any beginner.
9. Cilantro / Coriander (Coriandrum sativum)
Cilantro is the herb of cooler weather. It loves the sun but can "bolt" (meaning it flowers and goes to seed) really fast once summer heat kicks in. Once it flowers, you get a bonus crop: the seeds are the spice we know as coriander.
- Pro Tip: For a continuous harvest all season, sow a new small batch of seeds every few weeks. This is called succession planting.
- Start With: Seeds, always. Cilantro has a delicate taproot and absolutely hates being transplanted from a nursery pot.
10. Sage (Salvia officinalis)
With its gorgeous, fuzzy, silvery-green leaves, sage is as beautiful as it is delicious. It’s another classic sun-worshipper that prefers its soil to be on the dry side.
- Pro Tip: For the absolute best flavor, harvest sage leaves just before the plant starts to flower.
- Start With: A nursery plant.
11. Dill (Anethum graveolens)
Dill's feathery fronds are fantastic with fish, in salads, and for making pickles. It can get quite tall, so you might need to give it a small stake for support. It grows best in full sun.
- Pro-Tip: Dill is a magnet for beneficial insects and is a favorite food for swallowtail butterfly caterpillars. By planting it, you're not just feeding yourself—you're supporting local wildlife!
- Start With: Seeds. Like cilantro, it has a taproot that doesn't like being disturbed.
Knowing how to start a herb garden begins with quality seeds. It's a passion that's growing worldwide—the global herb seeds market was valued at about USD 1.21 billion in 2024 and is expected to climb to USD 1.77 billion by 2032. This boom means there's more variety and better quality available than ever before. You can dive deeper into the global trends in the herb seed market to see what's happening.
And the great thing is, many of these herbs are perfect for bringing inside. Our guide covers the easiest herbs to grow indoors so you can keep your harvest going all year round.
Step 4: Master the Art of Planting Your Herbs
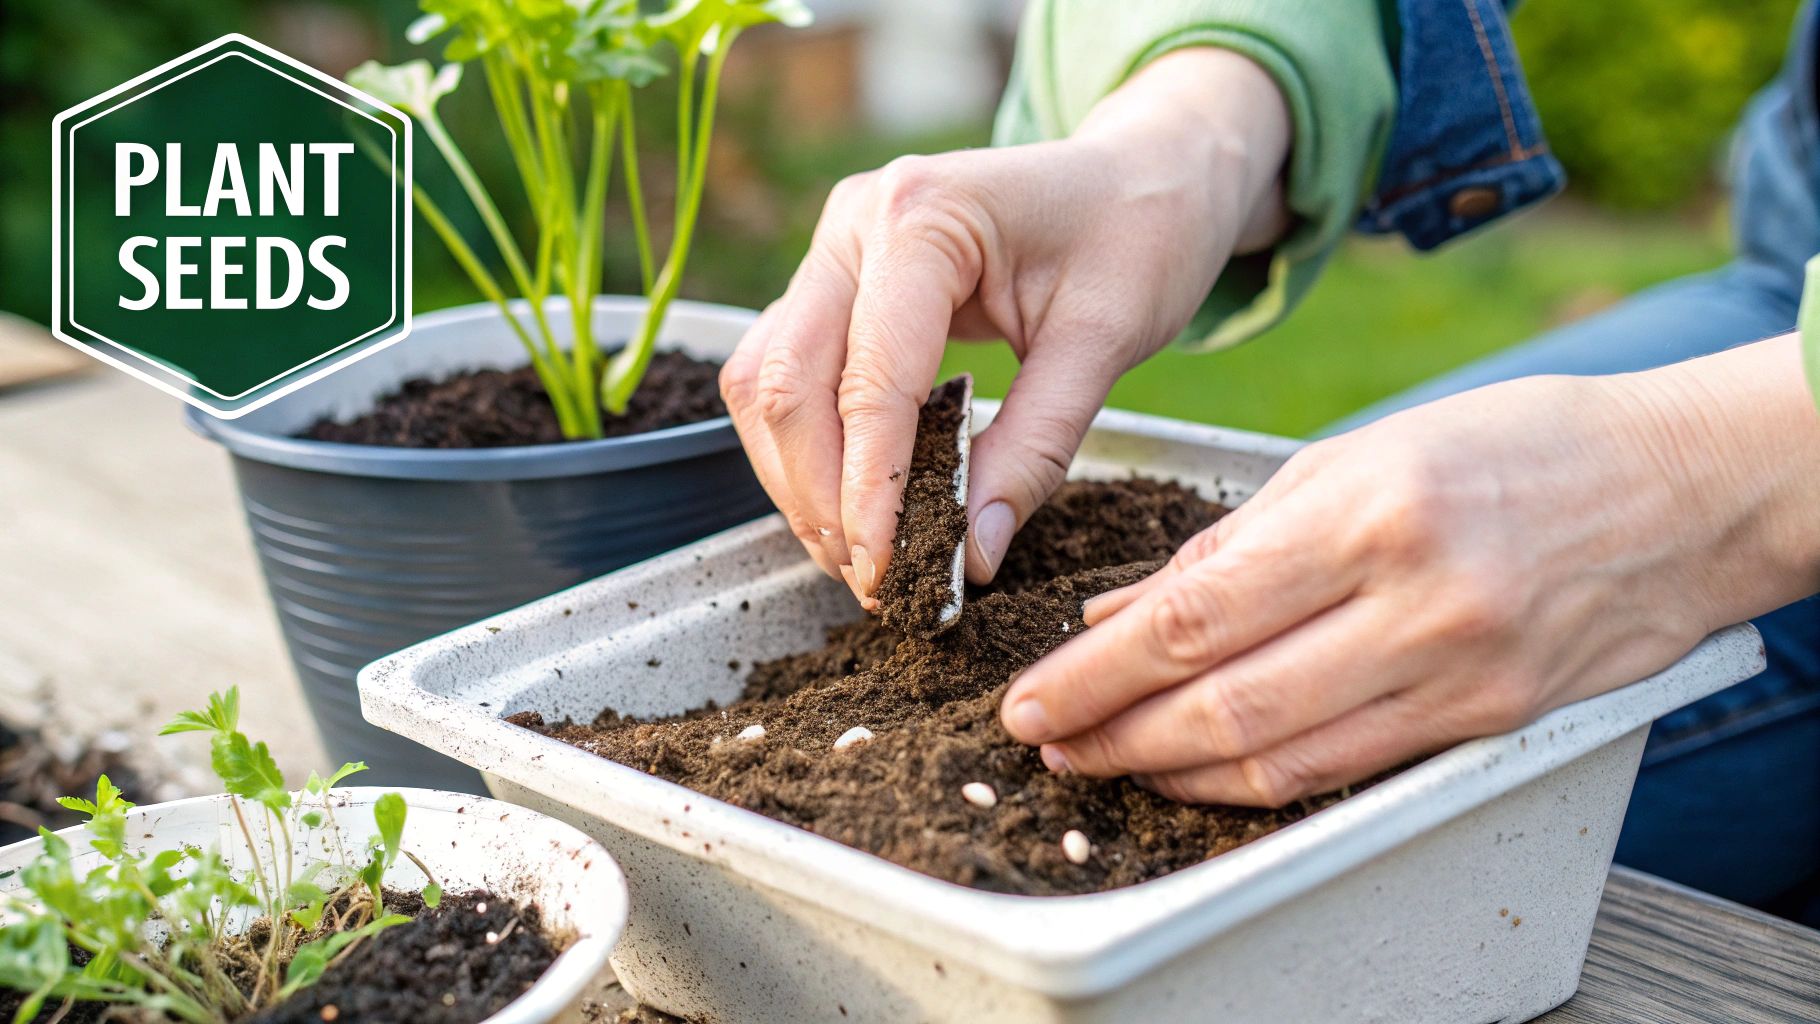
You’ve got your spot picked out and your containers are ready to go. Now for the fun part: getting your hands dirty and actually planting. This is where your herb garden truly starts to come to life, and trust me, it’s easier and more rewarding than you might think.
Getting this stage right really sets your herbs up for a long, healthy life. A few simple techniques, like prepping the soil correctly and giving the roots a little attention, make all the difference in how quickly your plants feel at home and start producing those incredible flavors.
Your 5-Step Planting Playbook
Whether you're starting with a small plant from the nursery or sowing seeds from a packet, the core process is the same. Follow these guidelines to sidestep common issues like transplant shock and give your herbs the best possible start.
-
Prep Your Container: Before you do anything else, find a way to cover the drainage hole. A small piece of mesh screen, a coffee filter, or even a broken shard of a terracotta pot works perfectly. This tiny step is a game-changer—it keeps your soil from washing out every time you water, without ever letting the pot get waterlogged.
-
Hydrate Your Soil First: Don't ever plant into dry, dusty soil. I always dump my potting mix into a bucket or wheelbarrow, slowly add water, and mix it all up with my hands. You’re aiming for the consistency of a damp sponge—moist all the way through, but not sopping wet. This ensures the roots have a consistently hydrated environment to settle into.
-
Fill the Pot: Now, add your pre-moistened soil to the container, leaving about an inch of space from the rim. Gently press the soil down to eliminate any big air pockets. The key is to make it firm enough to hold the plant securely, but not so compacted that the roots can't breathe and grow.
-
Get the Depth Just Right: This is critical. If you're using a starter plant, dig a hole just big enough for its root ball. You want the top of the root ball to sit perfectly level with the surrounding soil. For seeds, the rule of thumb is to plant them at a depth of about twice their diameter. Too deep, and they might not make it to the surface; too shallow, and they can easily dry out. For a deeper dive, our guide on growing herbs indoors from seed has some great tips that also apply here.
-
Settle Everything with Water: Once your plant or seeds are in place, backfill the hole with soil and gently firm it around the base. The final step is to give it a slow, thorough watering. This helps the soil settle in, gets rid of any last air pockets, and eases the stress of moving to a new home.
One of the most common mistakes I see beginners make is planting herbs too deep. Always make sure the base of the stem is sitting right at or even slightly above the soil line. This simple check is your best defense against stem rot.
The Pro Tip for Nursery Plants
Ever pull a plant out of its plastic nursery pot and see a tangled, knotted mess of roots? That’s what we call being root-bound. If you just plop that into your new pot, those roots might never figure out that they have more room to grow. They'll just keep circling.
Here’s what you do: gently use your fingers to tease those roots apart, especially at the bottom. It feels a bit wrong, and you might break a few tiny rootlets, but it's the best thing for the plant. This little bit of tough love encourages the roots to spread out and explore their new, spacious home, leading to a much healthier and happier herb from day one.
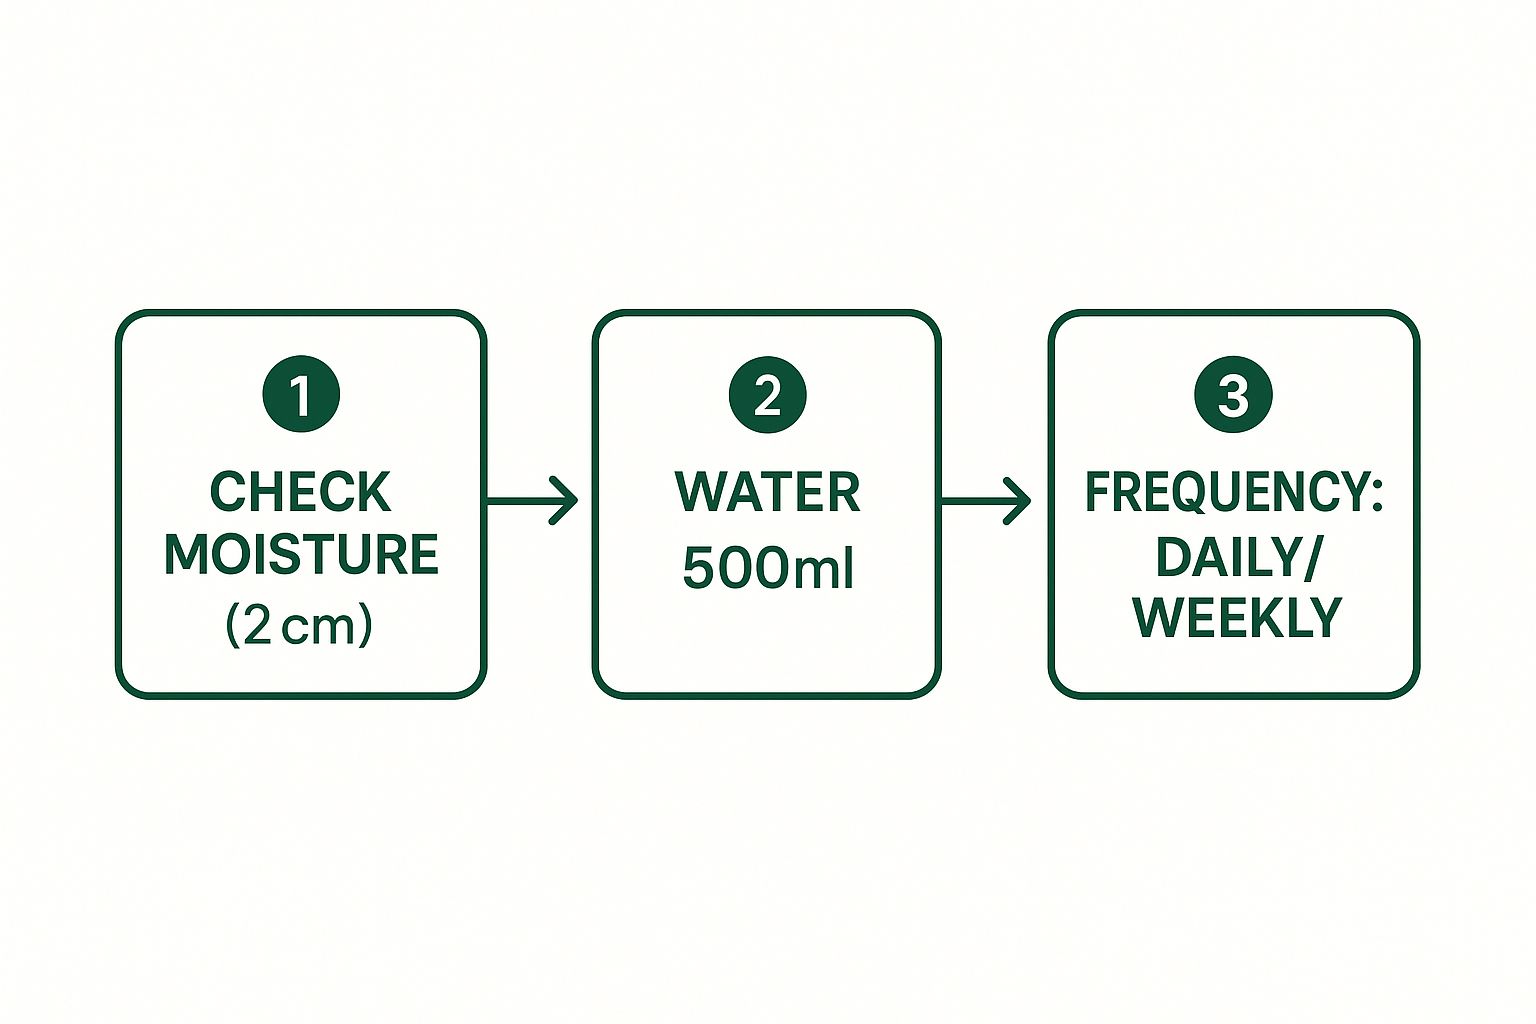
Step 5: Nail Down Your Watering Game
Once your herbs are happily planted, the real work begins—and it's not as hard as you might think. The single biggest mistake I see new herb gardeners make is killing their plants with kindness, especially when it comes to watering.
Forget the rigid "water every Tuesday" schedule. That’s a fast track to disaster. More container herbs drown from overwatering than from any other cause. The trick is learning to read your plants. Thirsty basil will look dramatic and wilted after a hot afternoon, but a tough-as-nails rosemary plant will be perfectly happy if you forget about it for a few days. Your job is to give them a drink when they actually need it.
5 Steps to Watering Like a Pro
The best way to keep your herbs from getting waterlogged is to ditch the calendar and get your hands a little dirty. The classic "finger test" has never failed me, and it’s as simple as it sounds.
- Make it a daily habit to check the soil. This is especially important when you first plant everything or during a heatwave. A quick morning check-in is all it takes.
- Do the finger test. Stick your index finger about an inch down into the soil. Don't just poke the surface; you need to feel what’s going on down where the roots are.
- Feel for moisture. If it feels dry to the touch, it’s time to water. If you feel any dampness or coolness, walk away and check again tomorrow.
- Water deeply, not just a little sip. When it's time to water, be thorough. Slowly pour water over the soil until it runs freely from the drainage holes. This ensures the entire root system gets hydrated.
- Always let it drain completely. Never, ever let your pots sit in a saucer full of water. This is like putting a plastic bag over your plant's head—it suffocates the roots.
This simple routine adapts to your herbs' real-time needs, which change with the weather, pot size, and even the plant's growth stage.
Step 6: Learn When and How to Feed Your Herbs
When it comes to fertilizer, remember this: less is more. This is a huge one. Herbs actually produce their most potent flavors and aromas when they aren't pampered with rich soil. Over-fertilizing just encourages weak, leafy growth and dilutes the essential oils that make them taste and smell so amazing.
Think of fertilizer as a small vitamin boost, not a three-course meal. The high-quality potting mix you started with already has plenty of nutrients to get things going.
For most herbs in containers, feeding them just once or twice during the main growing season (spring and summer) is perfect. I recommend a balanced, all-purpose liquid organic fertilizer, like fish emulsion or liquid kelp. They're gentle and effective.
Here's the most important tip: Always dilute the fertilizer to half the strength recommended on the bottle. A full-strength dose can easily "burn" the sensitive roots of your herbs, doing way more harm than good. A gentle touch is all they need.
By keeping a close eye on your soil's moisture and feeding sparingly, you'll create the perfect conditions for strong, healthy, and incredibly flavorful herbs. It's this simple, responsive routine that really separates a thriving garden from a struggling one.
Step 7: Harvest and Prune for Endless Growth
https://www.youtube.com/embed/iRjifmpD3hk
The real secret to a constantly productive herb garden isn't just about getting the sun and water right—it's about how often you harvest. This isn't just about grabbing a few leaves for dinner. It's a strategic move that actually tells your plants to grow bushier, stronger, and keep producing all season.
Every snip you make is an instruction to the plant to create more. Getting this part right is what turns your garden from a fun little project into a continuous supply of fresh flavor. Once you know where and how to cut, you'll avoid those sad, leggy plants and instead have a thriving collection that just keeps on giving.
The Art of the Haircut: 3 Harvesting Techniques
Giving your herbs a regular "haircut" is hands-down the best way to get that lush, full look. I know it can feel a bit strange at first—cutting something you want more of—but trust me, it works. The technique is everything, especially for leafy herbs like basil and parsley.
- Basil: Find a main stem and look for a spot where two tiny leaves are branching off to the sides. You want to snip the stem right above that pair of leaves. This simple cut redirects the plant's energy into those two side shoots, which will then grow into two brand-new main stems. It’s like magic.
- Parsley: Always harvest the outer, more mature stalks first. Cut them right at the base of the plant. This opens up space and lets the younger, inner leaves get more sun to continue the growth cycle. Whatever you do, don't just snip off the leafy tops; take the whole stem from the bottom.
- Chives: Think of this one like giving the whole clump a trim. Grab a pair of scissors and snip the leaves about two inches from the soil. They'll regrow surprisingly fast, and often even thicker than before.
The golden rule I always follow is to never take more than one-third of the plant at any single time. This leaves it with plenty of foliage to keep photosynthesizing and recover quickly from the trim.
Once your harvest basket is full, preserving your herbs means you can enjoy that garden-fresh taste all year. A great way to start is with some easy food dehydrator recipes, which turn your fresh bounty into pantry staples that last for months.
Pruning for Plant Health
Now, pruning is a bit different from harvesting. This is more about maintaining the long-term health and shape of your plants, particularly for woody herbs like rosemary and thyme.
Make a habit of removing any yellowing or dead leaves. This simple clean-up improves air circulation and helps keep diseases away. For those woody herbs, a good trim once a year keeps them from getting too tough and sparse at the base. It’s a little bit of maintenance that keeps your plants vigorous and productive for years.
When you start an herb garden, you’re also tapping into a massive global movement. The medicinal herbs market was valued at around USD 227.65 billion in 2025 and is expected to nearly double to almost USD 479 billion by 2032. It’s a clear sign of the worldwide shift toward natural wellness, and your little garden is a piece of that story.

